

Introduction
The difference between a garden that looks maintained and one that looks neglected is usually three inches wide. These flower bed borders ideas cover 30 complete edging designs, natural stone, brick laid two ways, steel and corten, cedar and log roll, river rock, gravel, concrete, woven willow, and living plant borders, with honest notes on cost, effort, and how each one installs.
You’ll also find the details most roundups skip: which edging genuinely stops grass creeping into beds, which lifts and buckles after a hard winter, and the single installation choice that decides whether you’ll be string-trimming along your border every fortnight or never again. Budget options run from a free spade-cut trench upward. Consider it a guide to giving every bed in your abode a finished edge.
The one decision that matters most: Set your edging flush with the lawn surface, not proud of it. Flush edging becomes a mowing strip, the mower wheel runs straight along it, cutting the grass right to the bed and removing the need to string-trim. Edging that stands proud looks sharp in photographs but leaves a fringe of uncut grass you’ll have to trim by hand for as long as you own the garden. For more practical garden inspiration, Sunday Abode offers ideas that balance attractive design with everyday functionality. Almost every competing article shows the proud version.
30 Flower Bed Borders Ideas
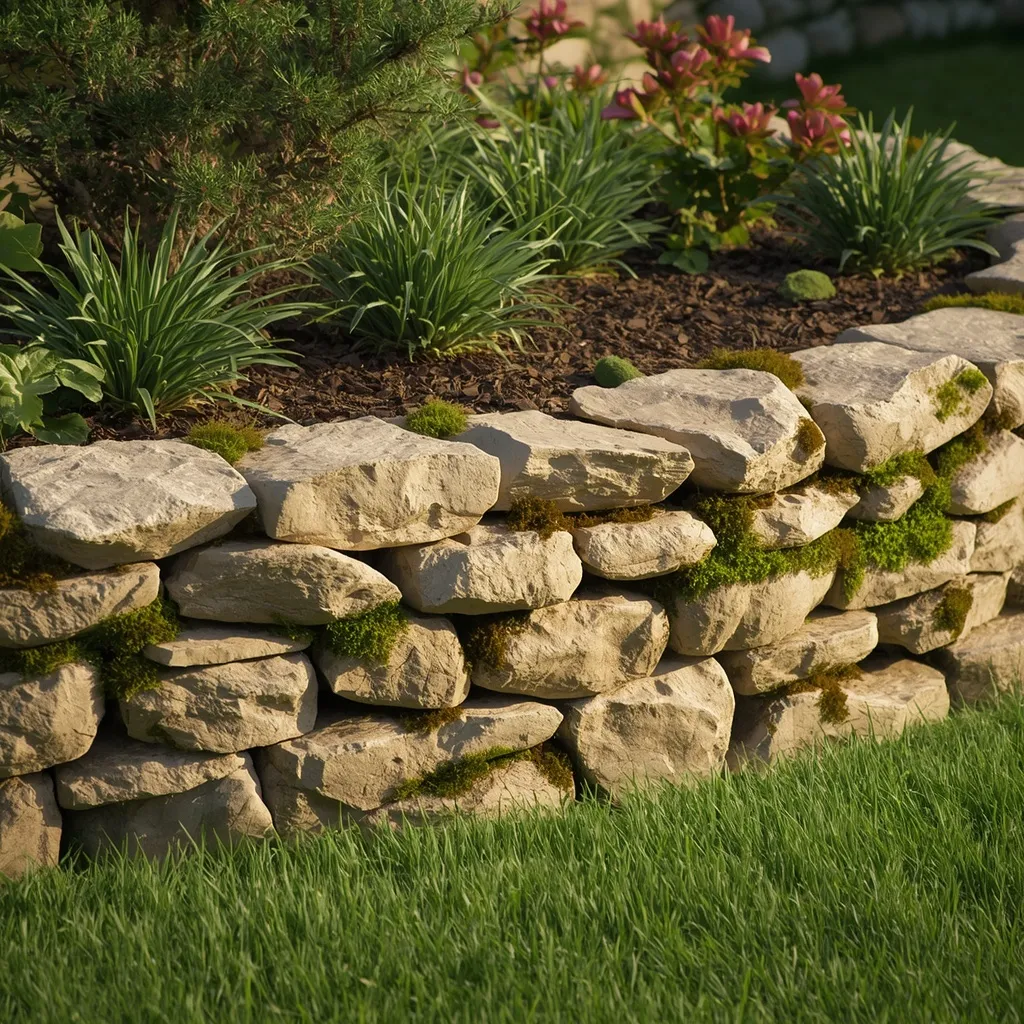
1. Dry-Stacked Natural Stone
A dry-stacked stone border has weight and permanence: irregular natural stone laid without mortar along the bed edge, planting tumbling over the top, and a settled look that improves as moss finds the joints. Solid and timeless, stone outlasts every other material. Substantial, natural, and handsome.
Set the first course into a shallow trench so the line holds rather than shifting, choosing stone local to your region where possible, it looks right against local soil and usually costs less than imported stone. Keep any stacked height under about 60 cm (2 ft), above which a border becomes a retaining wall needing engineered design. Stone is heavy: lift with your legs, wear gloves and sturdy boots, and get help with larger pieces. This suits permanent gardens, traditional houses, and sloping ground.
- Why it works: A trenched first course holds the line where surface-laid stone gradually shifts out of true.
- Best for: Permanent gardens; traditional houses; slopes.
- Key elements: local irregular stone, trenched base course, under 60 cm stacked, safe lifting.
2. Brick Soldier Course
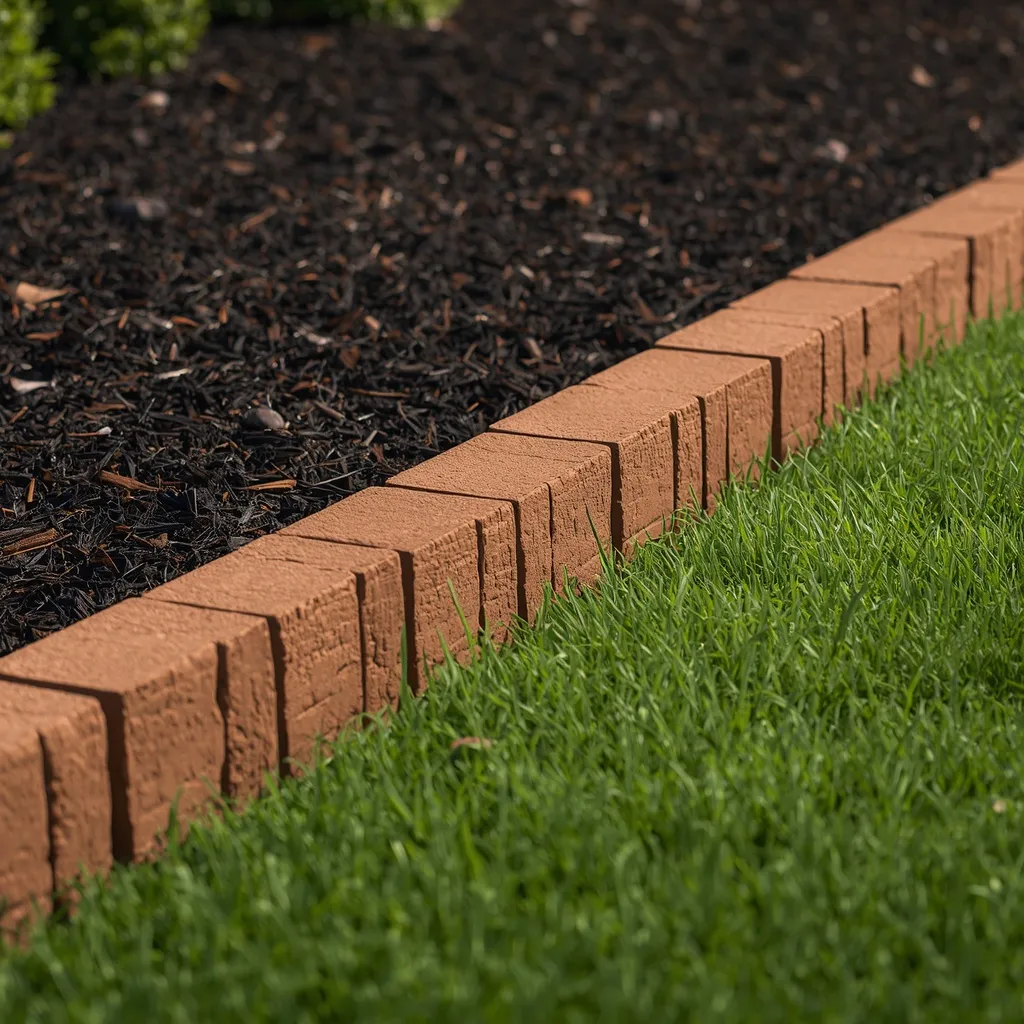
A soldier course sets bricks upright side by side: a crisp vertical band following the bed edge, clean and architectural, reading as a deliberate line rather than a scattering of material. Formal and tidy, this is the classic brick edge. Sharp, orderly, and traditional.
Stand bricks on end in a trench with roughly a third of each brick buried, bedding them on 5 cm (2 in) of sharp sand so they sit level and stay put. Use frost-resistant or engineering bricks rather than soft indoor bricks, which absorb water and spall, flake apart, after a few freezing winters. Run a string line along the course to keep it straight, since a wandering brick edge is very visible. This suits period houses, formal gardens, and neat plots.
- Why it works: Burying a third of each brick and bedding on sand keeps a soldier course level for years.
- Best for: Period houses; formal gardens; crisp lines.
- Key elements: bricks upright, one-third buried, 5 cm sand bed, frost-resistant brick, string line.
3. Sawtooth Angled Brick
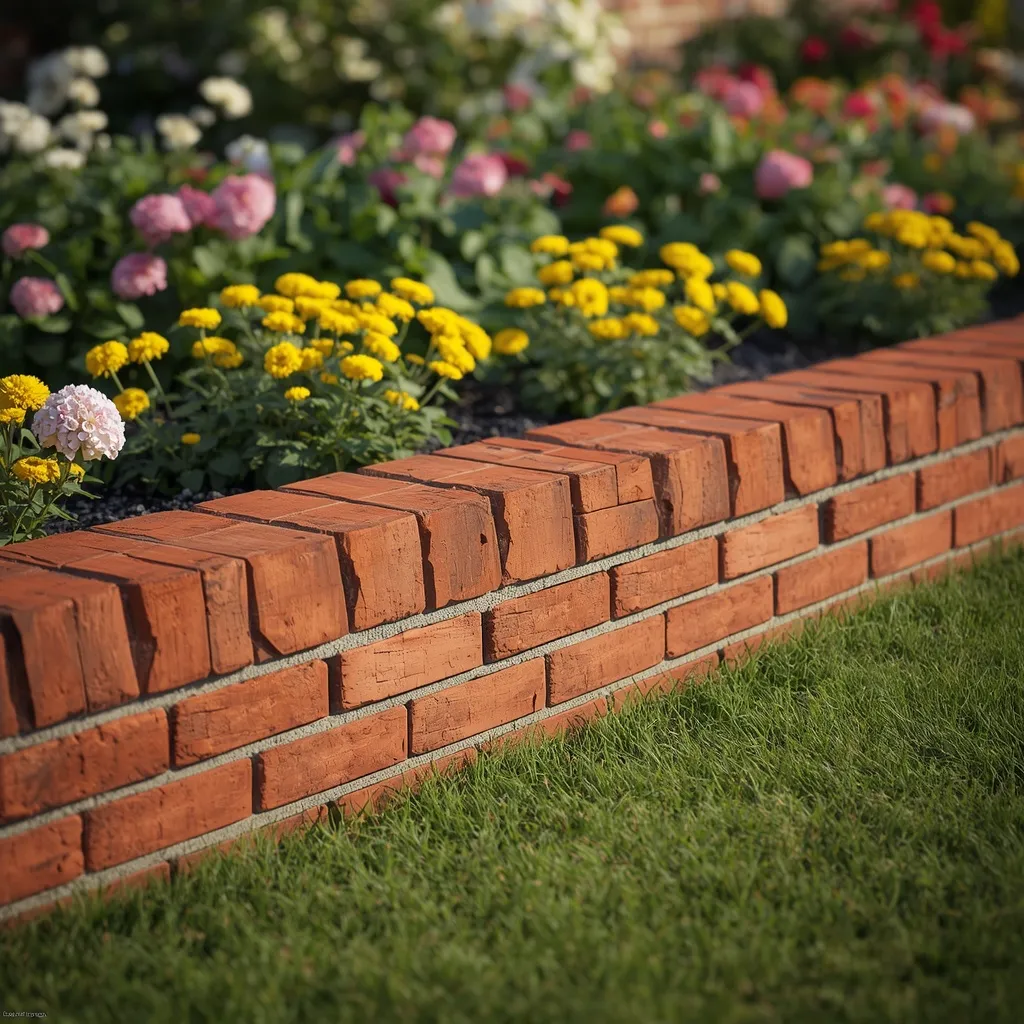
The sawtooth edge tilts bricks at an angle so they overlap in a zigzag: a decorative sawtooth ridge running along the bed, more ornamental than a soldier course and instantly recognizable. Charming and old-fashioned, this edge suits cottage gardens. Rhythmic, decorative, and characterful.
Set each brick at roughly 45 degrees leaning against the next, buried about a third deep in a sand-bedded trench so the angle stays consistent. The rhythm only reads well if the angle is uniform, so check along the line frequently as you work rather than at the end. Note the trade-off honestly: a sawtooth edge is decorative rather than functional, since its ridged top can’t act as a mowing strip and grass grows into the notches. This suits cottage gardens and decorative borders where mowing isn’t a factor.
- Why it works: A consistent 45-degree lean is what creates the rhythm; varied angles read as sloppy.
- Best for: Cottage gardens; decorative rather than mown edges.
- Key elements: bricks at 45 degrees, one-third buried, sand bed, uniform angle checked constantly.
4. Reclaimed Red Brick Rustic
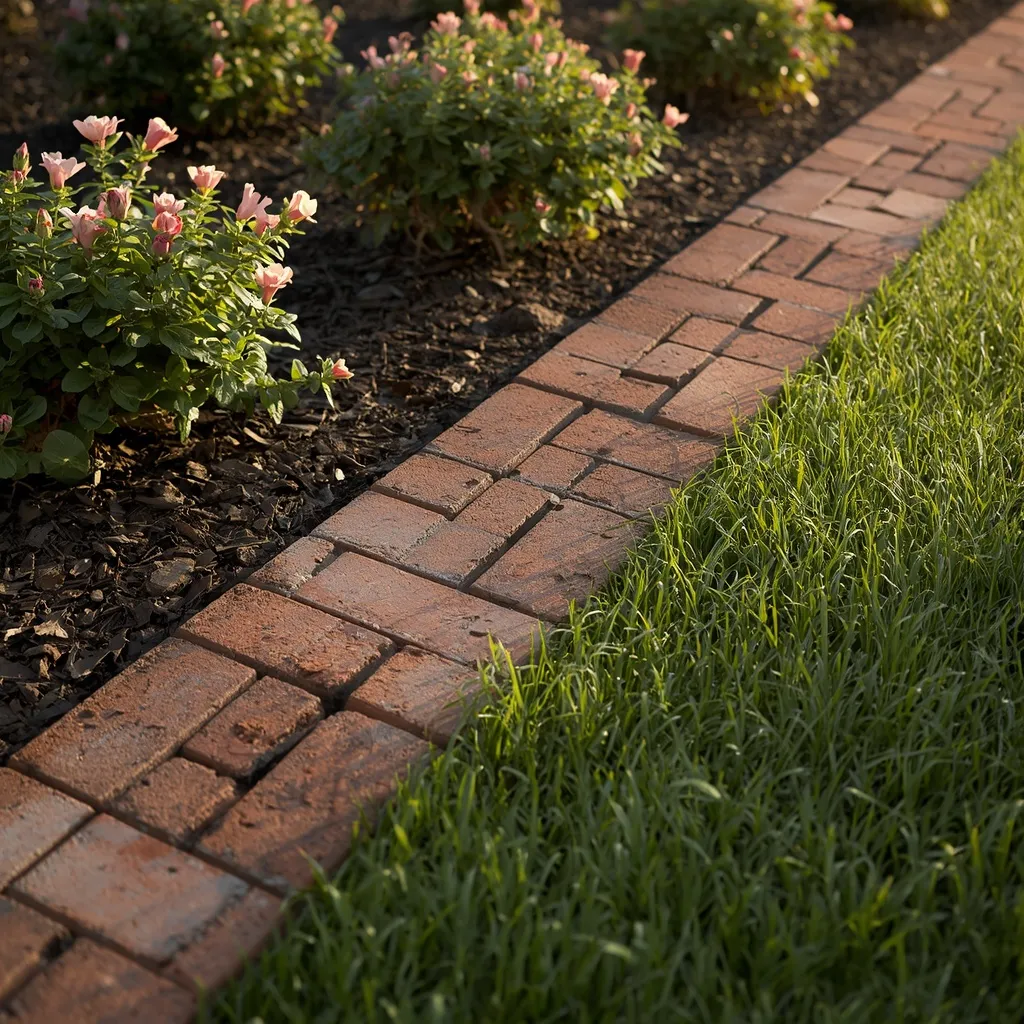
Reclaimed brick brings instant age: weathered red bricks with lime traces and worn corners, laid flat in a single course along the bed for a border that looks like it’s been there decades. Warm and characterful, salvaged material has a patina new brick can’t fake. Aged, mellow, and inexpensive.
Lay reclaimed bricks flat rather than upright, which uses fewer bricks per meter and creates a wide flush surface that works beautifully as a mowing strip. Salvage yards and demolition sites often sell reclaimed brick cheaply, sometimes free for collection. Check reclaimed bricks are frost-resistant before using them outdoors, since old indoor bricks crumble outside, and wear gloves handling salvaged material. This suits period properties, budget projects, and rustic gardens.
- Why it works: Laid flat, reclaimed brick uses fewer units per meter and doubles as a mowing strip.
- Best for: Period properties; budget projects; rustic gardens.
- Key elements: reclaimed brick laid flat, salvage-yard sourcing, frost resistance checked, gloves.
5. Modern Steel Edging
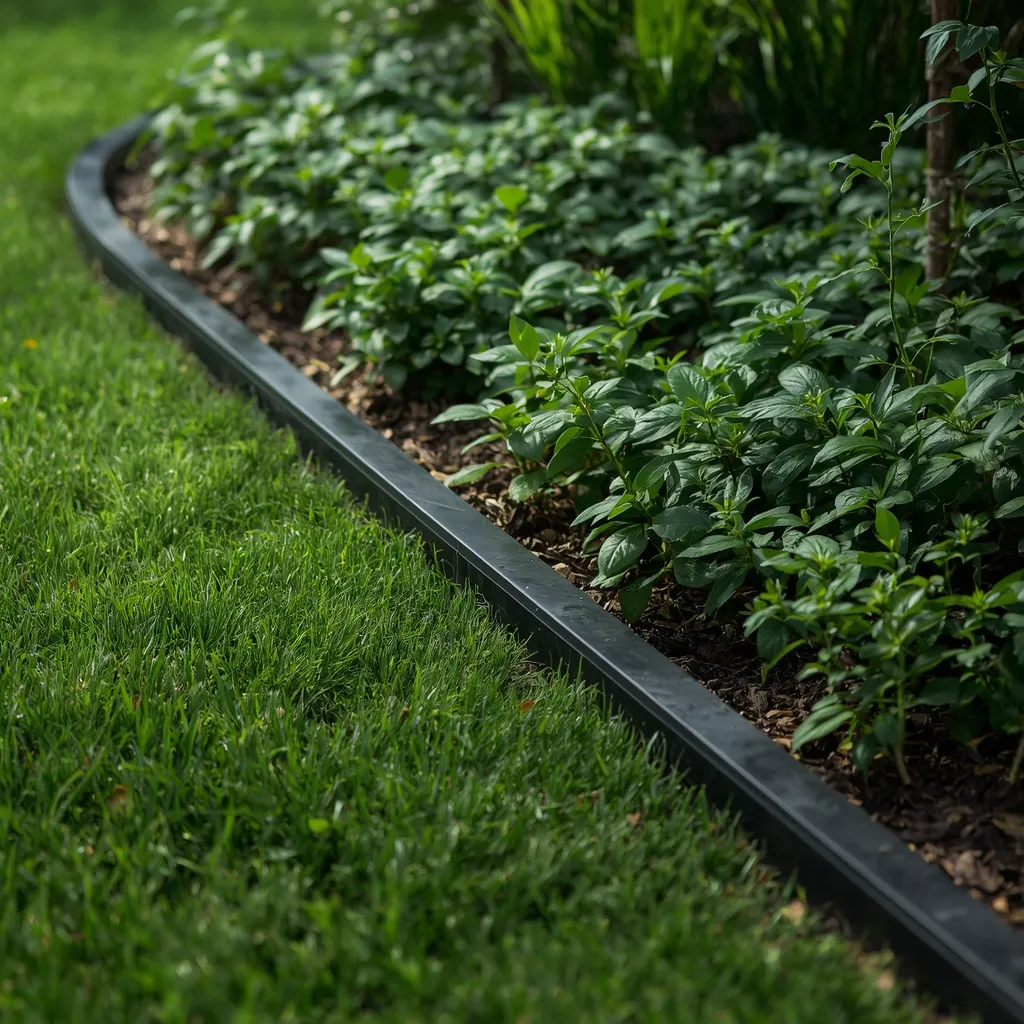
Steel edging draws the thinnest possible line: a slim dark band separating lawn from bed, almost invisible from a distance, letting the planting rather than the border take attention. Minimal and precise, steel is what designers reach for. Sleek, crisp, and understated.
Steel edging installs by driving it into the ground with stakes, and its great advantage is depth, most profiles set 10–15 cm (4–6 in) deep, enough to genuinely block spreading grass runners, unlike shallow decorative edging. Set the top edge flush with the lawn so it works as a mowing strip. Safety point worth taking seriously: cut steel edging is genuinely sharp, so wear heavy gloves, and never leave a raised exposed edge at ankle height beside a path or lawn where someone could catch a shin on it. This suits modern gardens and curved bed shapes.
- Why it works: Steel sets deep enough to block grass runners while showing almost no material above ground.
- Best for: Modern gardens; curved beds; grass-invasion problems.
- Key elements: staked steel profile, 10–15 cm depth, top set flush, heavy gloves, no raised exposed edge.
6. Weathered Corten Steel
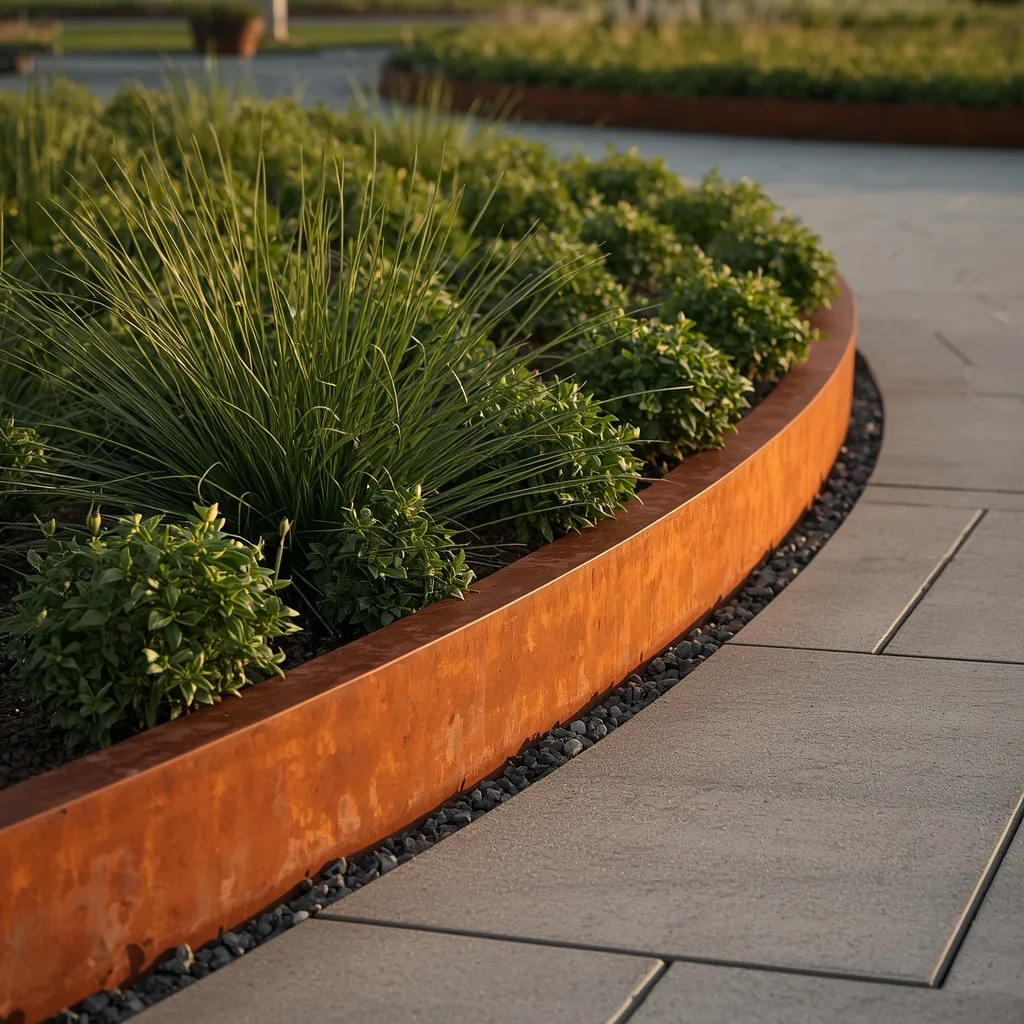
Corten steel weathers to a deep rust orange: a warm metallic band that develops its color over the first year or two and then stabilizes, glowing against green planting. Contemporary and sculptural, corten ages into the garden. Rusty, rich, and architectural.
Corten forms a stable oxidized surface layer that slows further corrosion, which is why it’s used architecturally, though it will still eventually degrade in permanently wet ground. Expect the color to develop over roughly the first twelve to twenty-four months rather than arriving finished. Be aware that runoff during the weathering period can stain adjacent pale paving, so keep corten off light-colored stone or accept the marking. This suits contemporary gardens and raised bed edges.
- Why it works: The oxidized surface layer stabilizes, giving the rust color without ongoing rapid corrosion.
- Best for: Contemporary gardens; raised edges; sculptural planting.
- Key elements: corten profile, 12–24 month color development, kept clear of pale paving.
7. Low-Profile Aluminum Edge
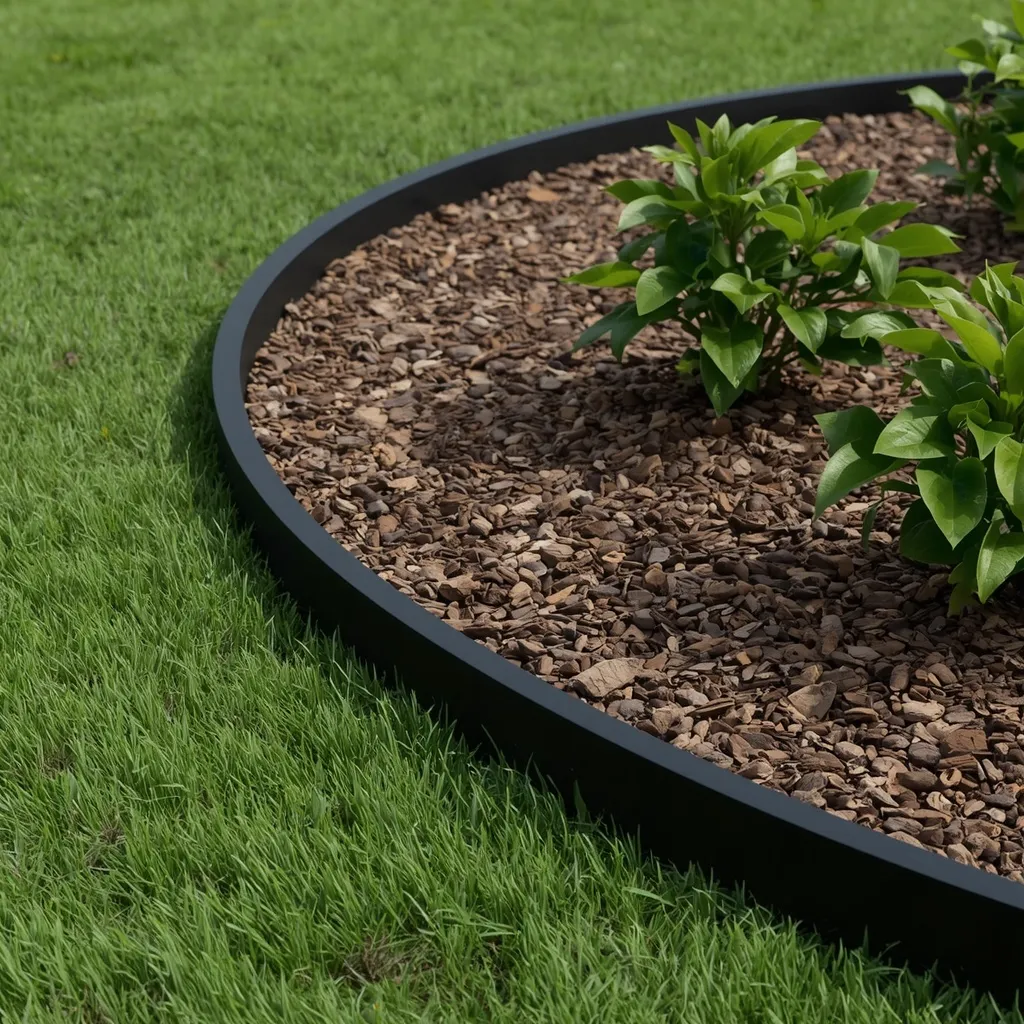
Aluminum edging is the lightweight alternative: a slim silver or black band that installs easily, curves smoothly, and never rusts. Practical and unobtrusive, aluminum suits gardeners who want steel’s discipline without the weight. Light, clean, and forgiving.
Aluminum’s advantage is workability, it’s light enough to carry and bend by hand into curves, which makes it the easiest metal edging for one person to install alone. It won’t rust, so it suits damp ground and coastal gardens where steel corrodes faster in salt air. It’s softer than steel, so it dents under mower impact more easily; keep it flush and it rarely gets hit. This suits curved beds, damp or coastal sites, and solo installers.
- Why it works: Light enough to bend by hand into curves, making it the simplest metal edging to fit alone.
- Best for: Curved beds; damp and coastal gardens; solo DIY.
- Key elements: hand-bendable aluminum, rust-free, set flush, softer than steel.
8. Cedar Timber Frame Edge
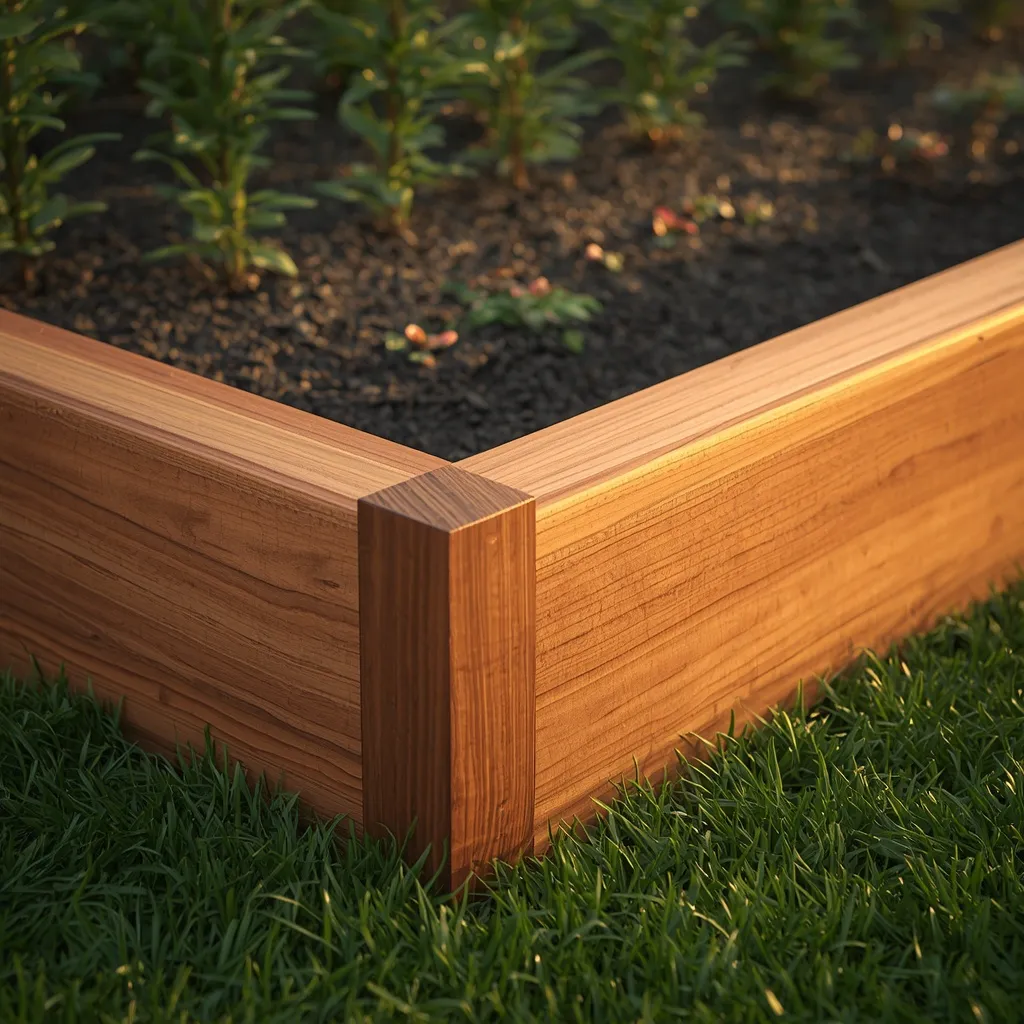
A cedar timber edge gives a bed clean geometry: straight boards set on edge along the bed, warm honey-brown when new and silvering gracefully with age. Neat and natural, timber suits almost every garden style. Straight, warm, and simple.
Use naturally durable cedar or timber treated for ground contact, fixing boards to stakes driven on the bed side so the fixings stay hidden from the lawn. Straight timber suits straight beds, trying to force boards around a tight curve creates gaps and splits, so choose flexible edging for curved shapes instead. Untreated softwood typically lasts around five to seven years in ground contact, while cedar lasts considerably longer. This suits rectangular beds, raised edges, and vegetable plots.
- Why it works: Stakes fixed on the bed side hide the fixings and keep the lawn face clean.
- Best for: Straight and rectangular beds; raised edges; vegetable plots.
- Key elements: cedar or ground-contact treated boards, hidden stakes, straight runs only.
9. Rustic Log Roll Edging
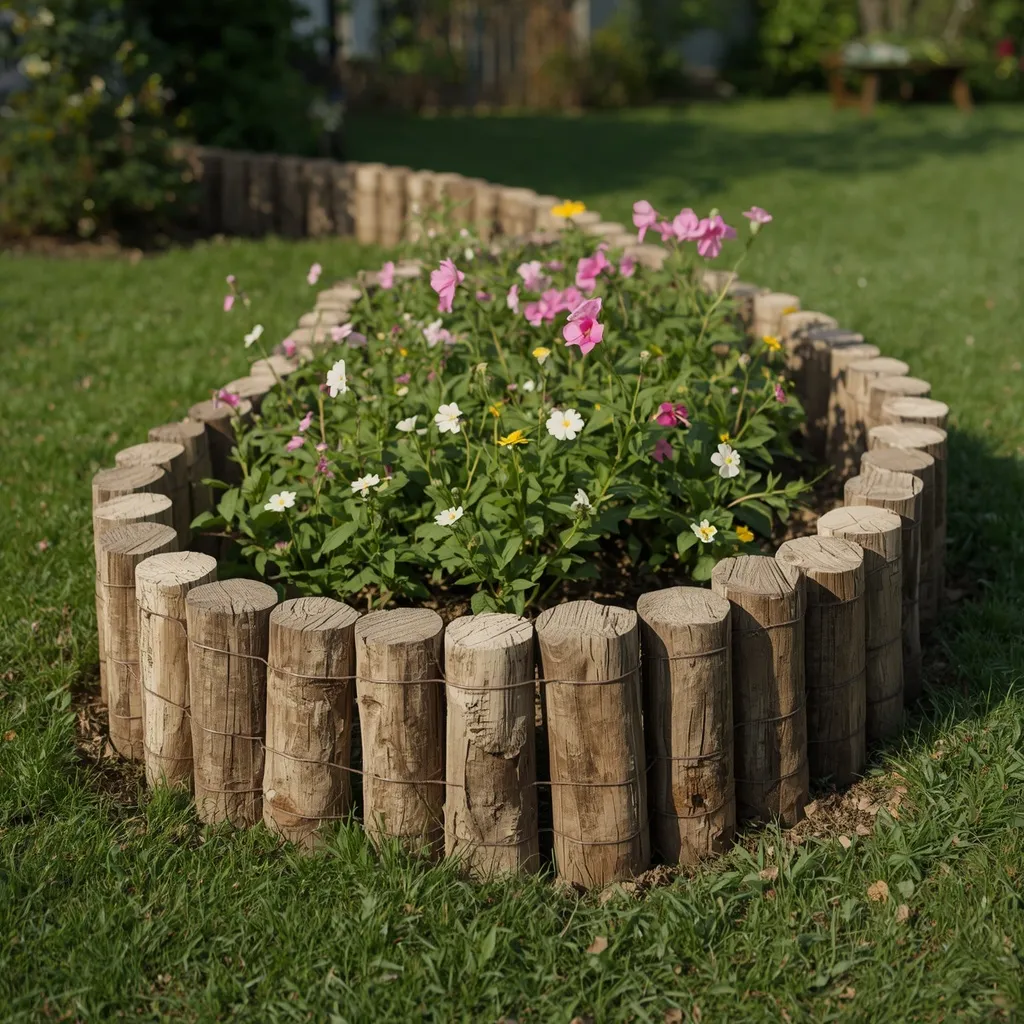
Log roll gives a bed a woodland edge: split logs wired together in a flexible roll, unrolled along the bed to make a low palisade of rounded timber tops. Informal and instantly rustic, log roll is one of the quickest edges to fit. Woody, curved, and cottage-like.
Log roll’s advantage is flexibility, because the logs are wired rather than fixed, it bends around curves that rigid timber can’t manage. Bury roughly a third of the height so it stands firm rather than tipping outward under soil pressure. Buy the tallest roll you can and bury more of it, since short rolls buried shallowly lean within a season. Wear gloves, as the wire ties have sharp cut ends. This suits curved informal beds, cottage gardens, and quick projects.
- Why it works: Wired construction bends around curves that rigid timber boards can’t follow.
- Best for: Curved informal beds; cottage gardens; fast installation.
- Key elements: flexible wired log roll, one-third buried, taller roll buried deeper, gloves for wire ends.
10. Split-Rail Timber Border
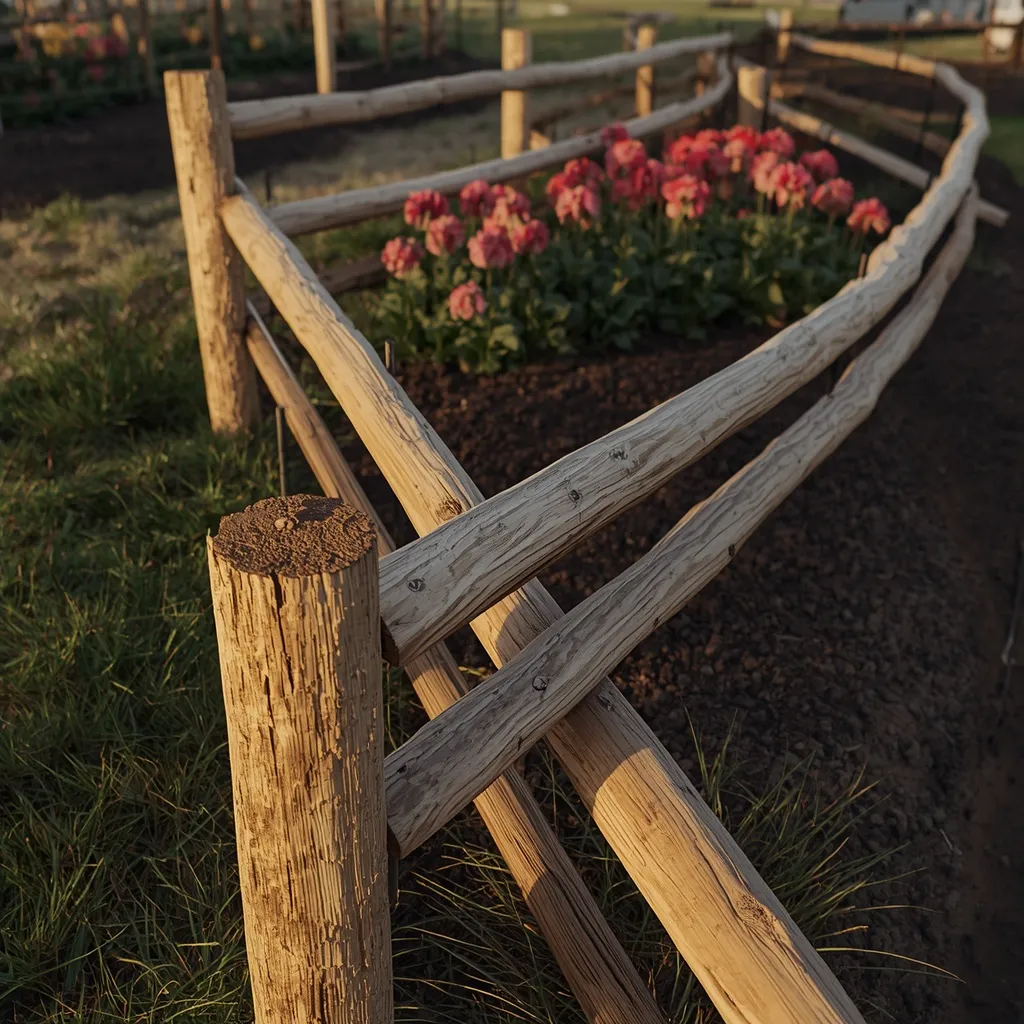
A split-rail border lays rough-hewn timber horizontally along the bed: substantial split rails with their bark edges and irregular faces, low to the ground and reading as farmyard rather than formal. Chunky and relaxed, split rail suits large informal gardens. Rugged, horizontal, and generous.
Lay rails directly on prepared ground, pinning them with rebar stakes driven through pre-drilled holes so they can’t roll or shift. Because rails are wide, they double as a genuine mowing strip if bedded flush, and their scale suits large beds where thin edging would disappear. Rails in permanent ground contact rot from the underside first, so check them every couple of years by pressing with a screwdriver, soft timber means replacement. This suits large rural gardens and informal planting.
- Why it works: The width of a split rail gives a genuine mowing strip that thin edging can’t provide.
- Best for: Large informal and rural gardens; wide beds.
- Key elements: split rails laid flat, rebar pins through pre-drilled holes, bedded flush, checked every 2 years.
11. Pallet Wood Budget Border
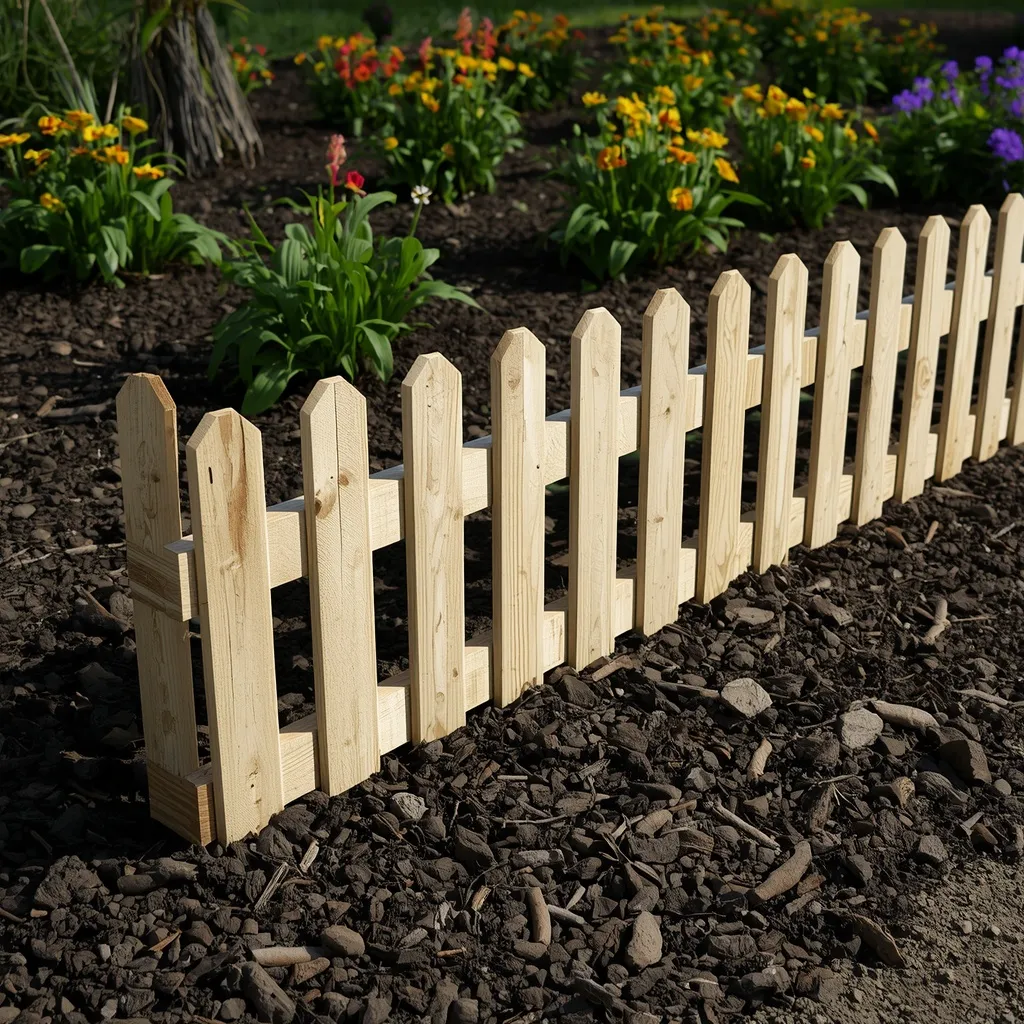
Pallet wood makes a border for almost nothing: dismantled pallet boards cut to equal lengths, set upright in a trench as a low picket, and painted or left to weather. Thrifty and surprisingly smart, pallet edging looks intentional when cut cleanly. Simple, cheap, and neat.
Cut boards to a uniform length, since consistent height is what separates a designed picket edge from a scrap pile, and bury roughly a third of each. Use only heat-treated pallets, marked HT on the stamp, rather than chemically treated ones marked MB, which were fumigated with methyl bromide and are not suitable for garden use. Dismantling pallets releases nails, so wear gloves and eye protection and use a pry bar. Expect three to five years from untreated pallet wood. This suits tight budgets and temporary gardens.
- Why it works: Uniform cut length is what makes reclaimed pallet wood read as a designed picket edge.
- Best for: Tight budgets; temporary or first gardens; upcyclers.
- Key elements: uniform board lengths, one-third buried, HT-stamped pallets only, gloves and eye protection.
12. River Rock Border
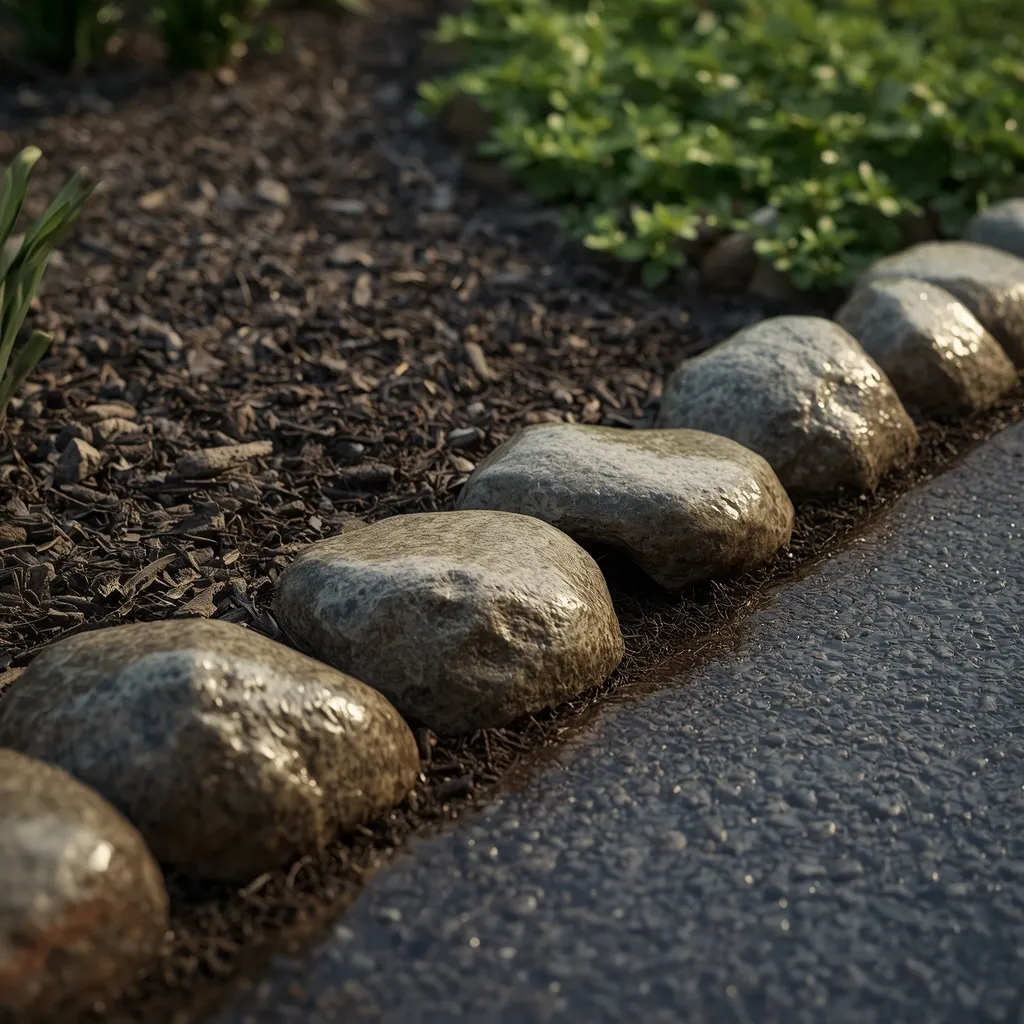
A river rock border runs smooth rounded stones along the bed edge: mixed sizes nestled together, softer and more naturalistic than angular gravel, catching light after rain. Organic and relaxed, river rock suits informal planting. Rounded, tactile, and natural.
Use mixed sizes, roughly 5–10 cm (2–4 in) with occasional larger stones, since uniform rock looks manufactured, and set each stone partly into the soil so the line doesn’t scatter when someone brushes past. Be honest about the limitation: loose rock doesn’t stop grass, which grows up between stones, so lay it over a buried physical edge if grass invasion is a real problem. Loose rounded stone can also be kicked onto lawns, where a mower can throw it. This suits informal beds and dry gardens.
- Why it works: Setting stones partly into the soil stops the line scattering the first time someone walks past.
- Best for: Informal beds; dry gardens; naturalistic planting.
- Key elements: mixed 5–10 cm stones, part-buried, buried edge beneath if grass is a problem, kept off mown lawn.
13. Boulder Accent Border
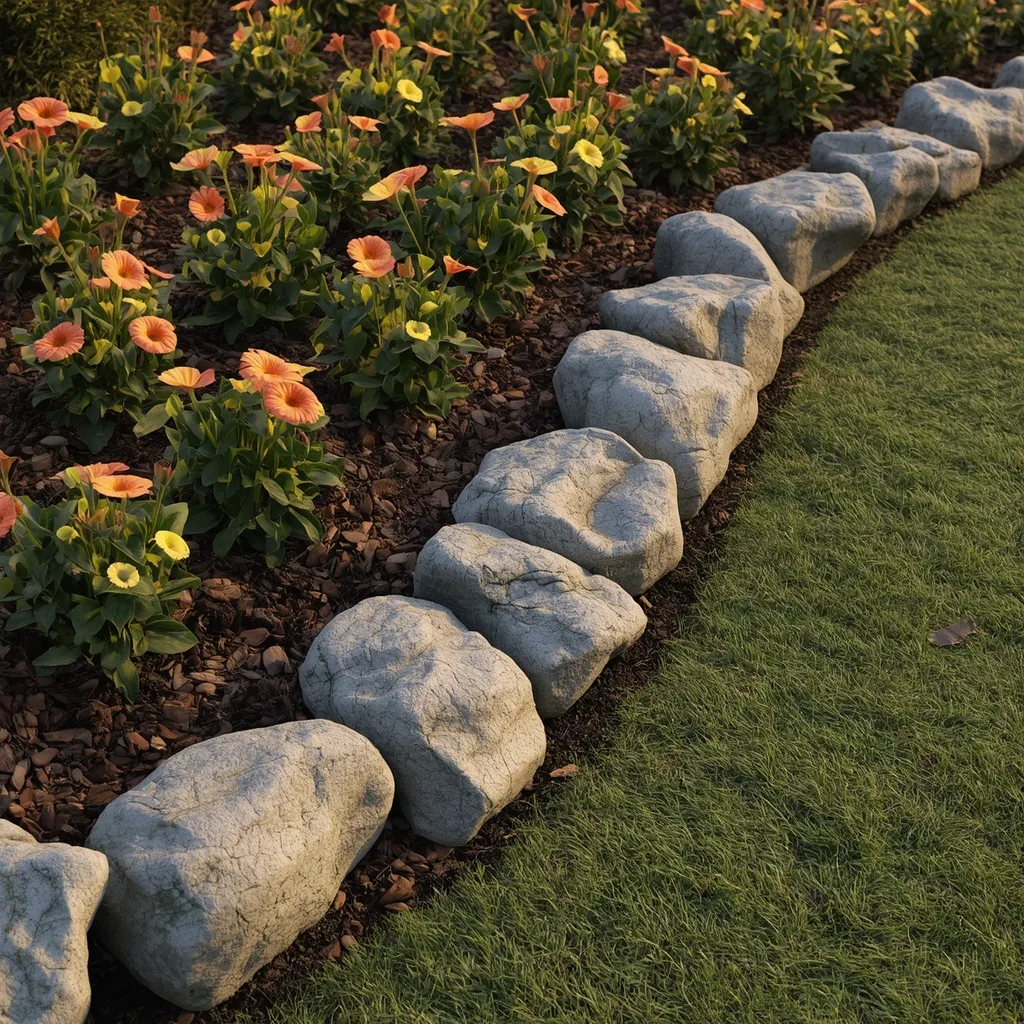
A boulder border works at a bigger scale: a few substantial rocks placed along the bed edge with planting flowing between them, more punctuation than continuous line. Bold and geological, boulders anchor large beds. Weighty, sculptural, and confident.
Place boulders in odd numbers with varied spacing rather than lining them up evenly, and bury each by at least a third of its depth so it looks geologically settled rather than dropped on the surface, that single detail is what separates a designed rock placement from a delivery pile. Use a sack truck, rollers, or a helper for anything heavy, and never attempt to lift a large boulder alone. This suits large gardens, naturalistic schemes, and dry-climate planting.
- Why it works: Burying a boulder a third deep makes it read as geological rather than delivered.
- Best for: Large gardens; naturalistic and dry-climate schemes.
- Key elements: odd numbers, varied spacing, one-third buried, mechanical help for lifting.
14. Gravel Mowing Strip
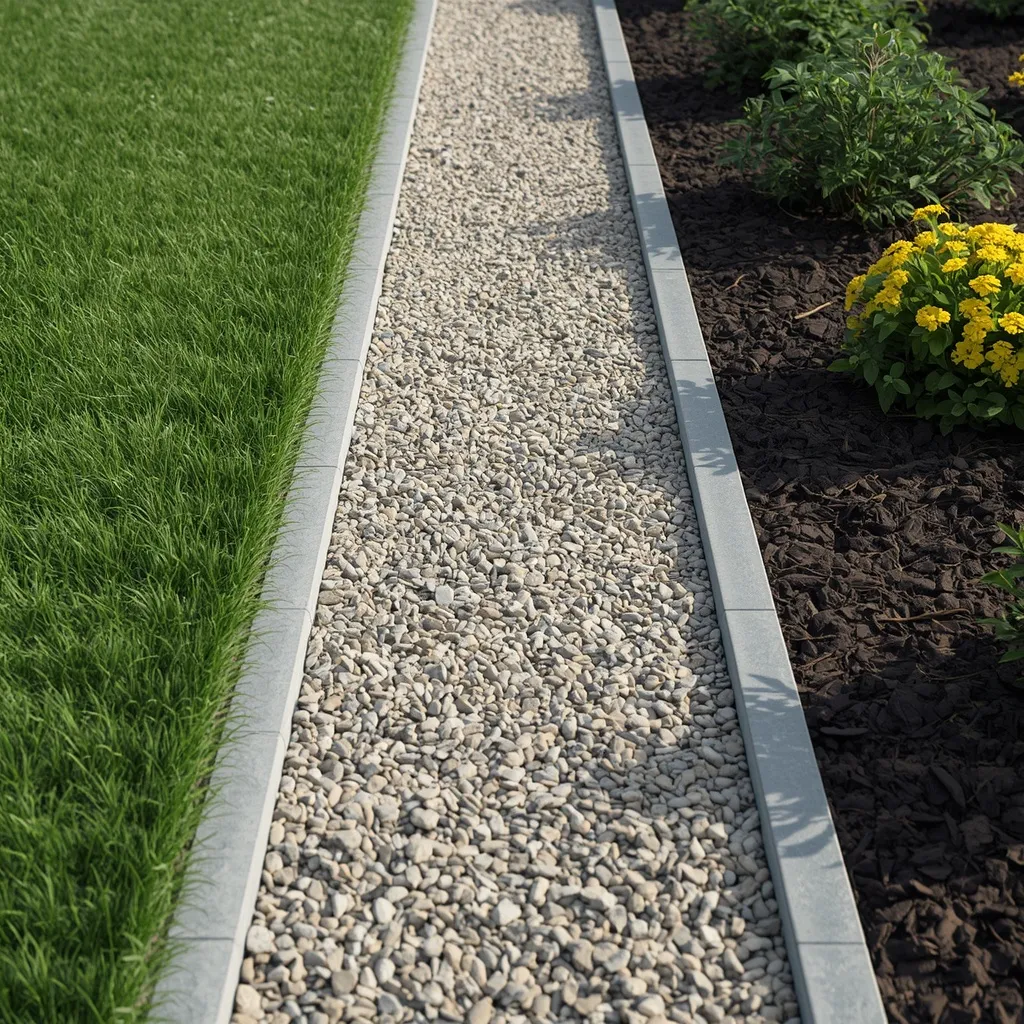
A gravel strip runs a narrow band of loose stone between lawn and bed: a clean gap of pea gravel or self-binding gravel that stops planting flopping onto grass and gives a crisp visual break. Practical and inexpensive, gravel strips do quiet work. Neat, textured, and functional.
Excavate a strip about 15–20 cm (6–8 in) wide and 5–8 cm (2–3 in) deep, lay a physical edge on both sides to contain the stone, and fill with gravel. The gap matters more than the material: a clear strip stops perennials sprawling onto the lawn and dying off in patches underneath. Loose gravel migrates onto lawns over time, so a contained edge on both sides is not optional. This suits informal gardens, drainage-prone edges, and modest budgets.
- Why it works: A clear gravel gap stops perennials sprawling onto the lawn and killing patches beneath them.
- Best for: Informal gardens; damp edges; modest budgets.
- Key elements: 15–20 cm wide strip, 5–8 cm deep, contained both sides, pea or self-binding gravel.
15. Concrete Paver Mowing Strip
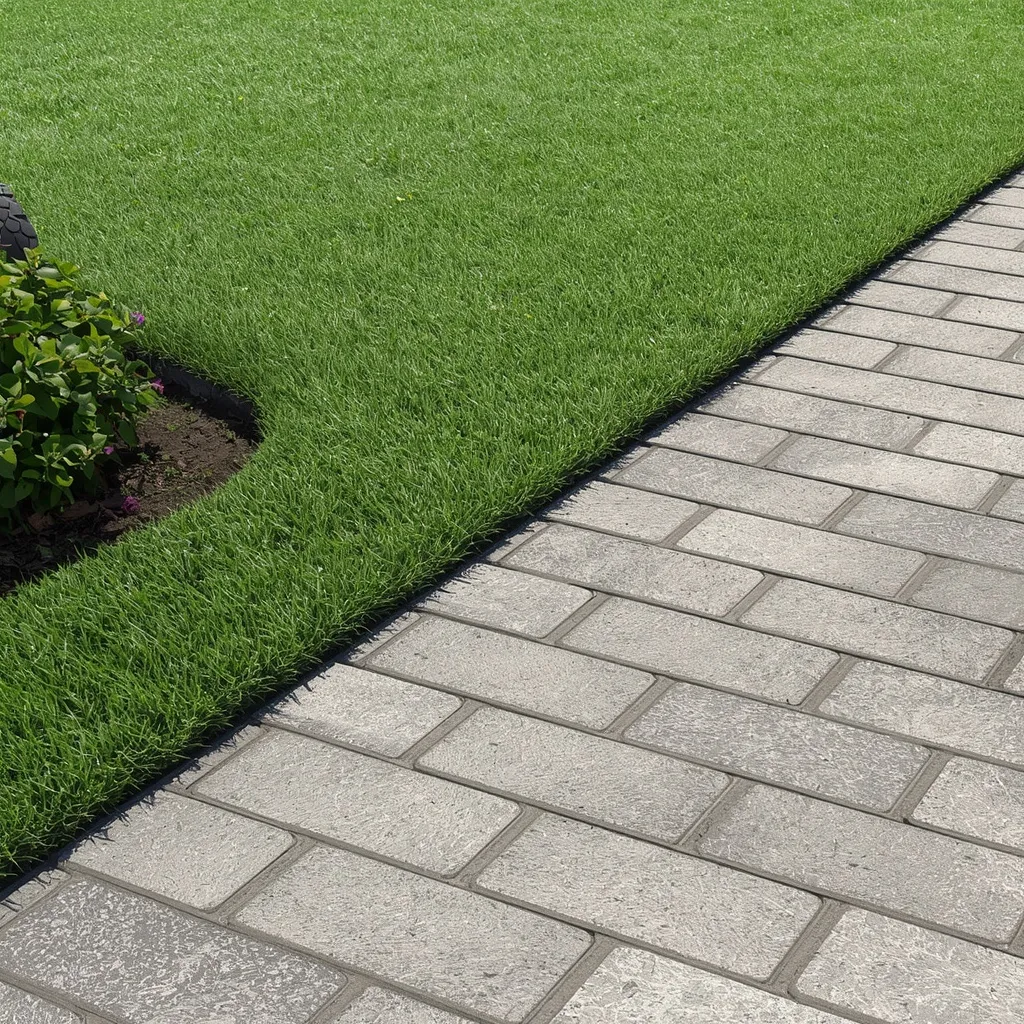
A paver mowing strip is the most practical edge there is: concrete pavers laid flat and flush with the lawn, forming a smooth band the mower wheel rides straight along. Unglamorous and enormously effective, this edge removes a whole gardening job. Flat, clean, and labor-saving.
Lay pavers on a compacted base with 5 cm (2 in) of sharp sand, setting them dead flush with the lawn surface, proud pavers scalp the mower blade and defeat the entire purpose. Butt them tightly so grass can’t root in the joints. For a softer look, pair the clean paver edge with a white flowers garden, using white blooms to create a crisp contrast against the lawn and hardscape. This is the single most effective way to eliminate string-trimming along a bed edge, and it pays back the installation effort within a season or two of mowing. This suits large lawns, low-maintenance gardens, and anyone who dislikes trimming.
- Why it works: Flush pavers let the mower wheel ride the strip, cutting grass to the bed and ending trimming.
- Best for: Large lawns; low-maintenance gardens; trimming-averse gardeners.
- Key elements: compacted base, 5 cm sand, dead flush with lawn, tight joints.
16. Poured Concrete Curb
A poured concrete curb gives a continuous seamless edge: a smooth band following the bed’s exact shape, curving where hand-laid units couldn’t, in a soft grey that recedes visually. Permanent and unbroken, poured curbing suits flowing bed shapes. Smooth, continuous, and durable.
Poured curbing follows curves no modular material can match, since it’s formed in place rather than assembled from units, which makes it worth considering for sweeping organic bed shapes. It is genuinely permanent, so be confident in the bed layout before pouring, changing your mind means breaking it out. Wet cement is caustic and causes skin burns on prolonged contact, so wear waterproof gloves, long sleeves, and eye protection. This suits established gardens with settled layouts and flowing shapes.
- Why it works: Formed in place rather than assembled, so it follows sweeping curves no modular unit can match.
- Best for: Settled layouts; sweeping organic bed shapes.
- Key elements: formed in place, permanent commitment, waterproof gloves and eye protection for wet cement.
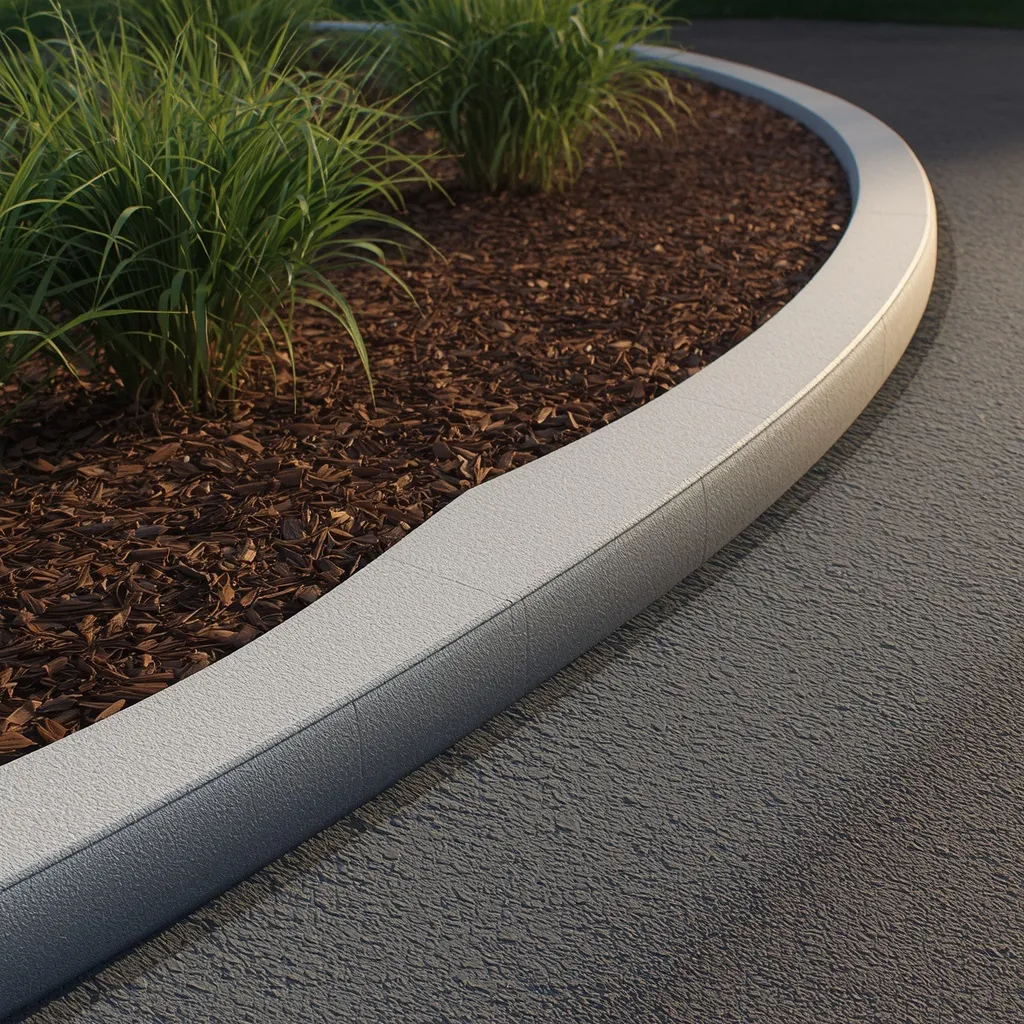
17. Cobblestone Setts Border
A cobblestone border sets small granite or stone setts in a tight band: chunky cubes of stone in slightly varied tones, laid close together for an edge with real old-world density. Handsome and hard-wearing, setts look expensive because they last. Textured, dense, and traditional.
Bed setts on sand within a shallow trench, tapping each one level with a rubber mallet so the surface stays even, and butt them tightly since wide joints fill with grass. Setts are small and heavy, which makes the work slow, expect to lay only a few meters in a session, and pace it rather than rushing. Laid flush, a sett band works as a mowing strip. This suits period properties, traditional gardens, and gardeners who value longevity over speed.
- Why it works: Tightly butted setts leave no joints for grass to root in, unlike widely spaced units.
- Best for: Period properties; traditional gardens; long-term installations.
- Key elements: sand bed, rubber mallet levelling, tight joints, slow steady pace.
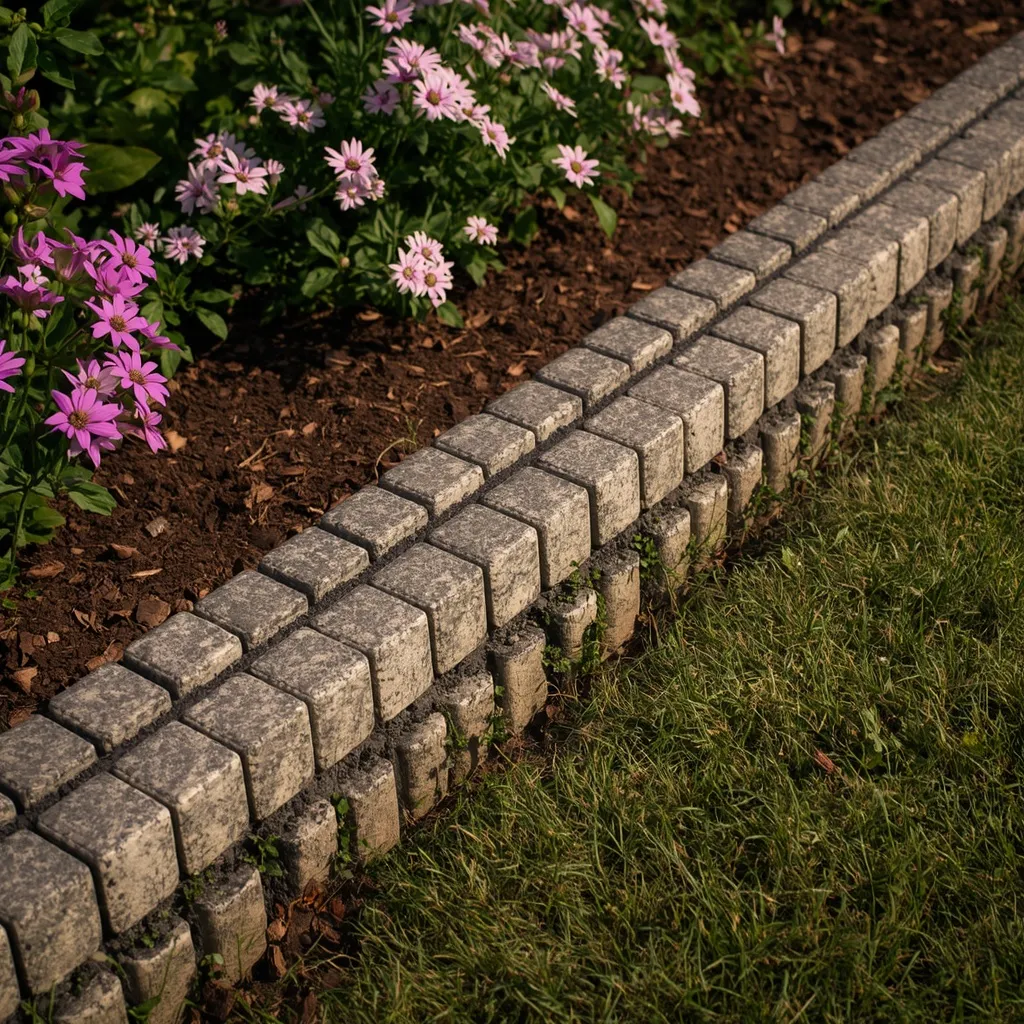
18. Flat Flagstone Border
A flagstone border lays broad flat stones along the bed edge: irregular slabs fitted together like a puzzle, wide enough to walk on and generous enough to double as a stepping edge. Practical and handsome, flagstone gives you an edge and a path at once. Broad, flat, and useful.
Fit irregular flagstones by jigsawing shapes together, laying them flush on a sand bed so they serve as both a mowing strip and a place to stand while weeding, that access value is the real advantage, since it keeps you off the soil and prevents compaction. Choose slabs at least 4 cm (1.5 in) thick, as thinner stone cracks underfoot. Wear steel-toed or sturdy boots when handling slabs. This suits wide beds, deep borders, and gardens where access matters.
- Why it works: A flagstone edge doubles as standing space, keeping you off the soil while weeding.
- Best for: Wide and deep borders; gardens needing bed access.
- Key elements: jigsawed irregular slabs, sand bed set flush, minimum 4 cm thick, sturdy boots.
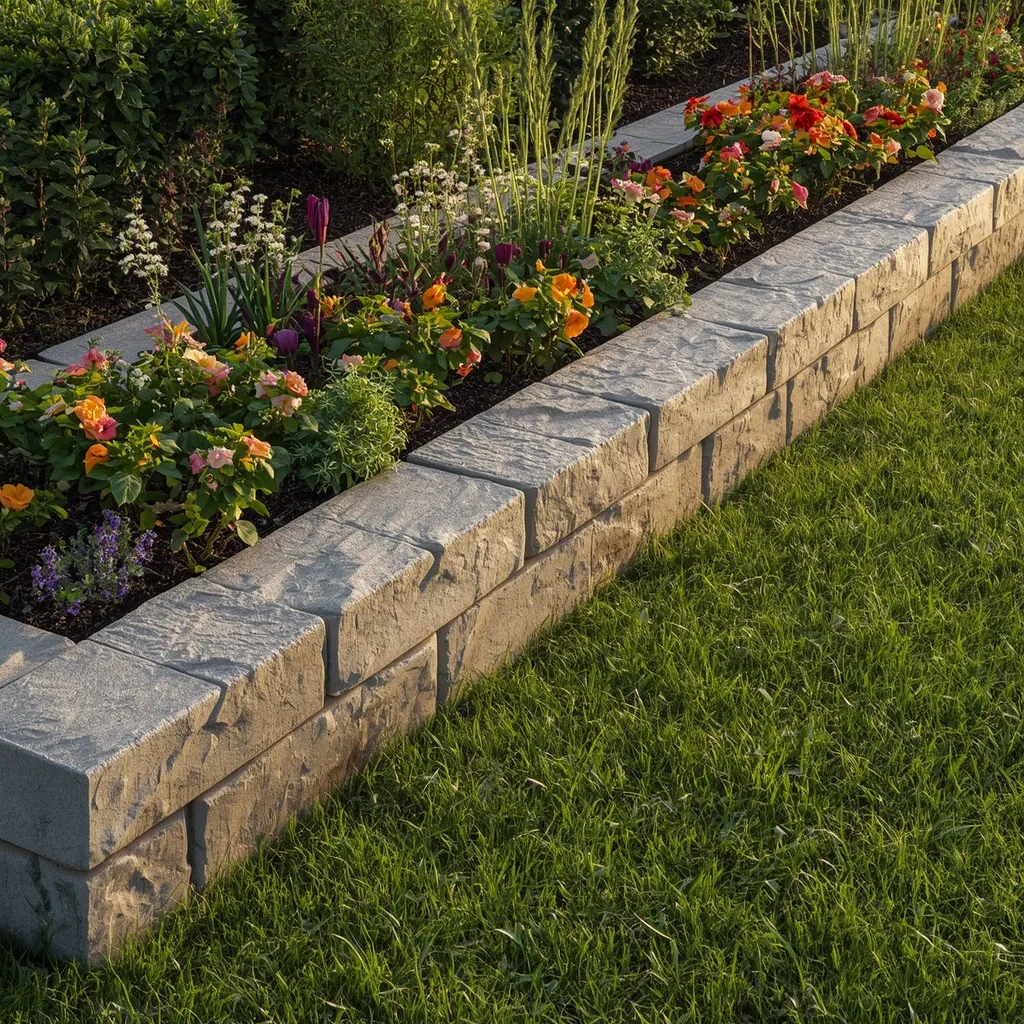
19. Vertical Slate Border
A slate border stands thin dark slabs on edge: charcoal-grey slate pieces set upright in a close row, their layered edges catching light, forming a dramatic dark line against green. Striking and contemporary, slate reads as a design decision. Dark, linear, and dramatic.
Set slate pieces upright with at least half their height buried, packing soil firmly on both sides so they can’t tip. The dark line is the point: charcoal slate against green lawn is one of the strongest visual contrasts available in a garden. Slate edges are sharp and slate splits along its layers when struck, so wear gloves, keep vertical slate away from paths and play areas where children might fall against it, and don’t use it where mower wheels will hit it. This suits contemporary gardens and decorative borders away from traffic.
- Why it works: Charcoal slate against green lawn gives one of the strongest color contrasts a garden offers.
- Best for: Contemporary gardens; decorative borders away from foot traffic.
- Key elements: upright pieces half buried, soil packed both sides, gloves, kept away from paths and play areas.
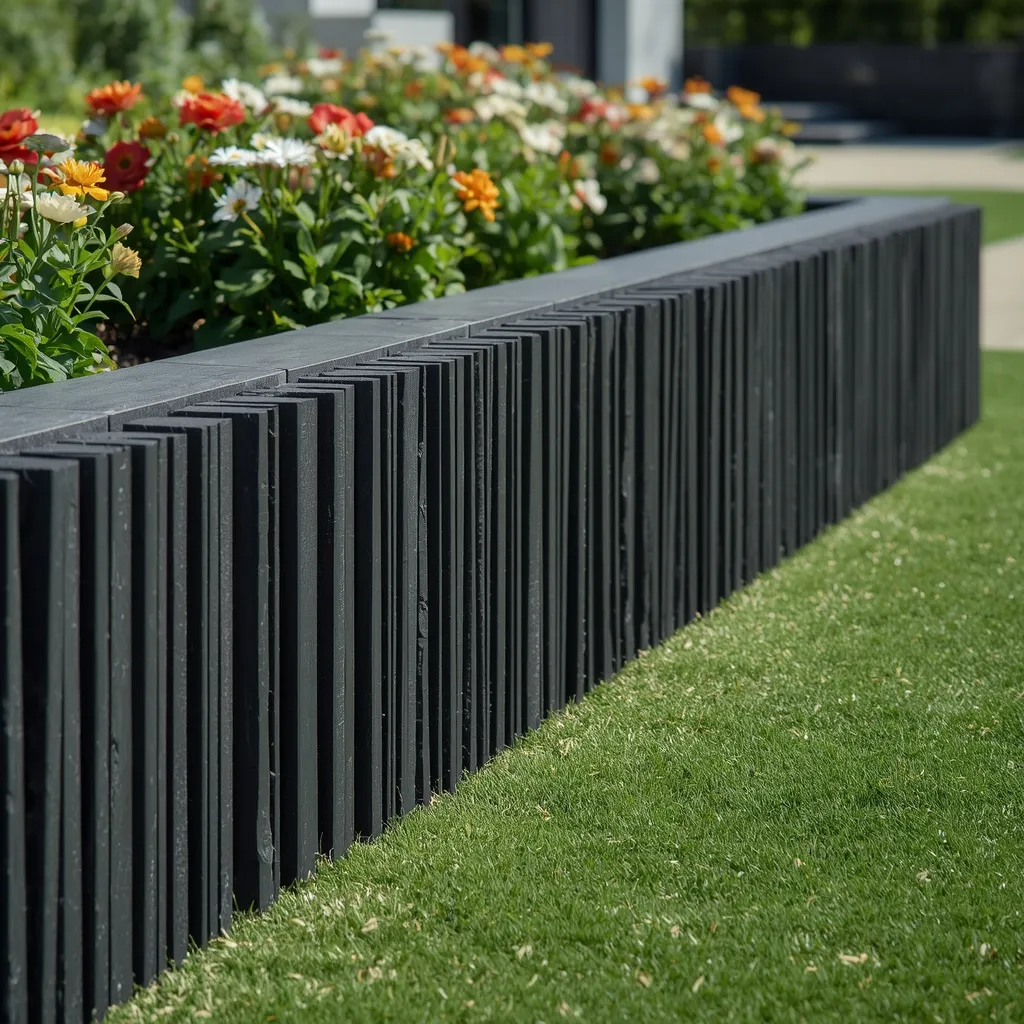
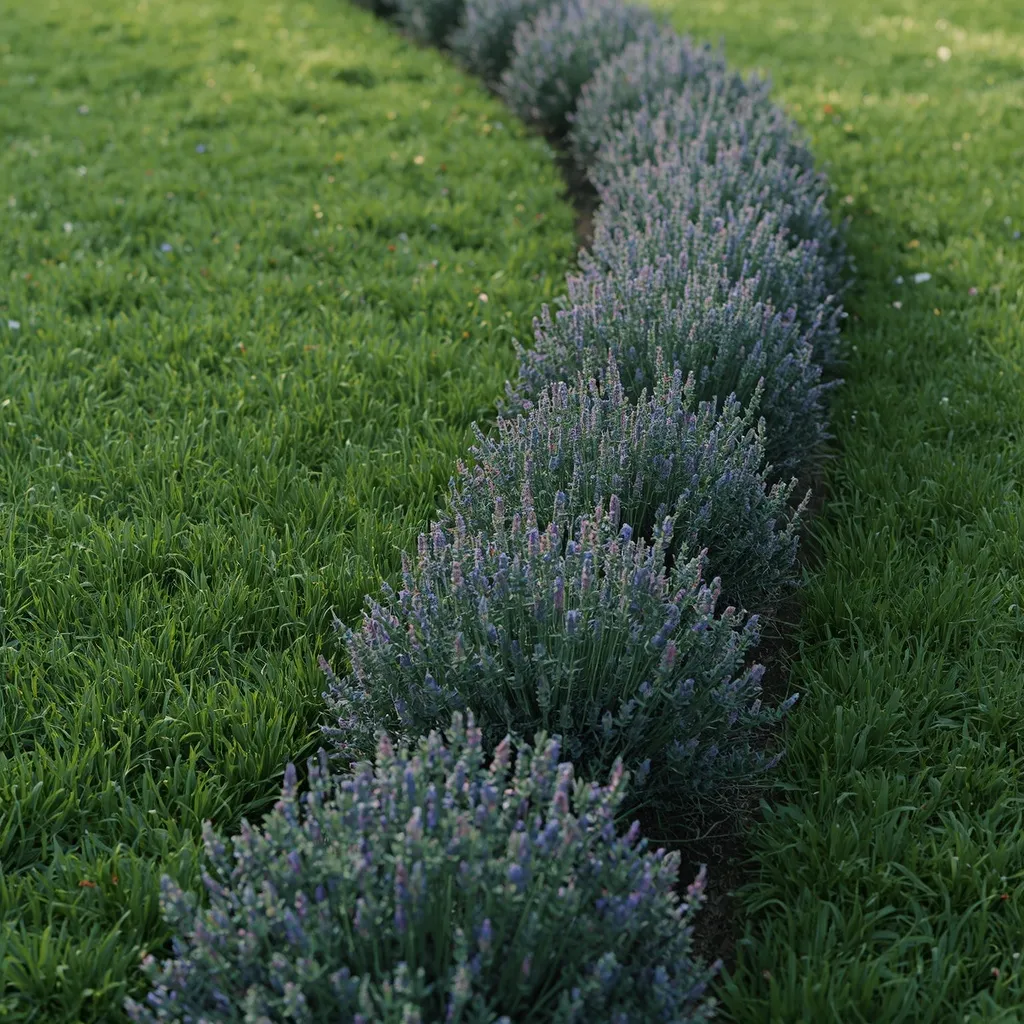
20. Living Plant Border
A living border replaces hard material with plants: a low continuous ribbon of clipped box, lavender, or thrift running along the bed edge, softening the boundary into greenery. Classic and soft, plant borders age into the garden. Green, scented, and traditional.
Space plants closer than usual so they knit into a continuous line, roughly 20–25 cm (8–10 in) apart for compact edging plants, rather than the wider spacing used in open beds. Choose species suited to your light: box or box alternatives for shade tolerance, lavender or thrift for full sun and dry soil. Where box blight is a local problem, Japanese holly and dwarf hebe give a similar clipped effect. A living edge won’t stop grass runners, so pair it with a buried physical edge if that’s a concern. This suits traditional gardens and formal parterres.
- Why it works: Closer-than-normal spacing is what makes edging plants knit into one continuous ribbon.
- Best for: Traditional and formal gardens; soft boundaries.
- Key elements: 20–25 cm spacing, species matched to light, blight alternatives, physical edge beneath if grass spreads.
21. Clean Spade-Cut Trench
The spade-cut edge uses no material at all: a crisp V-shaped trench cut between lawn and bed, the soil face vertical on the bed side and the mulch running right up to it. Free and surprisingly smart, a sharp trench edge looks deliberate. Clean, minimal, and classic.
Cut a V-trench about 10–15 cm (4–6 in) deep with a half-moon edger or a sharp spade, keeping the lawn side vertical and sloping the bed side, then mulch up to the line. This is the cheapest effective edge available and looks immaculate when fresh. The honest caveat is upkeep: it needs recutting roughly twice a year, in spring and midsummer, as grass creeps back and the edge softens. This suits every budget, traditional gardens, and anyone testing a bed shape before committing to materials.
- Why it works: A vertical lawn face and sloped bed face hold the crisp line far longer than a rounded cut.
- Best for: Zero budget; traditional gardens; trialling bed shapes.
- Key elements: 10–15 cm V-trench, vertical lawn side, mulched to the line, recut twice yearly.

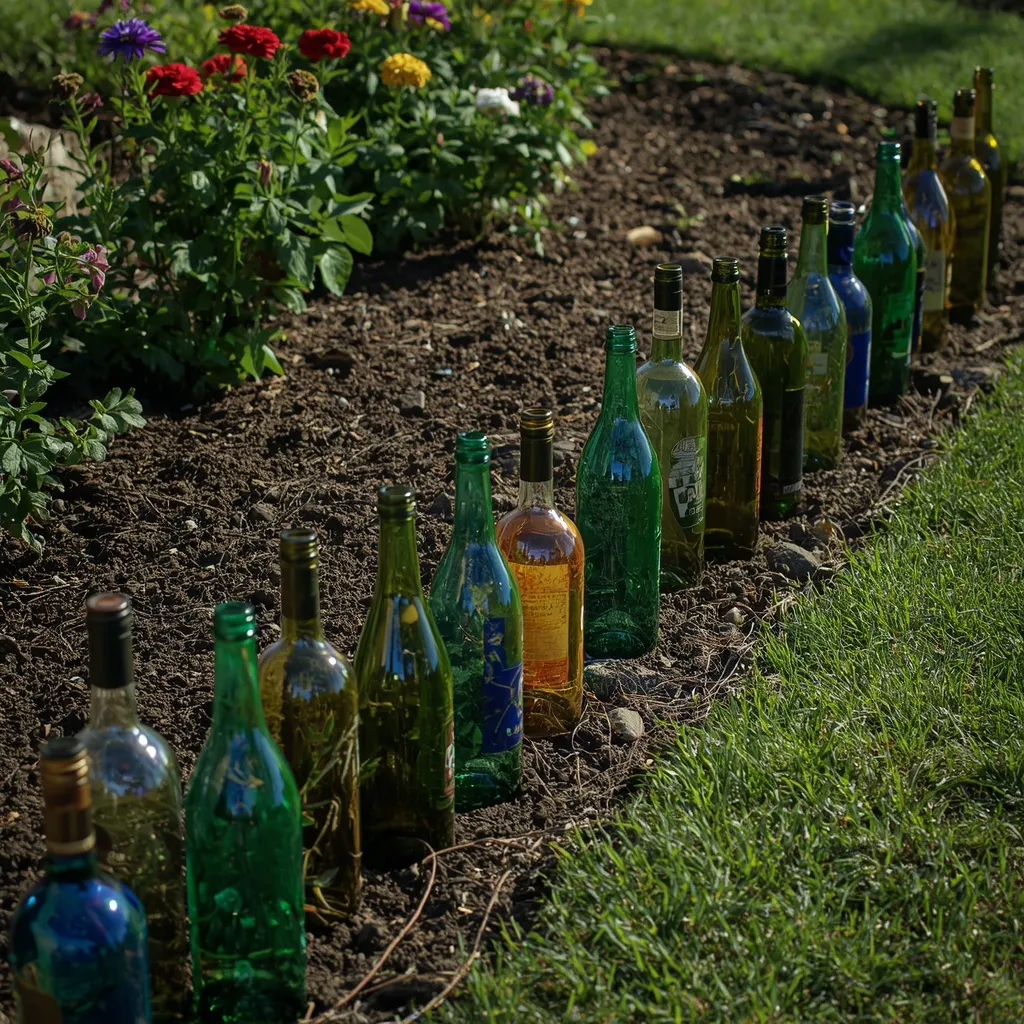
22. Recycled Glass Bottle Edge
A bottle border upends glass bottles into the soil: rows of green, amber, and blue bottles buried neck-down with their bases forming a glinting mosaic that catches sun. Playful and unmistakably handmade, bottle edges are pure upcycling. Colorful, quirky, and free.
Bury bottles neck-down to roughly half or two-thirds of their height, packing soil firmly around each so they can’t work loose, and group by color for a deliberate pattern rather than a random jumble. Wine bottles are ideal since their thick glass resists breakage better than thin bottles. Safety matters here: never use this edging where children play or beside a mown lawn, since a mower striking glass creates dangerous fragments, and remove any chipped bottle immediately. Wear gloves. This suits quirky gardens and decorative beds away from lawns.
- Why it works: Grouping bottles by color turns salvaged glass into a deliberate pattern rather than clutter.
- Best for: Quirky and upcycled gardens; decorative beds away from mown areas.
- Key elements: thick wine bottles, half to two-thirds buried, grouped by color, kept away from mowers and children.
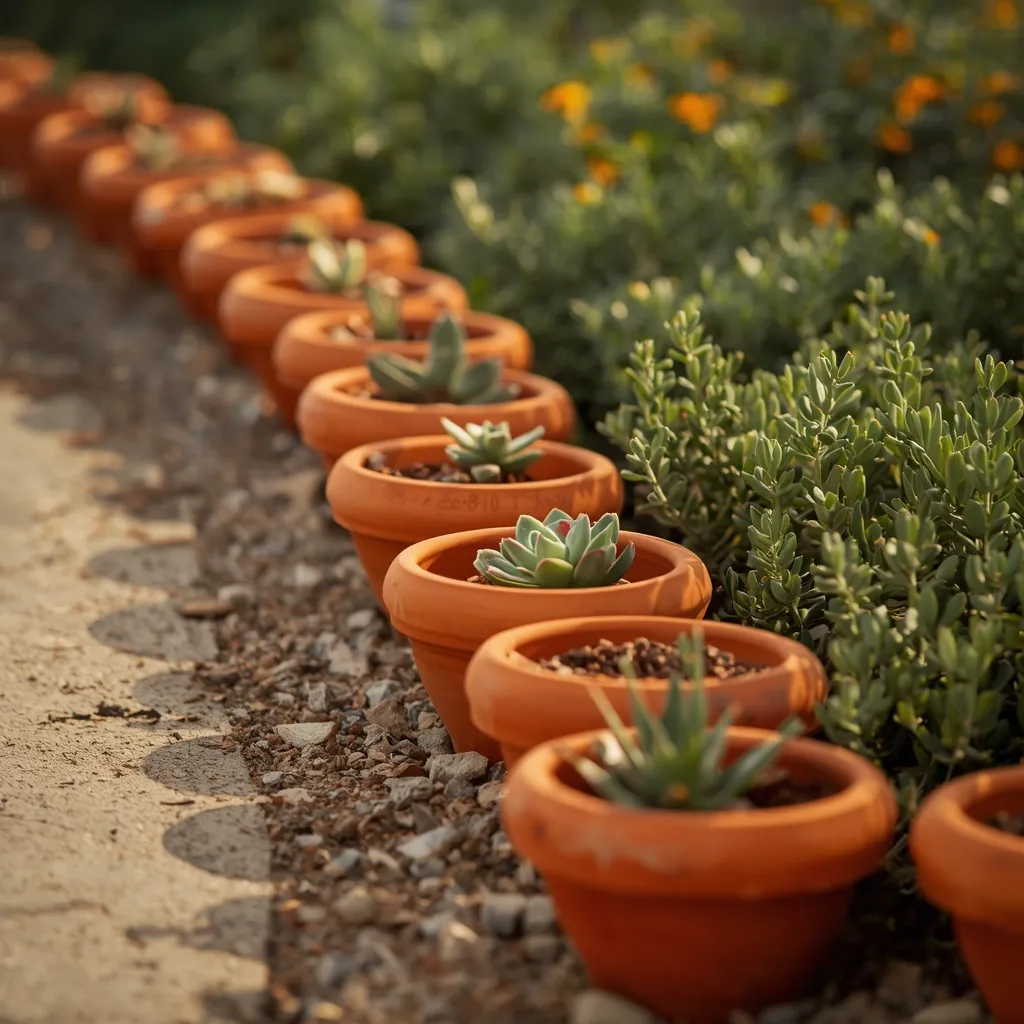
23. Terracotta Pot Edging
A terracotta edge sinks small clay pots rim-up along the bed: a row of warm orange rims forming a scalloped line, some planted with succulents or herbs, others left as pure ornament. Mediterranean and charming, terracotta warms a border. Warm, rhythmic, and characterful.
Sink pots to their rims in a close row so the terracotta line reads continuously, planting alternate pots with drought-tolerant succulents or creeping thyme for texture. Buried pots hold moisture differently from free-standing ones, so plants in them need less frequent watering than potted plants above ground. Terracotta is porous and can crack in hard freezes, so in cold-winter climates choose frost-proof pots or lift them before the first hard frost. This suits Mediterranean-style gardens and mild climates.
- Why it works: Sunk to the rim, terracotta holds moisture far better than the same pot standing free.
- Best for: Mediterranean-style gardens; mild climates; herb edges.
- Key elements: pots sunk to rim in close row, alternate planting, frost-proof pots in cold climates.
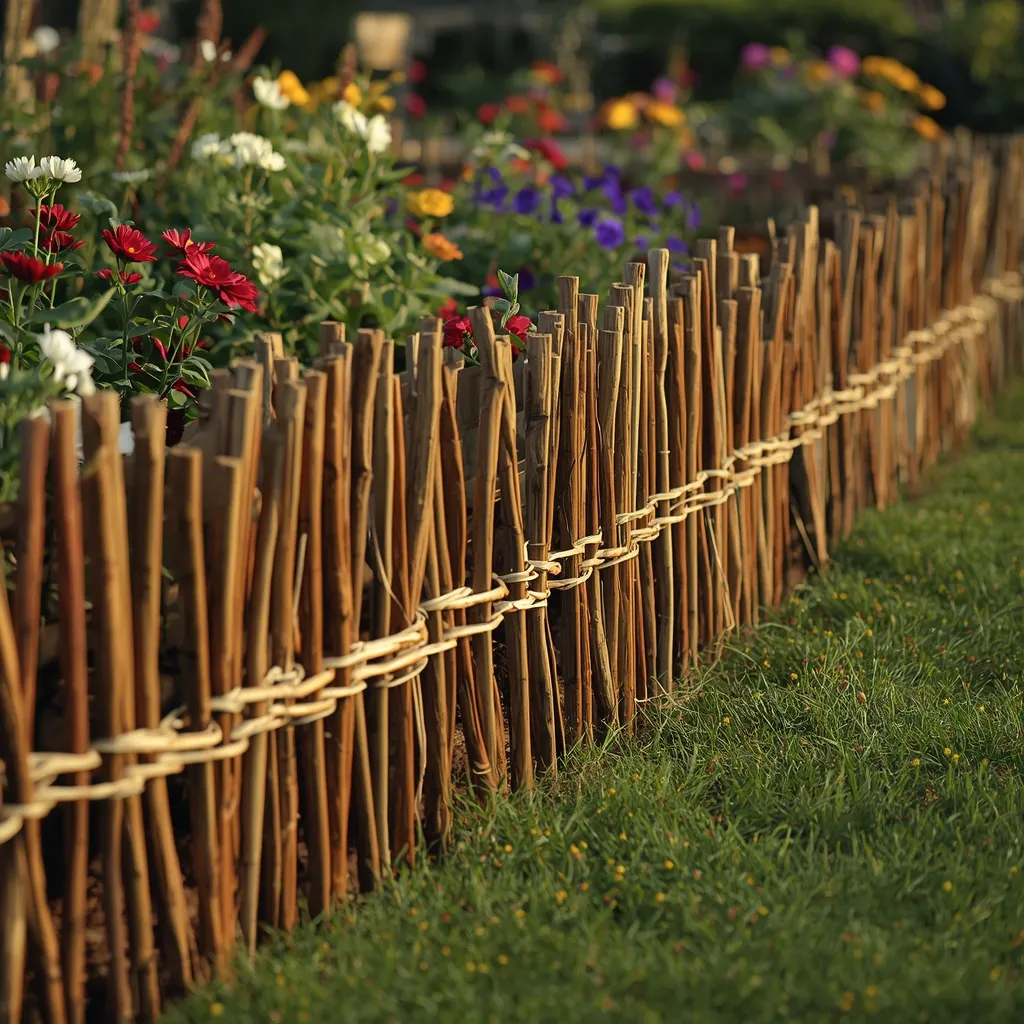
24. Woven Willow Hurdle
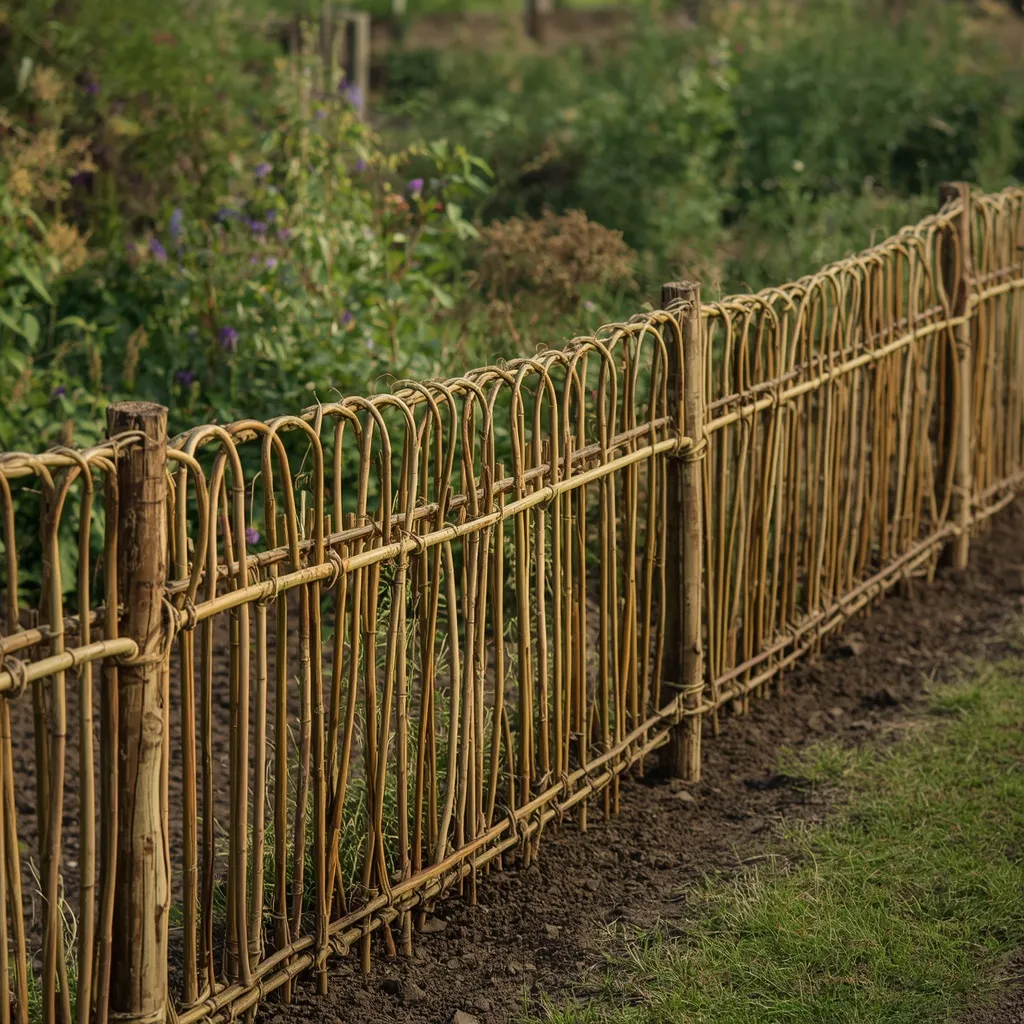
A woven willow edge weaves living or cut willow rods into a low continuous hurdle: a warm honey-brown basketwork ribbon following the bed, handmade and organic. Traditional and craft-led, willow edging is centuries old. Woven, warm, and artisanal.
Drive uprights every 30–40 cm (12–16 in), then weave flexible willow rods horizontally in front of and behind alternate uprights, keeping the weave tight by pushing each row down firmly onto the last. Fresh green willow bends without snapping, while dried rods need soaking for a day or two first. Expect five to eight years from a cut willow hurdle before it needs replacing. Wear gloves, as rod ends are sharp. This suits cottage gardens, natural schemes, and hands-on makers.
- Why it works: Fresh green willow bends without snapping, where dried rods crack unless soaked first.
- Best for: Cottage and natural gardens; craft-minded gardeners.
- Key elements: uprights every 30–40 cm, alternate weaving, fresh or soaked rods, 5–8 year lifespan.
25. Low Wattle Fence Border
A wattle border builds a miniature fence: hazel or chestnut panels woven into a low screen along the bed, sturdier and more structural than willow, with a rougher rustic texture. Substantial and traditional, wattle suits productive gardens. Woven, sturdy, and rustic.
Hazel is stiffer than willow and makes a more robust panel, which suits it to holding back soil in a slightly raised bed rather than acting as pure decoration. Build panels no higher than about 30 cm (12 in) for an edging role, driving uprights at least 20 cm (8 in) into firm ground. Wattle suits kitchen gardens and potagers particularly well, where its farmyard character fits the productive setting. Pair the rustic structure with a pink flowers garden for a softer contrast, adding seasonal color around vegetable beds, cottage plots, or pathways. This suits vegetable gardens, cottage plots, and rustic schemes.
- Why it works: Hazel’s stiffness holds back soil in a slightly raised bed where softer willow would bow.
- Best for: Kitchen gardens and potagers; rustic plots.
- Key elements: hazel or chestnut weave, max 30 cm high, uprights 20 cm into firm ground.
26. Low Retaining Wall Border
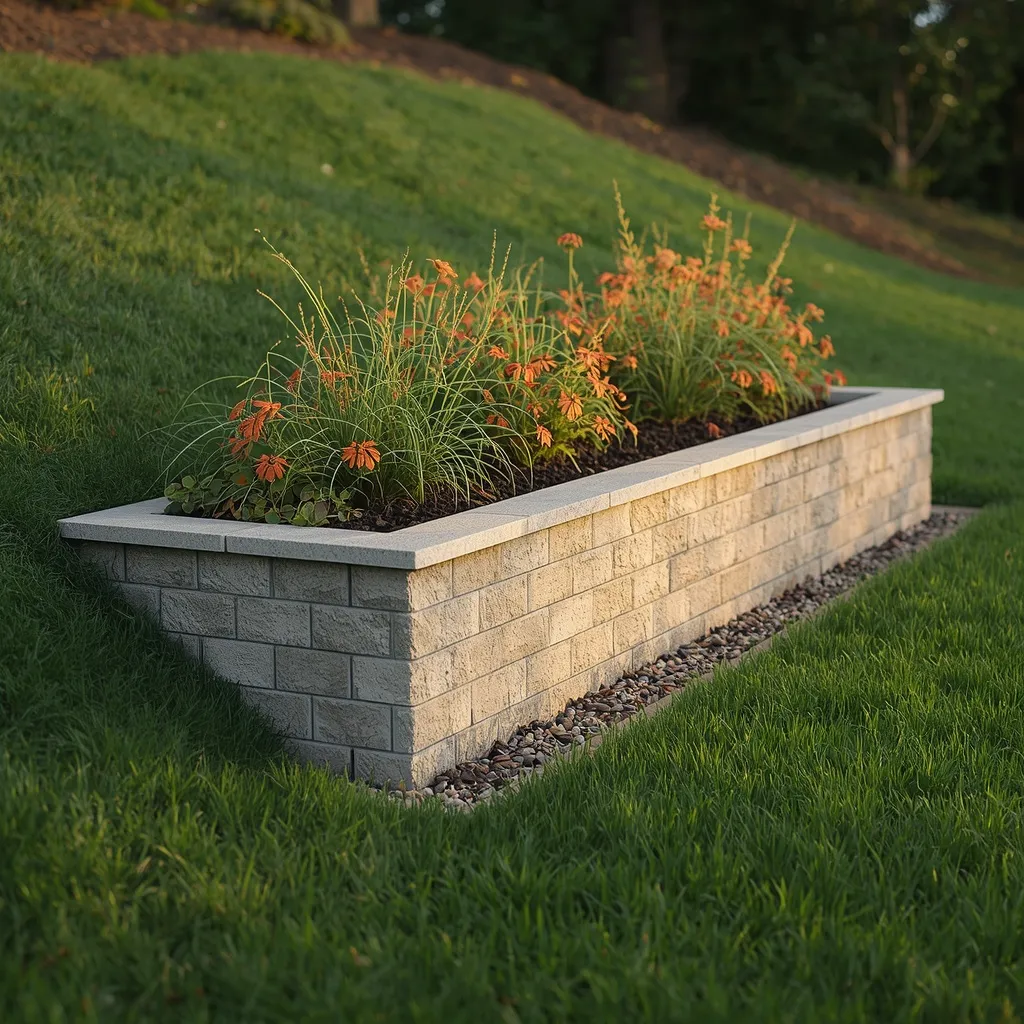
A low retaining border holds a raised bed against a slope: a single low wall of block or stone with soil banked behind it and planting spilling over the top. Structural and problem-solving, this edge does real work. Solid, level, and purposeful.
Keep the wall under about 60 cm (2 ft), since taller retaining structures need engineered design and often a permit, and failures are dangerous as well as expensive. Include drainage behind the wall, a gravel backfill and weep holes, because trapped water pressure is what causes most retaining wall failures, not the weight of soil itself. Step the wall slightly back into the slope for stability. This suits sloping gardens, terraced beds, and erosion-prone ground.
- Why it works: Gravel backfill and weep holes relieve the water pressure that causes most retaining failures.
- Best for: Sloping gardens; terraced beds; erosion control.
- Key elements: under 60 cm height, gravel backfill, weep holes, stepped back into the slope.
27. Gabion Cage Border
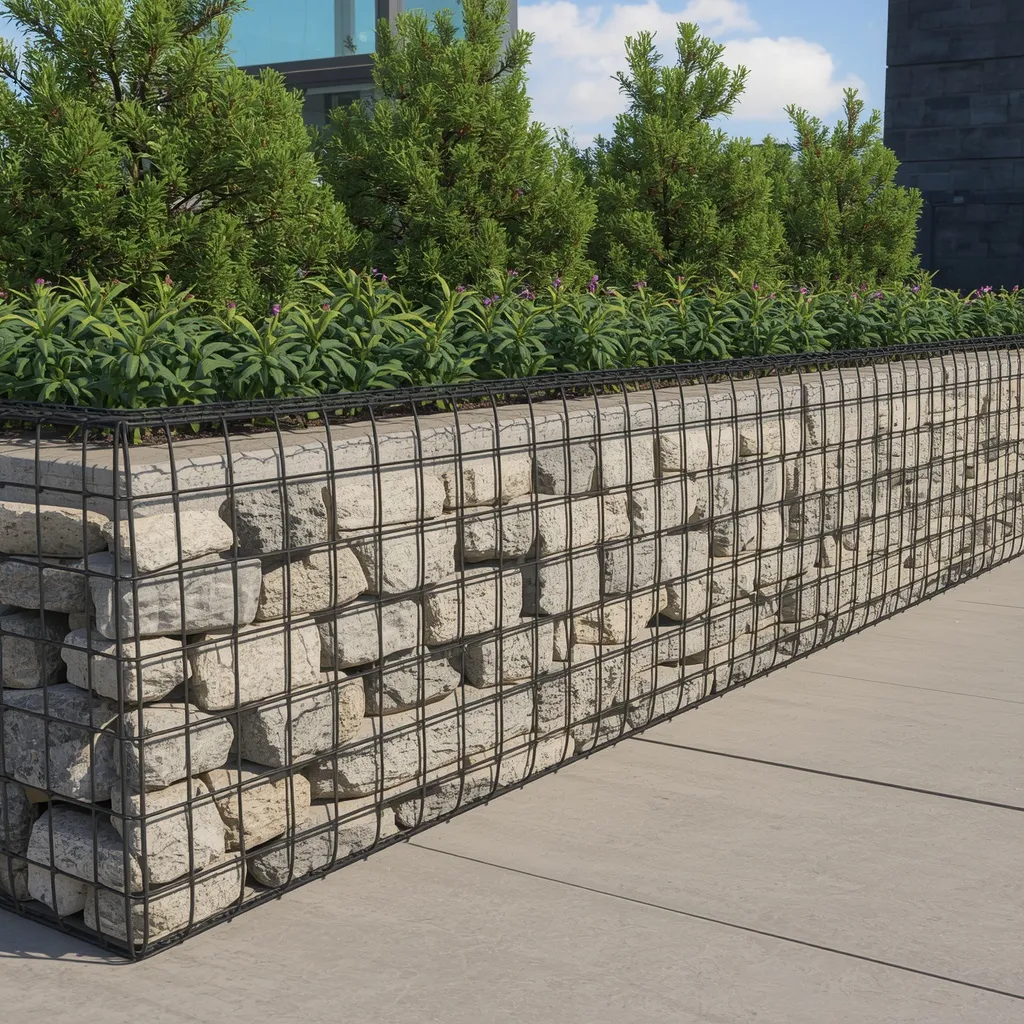
A gabion border fills wire cages with stone: rectangular mesh baskets packed with rock, forming a chunky industrial band along the bed with visible stone texture through the mesh. Modern and robust, gabions look expensive but use cheap fill. Industrial, textured, and contemporary.
Pack the visible faces with your best-looking stone and use cheaper rubble or hardcore in the middle, which is standard practice and cuts material cost substantially. Fill in layers, packing tightly as you go so the stones can’t settle and leave gaps at the top. Gabion mesh has sharp cut wire ends, so wear heavy gloves throughout and check the finished faces for protruding wire, particularly at child height. This suits modern gardens, sloping sites, and anyone wanting a substantial look on a modest materials budget.
- Why it works: Facing with good stone and filling the center with rubble gives the look at a fraction of the cost.
- Best for: Modern gardens; sloping sites; substantial looks on a budget.
- Key elements: good stone on visible faces, rubble core, packed in layers, heavy gloves, wire ends checked.
28. Timber Sleeper Border
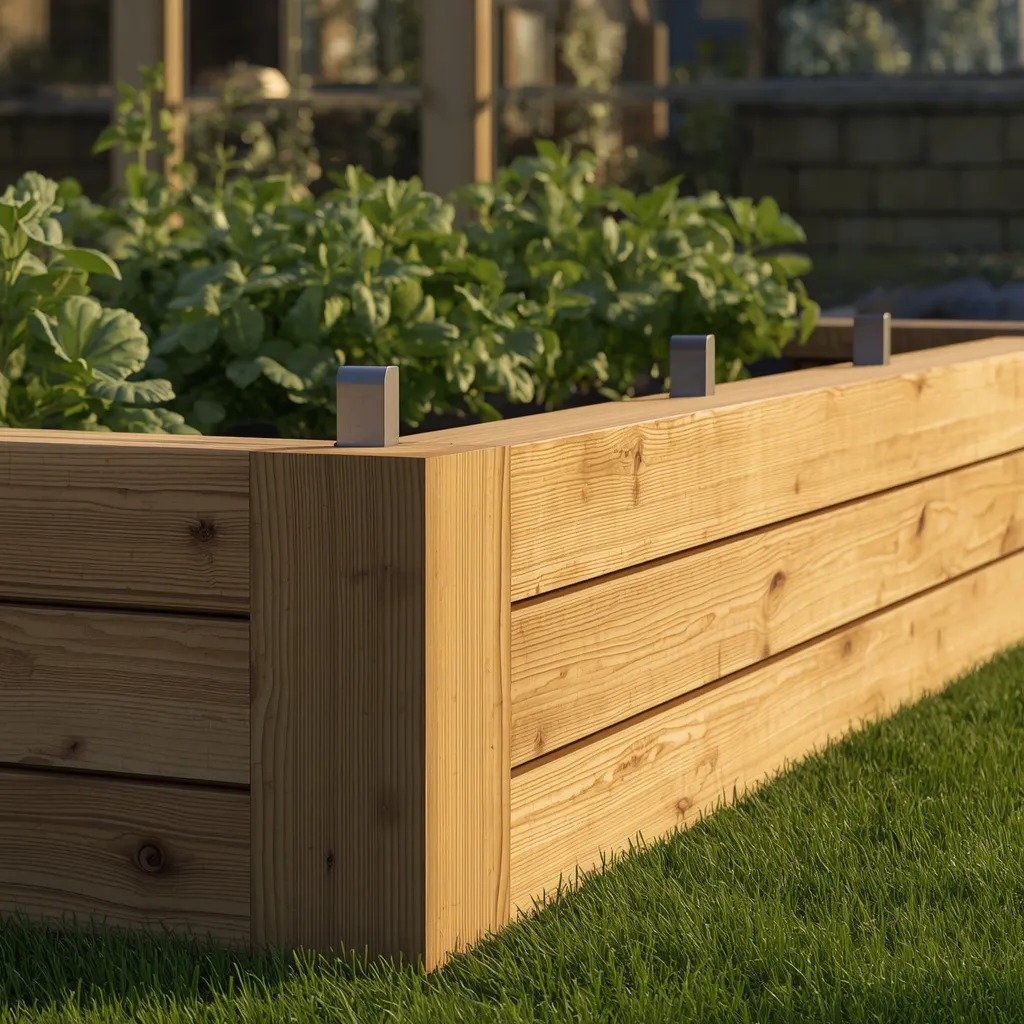
A sleeper border lays heavy timber beams along the bed: chunky rectangular sections with real visual weight, low and horizontal, framing a bed with agricultural solidity. Substantial and simple, one course of sleepers defines a bed instantly. Heavy, clean, and structural.
Use new landscaping sleepers or oak rather than reclaimed railroad ties. This matters: genuine reclaimed railway sleepers are usually creosote-treated, and creosote is restricted for residential and garden use in many jurisdictions, should not contact skin, and is unsuitable near food crops or where children play. New sleepers sold for landscaping don’t carry that problem. Pin sleepers with rebar through pre-drilled holes so they can’t shift. Sleepers are extremely heavy, so always move them with a helper. This suits raised beds, kitchen gardens, and bold simple layouts.
- Why it works: New landscaping sleepers give the same weight and look without creosote’s restrictions and risks.
- Best for: Raised beds; kitchen gardens; bold simple framing.
- Key elements: new landscaping or oak sleepers not reclaimed railway ties, rebar pinned, two-person lifting.
29. Rope-Top Victorian Tile
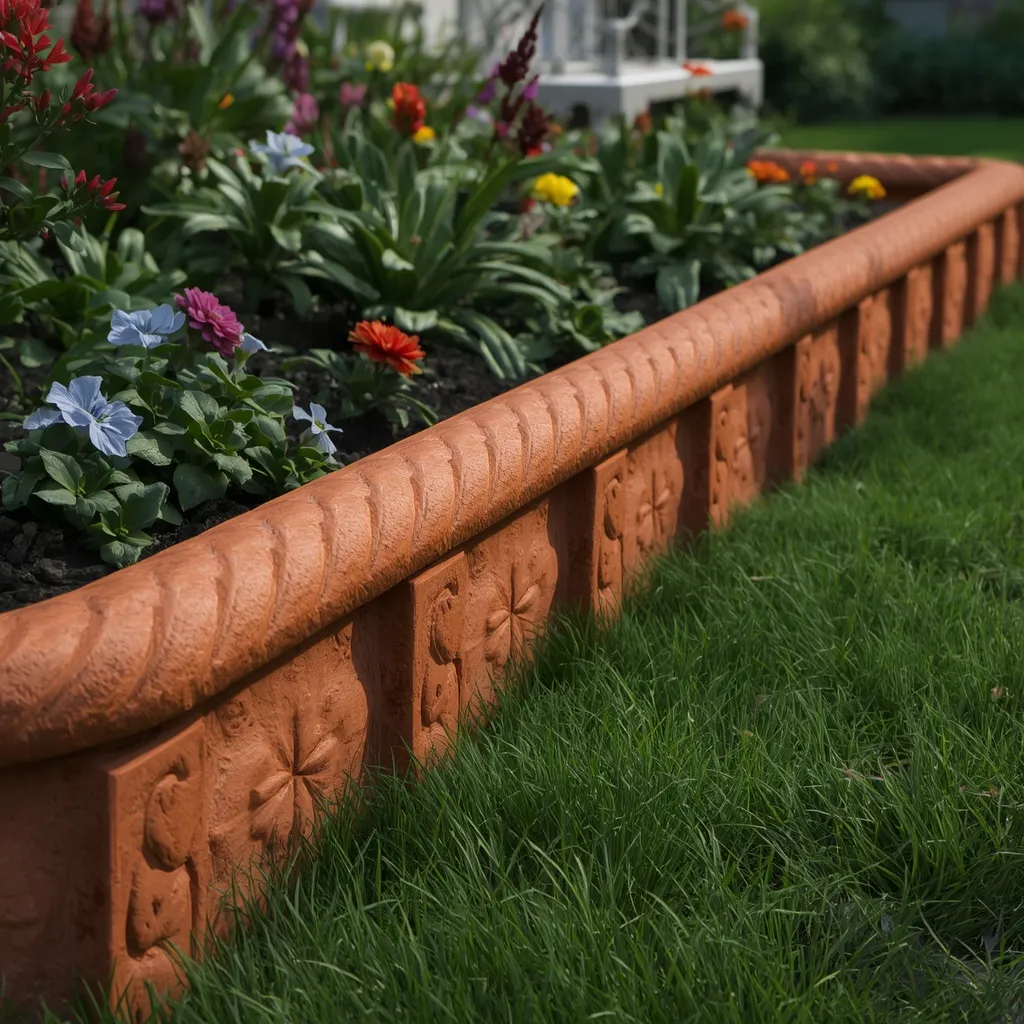
Rope-top edging tiles bring period charm: terracotta or buff tiles with a twisted rope moulding along the top, set in a row so the rope pattern runs continuously along the bed. Decorative and distinctly Victorian, these tiles suit period gardens. Ornate, rhythmic, and historic.
Set tiles upright with roughly half their height buried and butt them tightly so the rope moulding runs unbroken, a gap breaks the pattern and is immediately noticeable. Reproduction rope-top tiles are widely available, and original salvaged ones turn up in reclamation yards, though old terracotta is often more brittle and needs gentler handling. Terracotta can crack in hard frosts, so choose frost-proof versions in cold-winter climates. This suits period properties, cottage gardens, and decorative borders.
- Why it works: Tightly butted tiles keep the rope moulding running unbroken, which is the whole visual effect.
- Best for: Period properties; cottage gardens; decorative edges.
- Key elements: tiles half buried, butted tightly, frost-proof in cold climates, gentle handling for salvaged tiles.
30. The Edging Installation Method
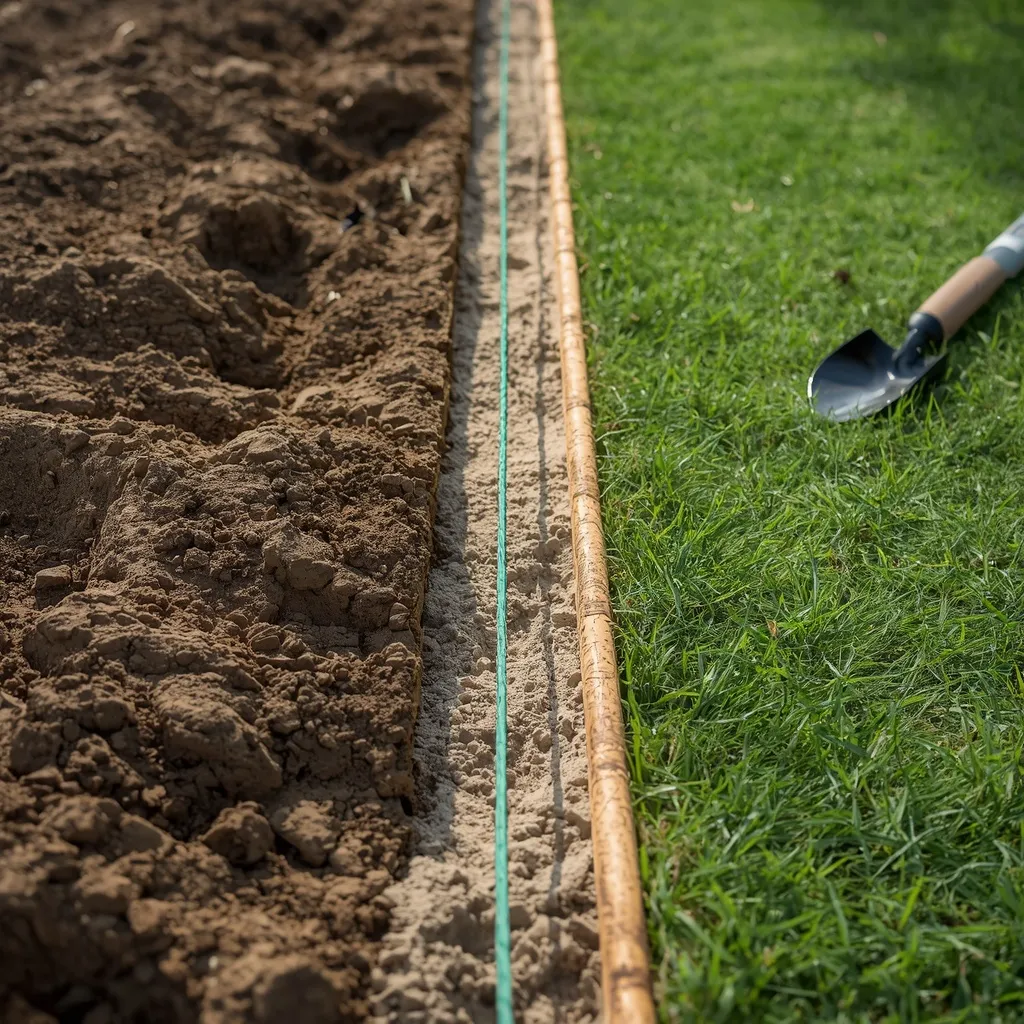
Installing edging well is mostly preparation: line marked, trench cut to the right depth, base bedded, units set flush, and backfill firmed. Methodical and unglamorous, this sequence decides whether an edge stays true or goes wavy. Careful, ordered, and worth the afternoon.
Work in order. Contact your utility locating service before trenching, since service lines often run near boundaries and along house frontages. Mark the line with a hose for curves or a string line for straight runs. Cut a trench 15 cm (6 in) deep where you need to block spreading grass runners, which travel underground and easily defeat shallow edging. Bed units on 5 cm (2 in) of sharp sand, set them flush with the lawn so the edge works as a mowing strip, then firm the backfill on both sides. In freezing climates, bed on gravel rather than soil so water drains away and frost heave doesn’t lift the line into waves over winter. Wear gloves and eye protection, and use wet cutting or dust suppression if cutting stone or concrete, since dry cutting releases fine silica dust that’s harmful to breathe. For more inspiration, explore these homestead garden ideas to create a practical, well-structured outdoor space. This suits every edging project.
- Why it works: A 15 cm trench blocks the underground runners that defeat shallow decorative edging.
- Best for: Every edging installation; first-time DIY.
- Key elements: utilities located, line marked, 15 cm trench, 5 cm sand bed, set flush, gravel bedding in frost climates, wet cutting for stone.
How Deep Should Flower Bed Edging Be?
Flower bed edging should be buried about 15 cm (6 in) deep to genuinely stop grass spreading into a bed. Spreading grasses travel by underground rhizomes and simply pass beneath shallower edging, which is why decorative borders set only 5 cm (2 in) deep look tidy but don’t keep grass out. If your goal is purely visual, shallow edging is fine; if it’s to stop invasion, depth is the only thing that works.
Practical garden projects that work within real budgets are central to the Sunday Abode approach. If you enjoy this kind of natural-materials project, our guide to building trellises from garden twigs uses much the same weaving skills as a willow hurdle. For more planting inspiration, browse the rest of our flower garden ideas.
Which Edging Material Should You Choose?
Edging materials differ sharply in cost, lifespan, and whether they can work as a mowing strip. Use this to narrow the field before buying anything.
| Material | Cost | Lifespan | Mowing strip? | Stops grass? |
| Spade-cut trench | Free | Recut 2x yearly | No | Partly |
| Steel or aluminum | Medium | 20+ years | Yes, if flush | Yes |
| Brick or setts | Medium | Decades | Yes, if flat | Partly |
| Natural stone | Med to high | Decades | If laid flat | Partly |
| Concrete pavers | Low to med | Decades | Yes, best option | Partly |
| Timber or cedar | Low to med | 5–15 years | Only if wide | Partly |
| Log roll or willow | Low | 5–8 years | No | No |
| Loose river rock | Low | Indefinite | No | No |
| Living plants | Low to med | Years, grows on | No | No |
Safety notes: contact your national utility locating service before trenching, 811 in the United States, with free equivalents in most countries, since service lines commonly run near boundaries and house frontages. Cutting stone, concrete, brick, or pavers dry releases fine respirable crystalline silica dust, which is harmful to breathe; use wet cutting or dust suppression, work outdoors, and wear appropriate respiratory protection. Wear eye protection whenever cutting or striking masonry. Cut steel and aluminum edging is genuinely sharp, so wear heavy gloves and never leave a raised exposed metal edge at ankle height beside a path or lawn. Gabion mesh and log roll wire have sharp cut ends; check finished faces for protruding wire, especially at child height. Wet cement is caustic and burns skin on prolonged contact, so wear waterproof gloves, long sleeves, and eye protection. Stone, sleepers, and slabs are heavy: lift with your legs, wear sturdy boots, and use a helper or sack truck rather than lifting alone. Avoid creosote-treated reclaimed railway sleepers, which are restricted for residential garden use in many jurisdictions and are unsuitable near food crops or where children play; use new landscaping sleepers instead. Use only heat-treated pallets marked HT, never those marked MB. Never install glass bottle edging beside a mown lawn or where children play. Check local rules before building any retaining structure above about 60 cm (2 ft).
Frequently Asked Questions
What’s the cheapest way to edge a flower bed?
A clean spade-cut trench costs nothing and looks immaculate when fresh. Cut a V-shaped trench 10–15 cm (4–6 in) deep with a half-moon edger or sharp spade, keeping the lawn side vertical, then mulch up to the line. The trade-off is upkeep, since it needs recutting roughly twice a year. For a low-cost permanent option, reclaimed brick from a salvage yard or dismantled heat-treated pallet wood both work well.
How deep should flower bed edging be?
About 15 cm (6 in) if you want it to stop grass spreading into the bed. Spreading grasses travel by underground rhizomes and pass straight beneath shallower edging, which is why decorative borders set only 5 cm (2 in) deep look neat but don’t keep grass out. Steel and aluminum profiles typically set 10–15 cm deep, which is why they’re the most effective barrier.
What edging stops you having to strim the lawn edge?
Any edging laid flat and flush with the lawn surface, so the mower wheel can ride along it. Concrete pavers, flat-laid brick, flagstone, and setts all work; the critical detail is setting them dead flush, since edging that stands proud leaves a fringe of uncut grass and scalps the mower blade. This single choice removes string-trimming along the bed edge permanently.
Does flower bed edging lift in winter?
It can. In climates with hard freezes, shallow-set edging is pushed upward by frost heave as moisture in the soil freezes and expands, which leaves a wavy, uneven line by spring. Bedding units on a free-draining gravel base rather than directly on soil lets water drain away and greatly reduces the problem. Flexible edging like steel or aluminum also tolerates ground movement better than rigid units.
Can I use old railway sleepers to edge a bed?
It’s better not to. Genuine reclaimed railway sleepers are usually treated with creosote, which is restricted for residential and garden use in many jurisdictions, shouldn’t contact skin, and is unsuitable near food crops or where children play. New landscaping sleepers or oak give exactly the same chunky look without those restrictions, and pin just as easily with rebar through pre-drilled holes.
What edging works best for curved beds?
Flexible materials. Steel and aluminum bend smoothly into curves, aluminum easily enough to shape by hand, and log roll bends because its logs are wired rather than fixed. Poured concrete curbing follows sweeping organic shapes better than anything else, since it’s formed in place. Rigid timber boards are the wrong choice for curves, forcing them creates gaps and splits.
Do I need landscape fabric under edging?
Usually not, and it’s often counterproductive in planted areas, since fabric blocks self-seeding, degrades within a few years, and makes future planting awkward. A properly deep physical edge does far more to stop grass than fabric does. Fabric has a reasonable role under purely decorative gravel where nothing will be planted, but it isn’t a substitute for edging depth.
Conclusion
The best flower bed borders ideas come down to two questions most roundups never ask: how deep does it go, and does it sit flush? Depth decides whether grass stays out, and setting the edge flush with the lawn decides whether you spend the next decade string-trimming. Get those right and the material becomes a free choice, dry-stacked stone, a soldier course of brick, slim steel, woven willow, or simply a crisp spade-cut trench that costs nothing at all. For more garden projects worth the afternoon, explore the flower garden ideas collection on Sunday Abode.