
Introduction
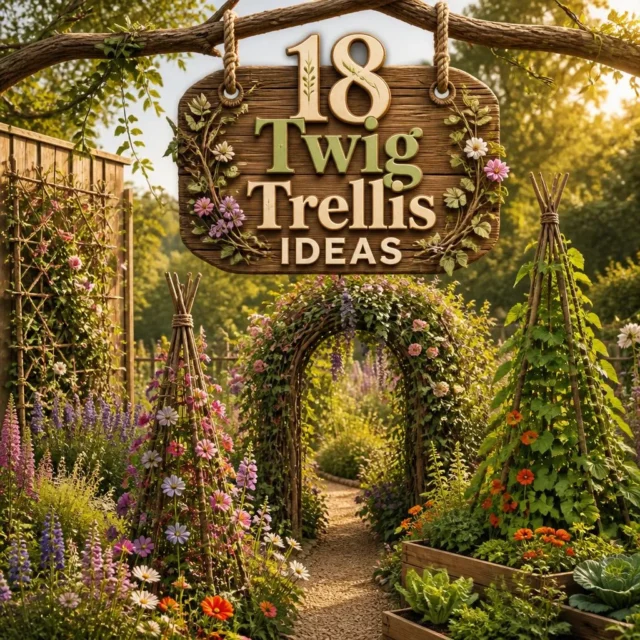
The best garden supports cost nothing but an afternoon and a pile of prunings. These twig trellis ideas turn gathered branches into 18 complete structures, fan trellises, woven lattice panels, bean tepees, obelisks, garden arches, and a living willow arch that roots and grows leaves where it stands.
You’ll also find what most tutorials leave out: which species actually bend instead of snapping, how long a twig structure realistically lasts before it needs rebuilding, and how to match a trellis to the plant it will carry, since a delicate woven panel that suits sweet peas will collapse under a mature climbing rose. Every design uses hand tools and free material. Consider it a guide to rustic garden craft for your abode, with nothing bought in.
Before you cut anything, know your wood: Willow and hazel are the classic weaving woods because they bend through tight curves without breaking. Dogwood, birch, and young ash are workable. Oak, maple, and most fruit wood are stiff and snap, so use them for straight uprights rather than weaving. Cut wood in late winter while it’s dormant and flexible, freshly cut green wood bends readily, while dried branches crack unless soaked for a day or two first.
18 Twig Trellis Ideas
1. Classic Fan Trellis
A fan trellis spreads straight twigs from a narrow base into an open arc: five or seven uprights fanning outward, tied across with horizontal rods, leaning against a wall with a clematis threading through. Simple and elegant, the fan is the easiest shape to build well. Open, graceful, and quick.
Choose five to seven straight rods of similar thickness, bind them at the base with garden twine, then spread the tops evenly and tie two or three horizontal rods across to lock the angle. Even spacing at the top is what makes a fan read as deliberate rather than accidental, so measure the gaps rather than eyeballing them. Lean it against a wall at a slight angle rather than flat, giving stems room to twine behind. This suits beginners, clematis, and sweet peas.
- Why it works: Horizontal cross rods lock the fan angle, which otherwise collapses as soon as it’s moved.
- Best for: Beginners; clematis and sweet peas; wall positions.
- Key elements: 5–7 straight rods, bound base, evenly spread tops, 2–3 horizontals, leaned not flat.
2. Rustic Ladder Trellis
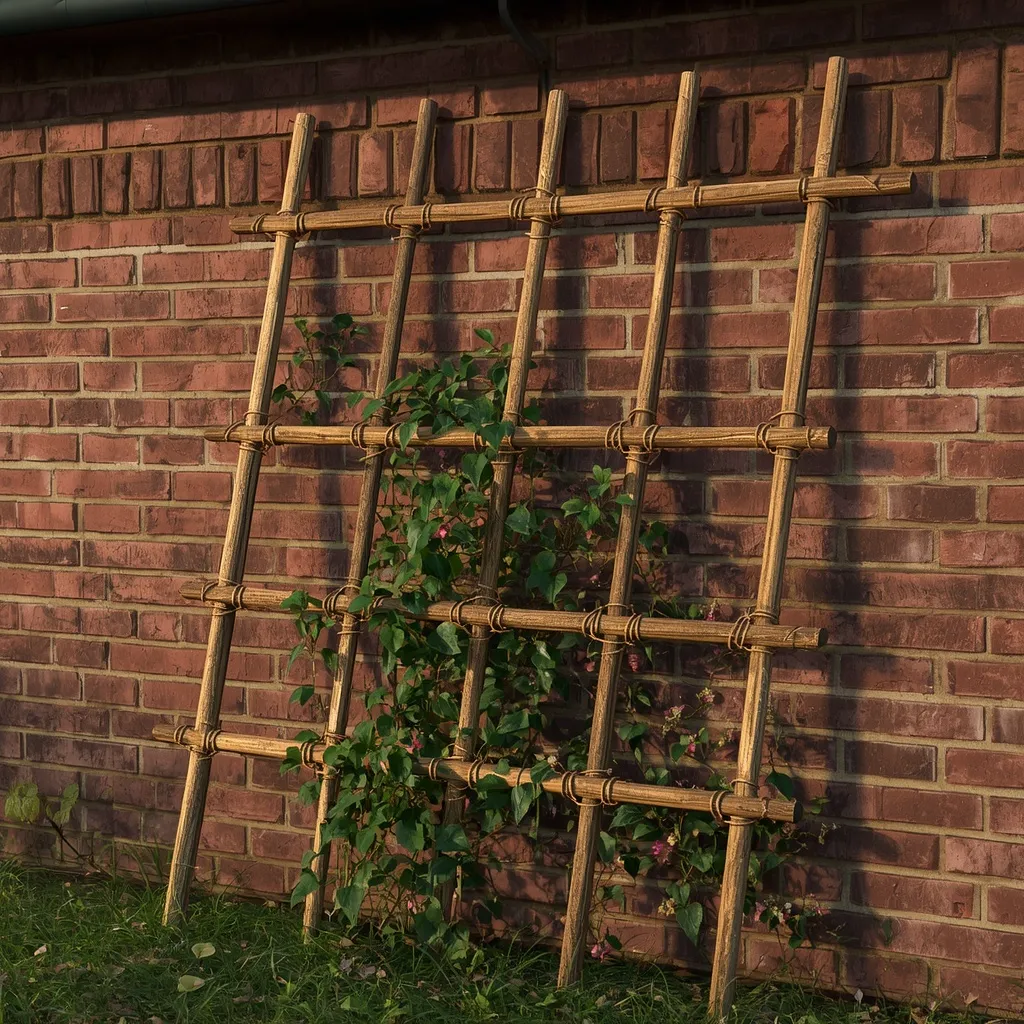
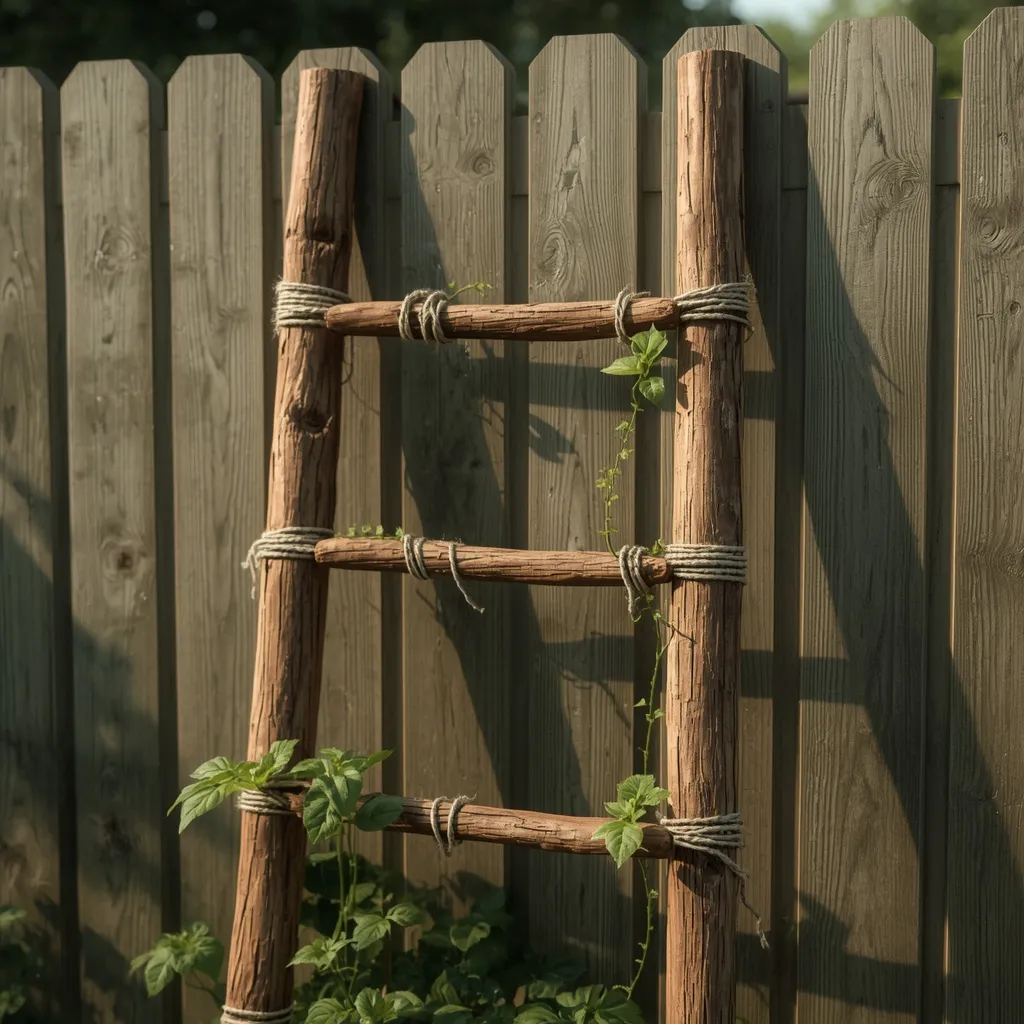
A ladder trellis is two uprights with rungs between them: straight branches forming a simple ladder leaned against a wall or fence, with runner beans or morning glory climbing the horizontals. Honest and unfussy, the ladder is pure function made handsome. Straight, sturdy, and practical.
Use two thick uprights of 3–4 cm (1.5 in) diameter and thinner rungs, lashing each joint with twine in a figure-of-eight wrap that pulls the two pieces tight against each other. Space rungs about 20–25 cm (8–10 in) apart, close enough for tendrils to find the next one easily. Because the ladder relies on lashing rather than notching, it goes together in under an hour with no tools beyond loppers. This suits beginners, beans, and quick projects.
- Why it works: A figure-of-eight lashing pulls both pieces tight, where a simple wrap loosens as the wood dries.
- Best for: Beginners; runner beans and morning glory; fast builds.
- Key elements: two 3–4 cm uprights, thin rungs 20–25 cm apart, figure-of-eight lashing, no tools beyond loppers.
3. Woven Lattice Panel
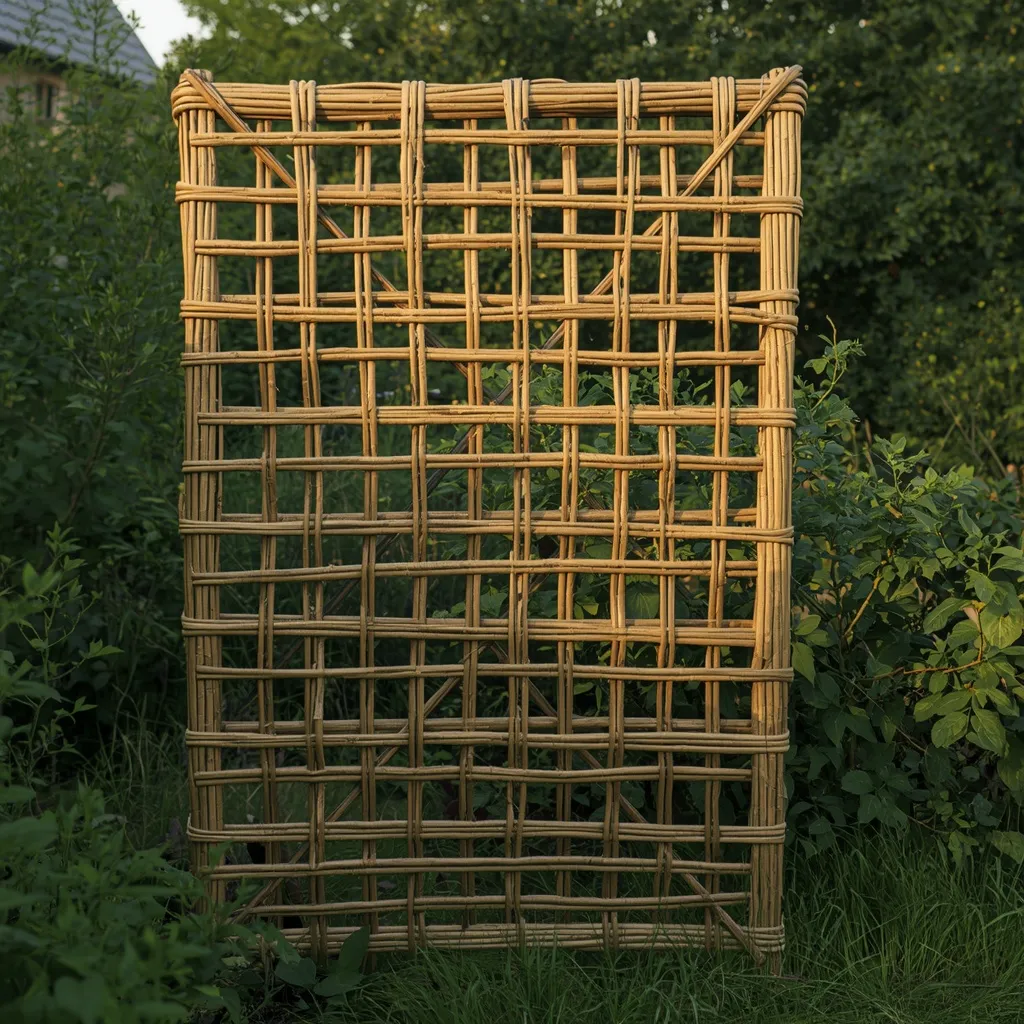
A woven lattice panel is basketwork made vertical: flexible willow rods woven over and under uprights in a tight diamond grid, forming a self-supporting screen with real handmade texture. Intricate and beautiful, a woven panel is the showpiece of twig work. Textured, dense, and artisanal.
Drive uprights every 20–25 cm (8–10 in), then weave flexible willow horizontally, alternating in front of and behind each upright and pushing every row firmly down onto the last so the weave stays tight. Loose weaving is the usual beginner mistake and it produces a floppy panel, push each row down hard as you go. Fresh green willow is essential here, since dried rods snap on the first tight bend unless soaked. This suits confident makers, cottage gardens, and lightweight climbers.
- Why it works: Pushing each woven row firmly onto the last is what makes the panel rigid enough to stand alone.
- Best for: Confident makers; cottage gardens; light climbers.
- Key elements: uprights every 20–25 cm, alternating weave, rows pushed tight, fresh green willow.
4. A-Frame Bean Tepee
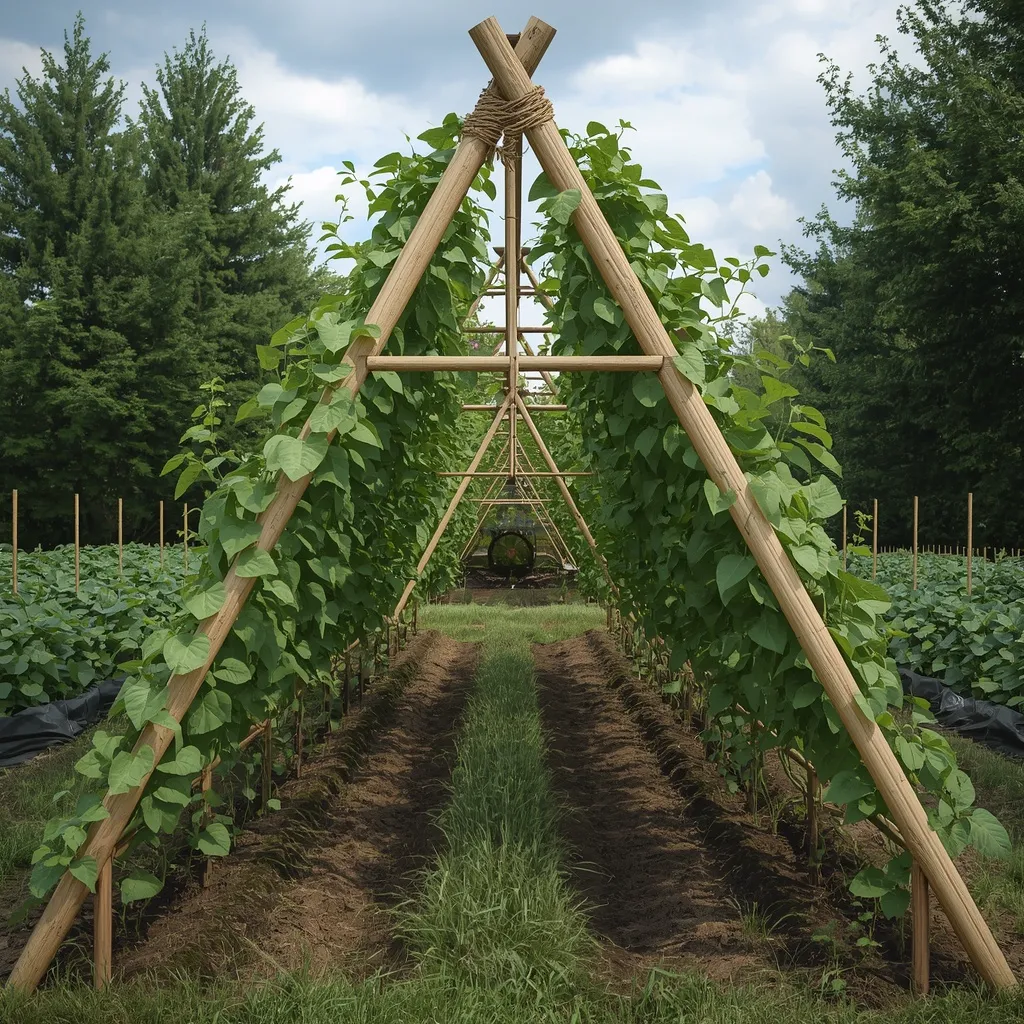
An A-frame straddles a bed like a tent: two rows of poles leaning inward to meet at a ridge, lashed along the top, with beans climbing both faces and a shaded tunnel underneath. Productive and space-efficient, the A-frame is a kitchen garden classic. Structural, generous, and practical.
Set poles in two opposing rows about 60 cm (24 in) apart, leaning them to cross near the top, then lay a ridge pole in the V and lash every crossing point. Bury pole ends at least 25–30 cm (10–12 in) so the frame doesn’t lift in wind once it’s carrying a full canopy of foliage, which catches wind like a sail. Plant one or two seeds at the base of each pole. This suits vegetable gardens, runner and pole beans, and productive plots.
- Why it works: A ridge pole lashed at every crossing turns two leaning rows into one rigid structure.
- Best for: Vegetable gardens; pole and runner beans; productive beds.
- Key elements: two rows 60 cm apart, crossed tops, lashed ridge pole, ends buried 25–30 cm.
5. Wigwam Obelisk
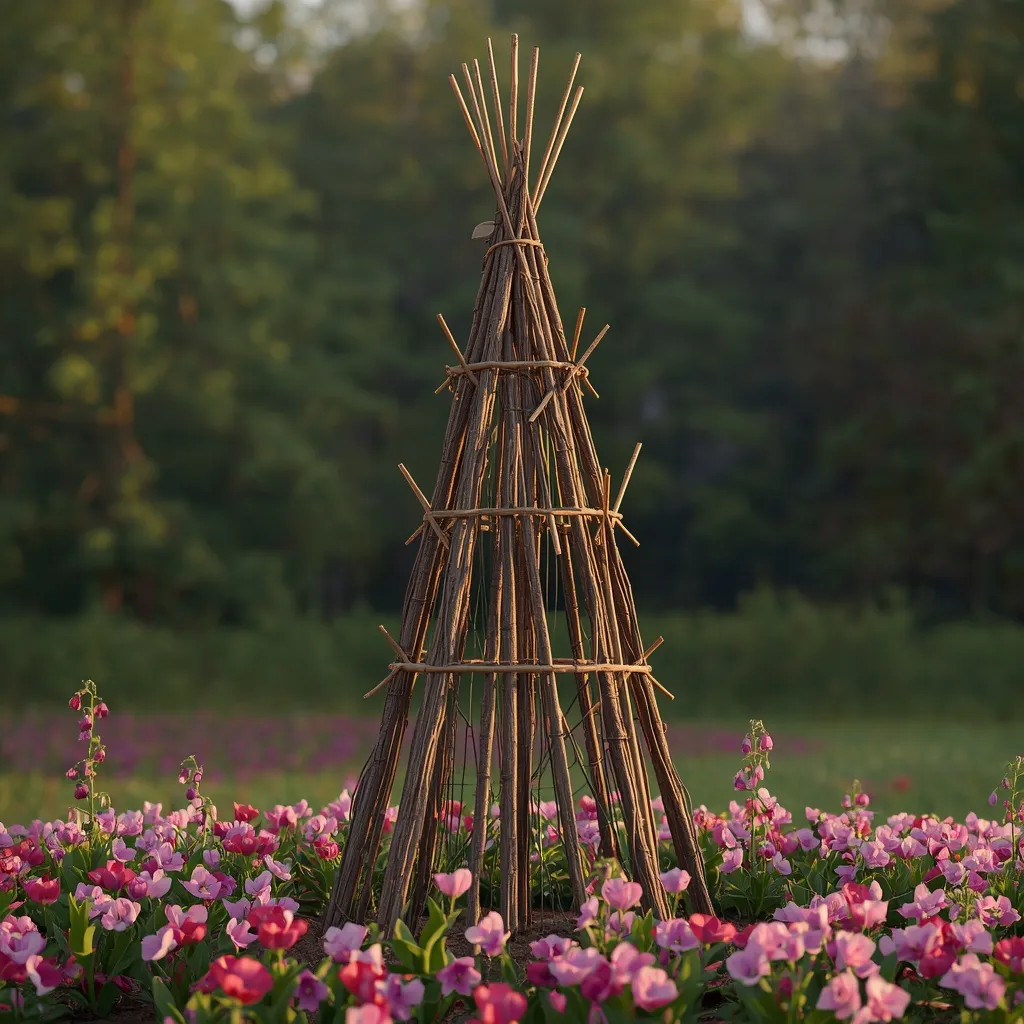
A wigwam gathers poles into a cone: six to eight branches pushed into a circle and tied at the top, standing in a border with sweet peas spiralling up through it. Sculptural and instantly recognizable, the wigwam gives height in minutes. Conical, simple, and effective.
Push six to eight poles into a circle roughly 60–90 cm (24–36 in) across, angling each inward, then gather and tie the tops firmly with twine. Wrap horizontal rods around the outside at two or three heights, which stops the poles splaying and gives tendrils something to grip on their way up. A wigwam without those horizontal wraps gradually spreads at the base under load. This suits borders, sweet peas, and gardeners wanting instant vertical structure.
- Why it works: Horizontal wraps stop the base splaying and give tendrils intermediate holds while climbing.
- Best for: Borders; sweet peas and annual climbers; instant height.
- Key elements: 6–8 poles in a 60–90 cm circle, tied top, 2–3 horizontal wraps.
6. Rustic Garden Arch
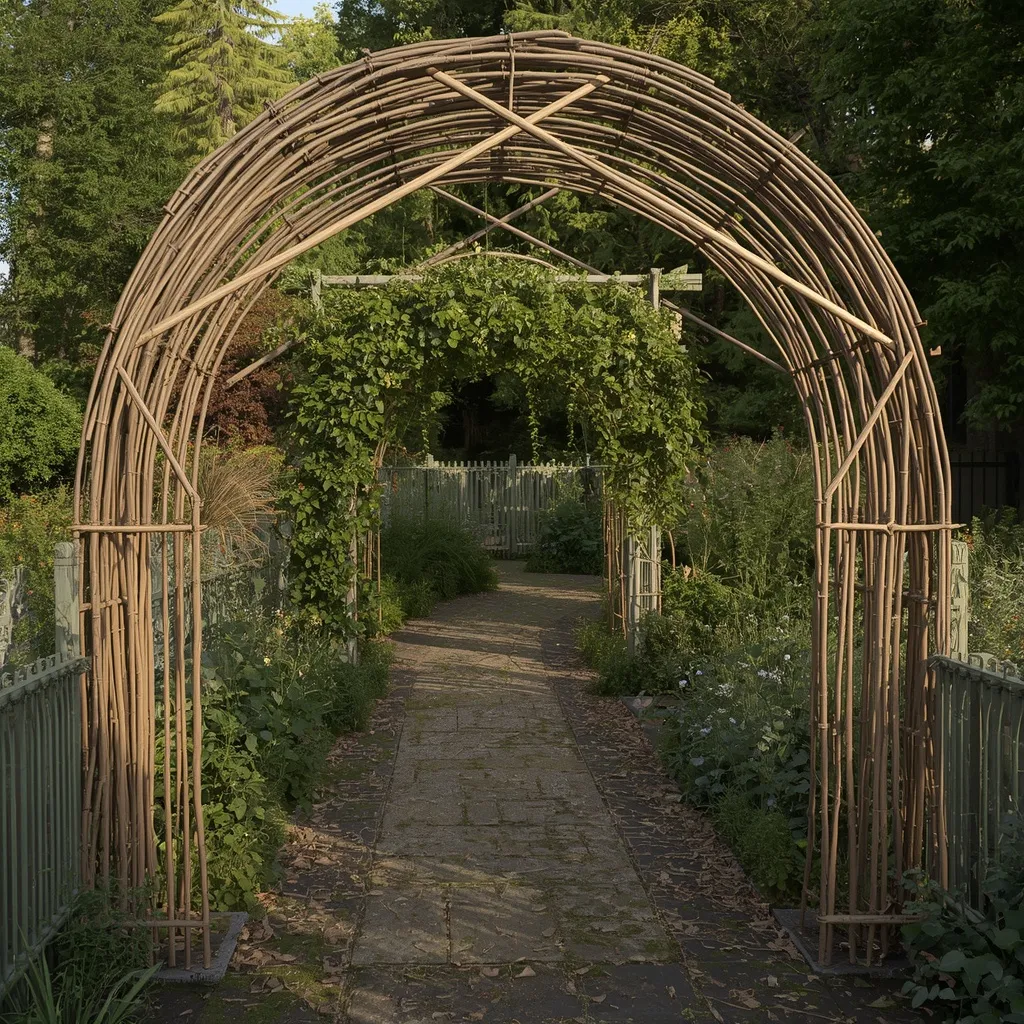
A twig arch frames a path with a curve of woven branches: two uprights on each side bent inward and joined overhead, with roses or honeysuckle climbing to meet in the middle. Romantic and structural, an arch turns a path into a passage. Curved, tall, and inviting.
Bend long flexible rods, willow or hazel, at least 2.5 m (8 ft) long, from each side and lash them where they meet overhead, adding cross rods to stabilize the curve. Keep the clear opening at least 90 cm (3 ft) wide and 2 m (6.5 ft) high so people pass without ducking once planting fills in, since a beautiful arch that catches your hair gets resented quickly. Sink uprights 30–40 cm (12–16 in) into firm ground. This suits paths, entrances, and light climbers like honeysuckle.
- Why it works: Sizing the opening for mature planting, not bare wood, keeps an arch passable once it’s covered.
- Best for: Paths and entrances; honeysuckle and light climbers.
- Key elements:5 m flexible rods, lashed apex, cross rods, 90 cm x 2 m clear opening, uprights sunk 30–40 cm.
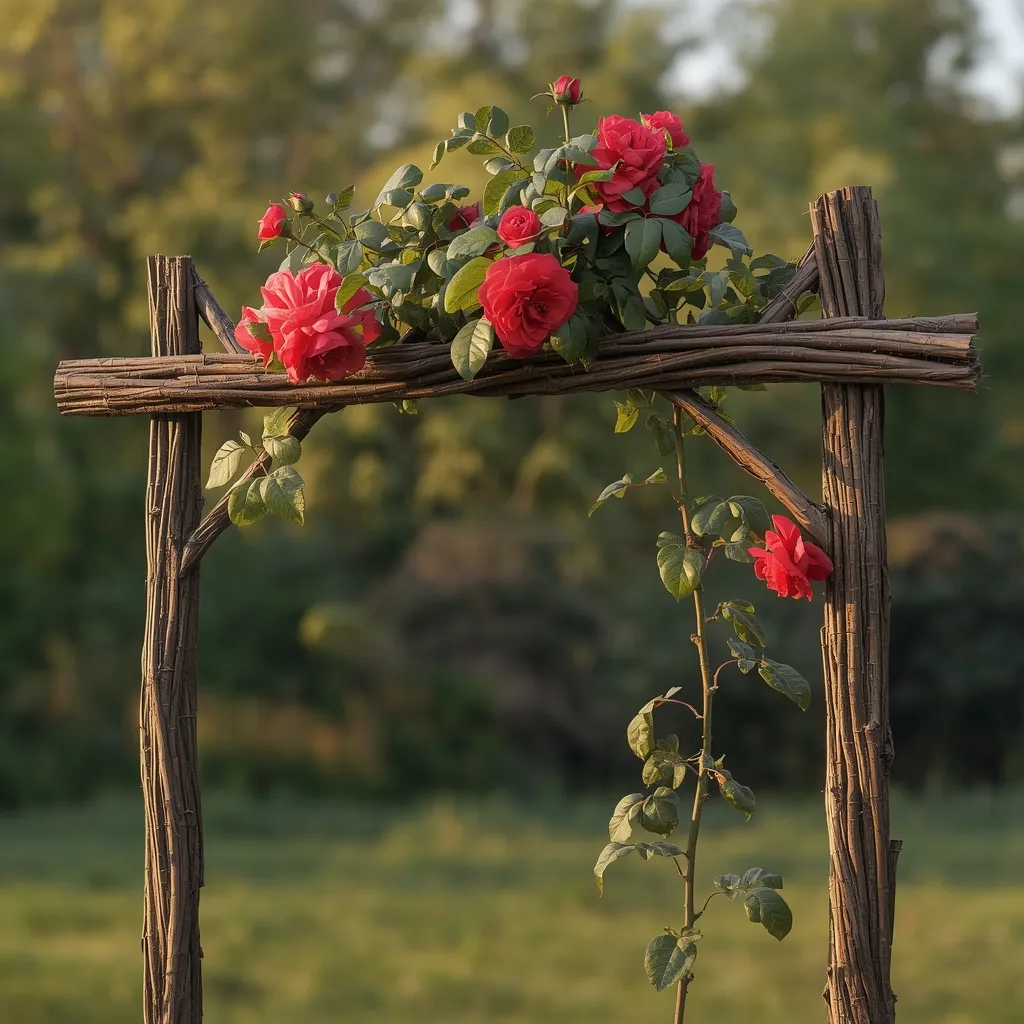
7. Twig Rose Arbor
A rose arbor is a heavier structure built to carry weight: thick hazel or chestnut uprights, substantial cross members, and a climbing rose trained across the top. Solid and permanent-feeling, this is twig work scaled up. Sturdy, generous, and long-lasting.
Be realistic about load. A mature climbing rose is genuinely heavy, especially wet, so use uprights of at least 6–8 cm (2.5–3 in) diameter rather than the thin rods that suit sweet peas, a delicate woven trellis will be flattened within two seasons. Tie rose stems loosely with soft ties, leaving room for the stem to thicken, and train main canes horizontally to encourage flowering along their length. Wear thick gloves and long sleeves when handling roses. This suits climbing roses and gardeners wanting a lasting structure.
- Why it works: Training main canes horizontally makes roses flower along the whole stem rather than only at the tip.
- Best for: Climbing roses; permanent garden features.
- Key elements: 6–8 cm uprights, substantial cross members, soft loose ties, horizontal cane training, thick gloves.
8. Living Willow Arch
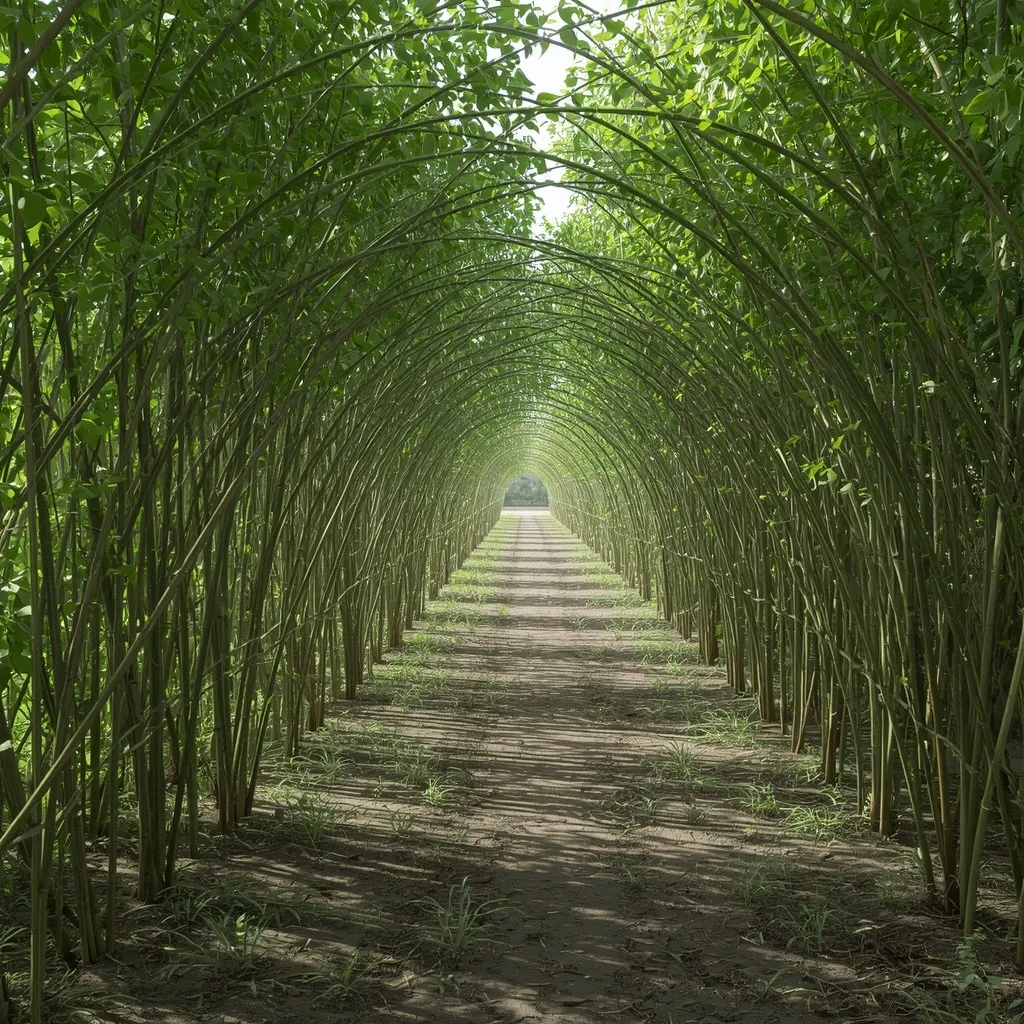
A living willow arch grows where it stands: fresh willow rods pushed into damp ground that root, sprout leaves, and knit together into a green tunnel that thickens every year. Alive and magical, this is the one structure that improves rather than decays. Green, growing, and extraordinary.
Push fresh-cut willow rods 30 cm (12 in) into damp ground in late winter while dormant, crossing them overhead and tying the joints, and they will root readily, willow strikes so easily that a rod left in wet soil often sprouts unbidden. Water through the first summer while roots establish. Understand the commitment: a living willow structure needs pruning at least once a year or it becomes a thicket, and willow roots are vigorous and water-seeking, so keep them well away from drains, septic systems, and building foundations. This suits damp gardens, family gardens, and patient gardeners.
- Why it works: Willow roots so readily that fresh rods pushed into damp ground become a living structure without help.
- Best for: Damp gardens; family gardens; long-term projects.
- Key elements: fresh dormant willow, 30 cm into damp soil, tied crossings, annual pruning, kept clear of drains and foundations.
9. Woven Willow Screen
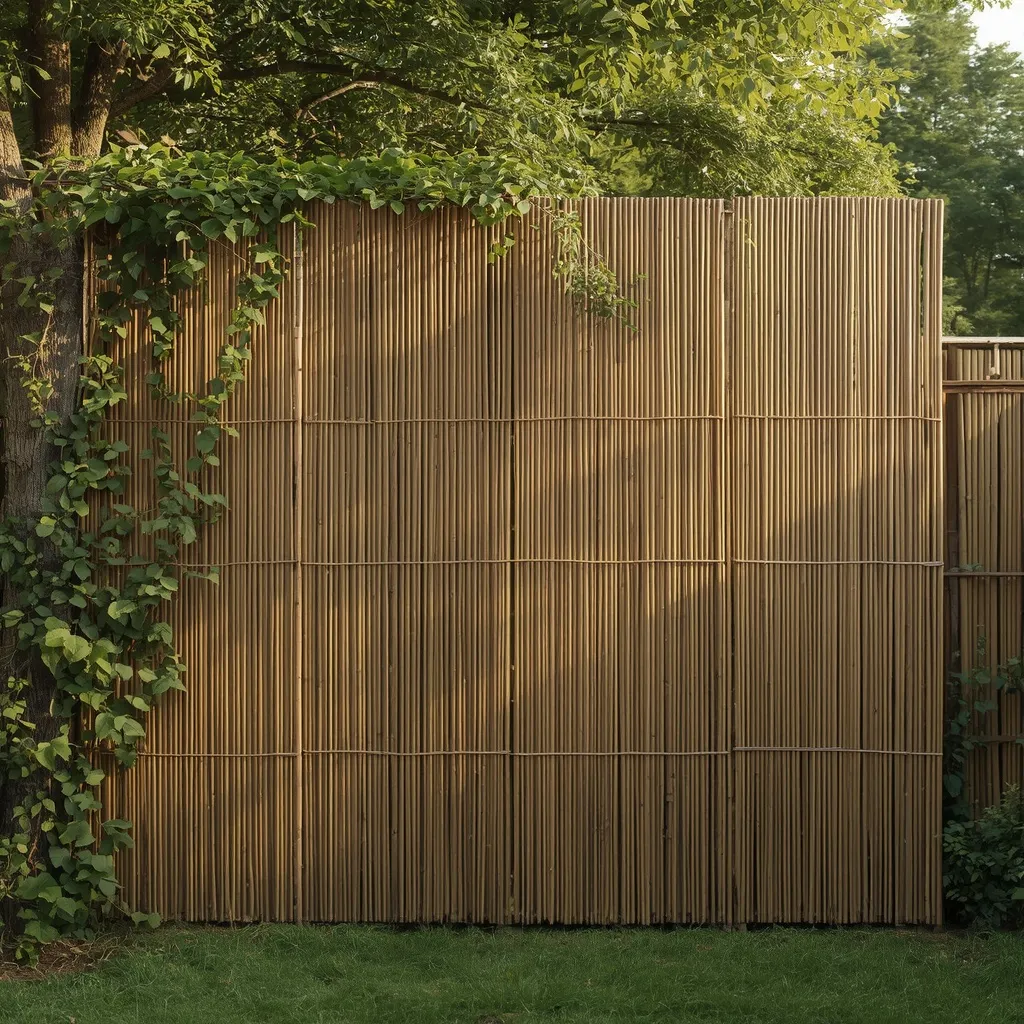
A willow screen is a woven wall: a broad panel of tightly woven rods standing as a divider or backdrop, filtering light and wind while giving climbers a surface to cover. Practical and handsome, a screen does the work of a fence at a fraction of the cost. Woven, filtering, and substantial.
Build a screen no more than about 1.5 m (5 ft) tall for stability, weaving tightly between uprights sunk at least 40 cm (16 in) into firm ground. A woven screen filters wind rather than blocking it, which is genuinely better for a garden than a solid panel, solid barriers create damaging turbulence on the leeward side, while permeable ones slow wind smoothly. Expect five to eight years from woven willow before rebuilding. This suits windy gardens, dividing spaces, and screening compost areas.
- Why it works: A permeable screen slows wind smoothly, where a solid barrier creates damaging turbulence behind it.
- Best for: Windy gardens; dividing spaces; screening utility areas.
- Key elements: max 1.5 m tall, uprights 40 cm deep, tight weave, 5–8 year lifespan.
10. Wall-Mounted Twig Frame
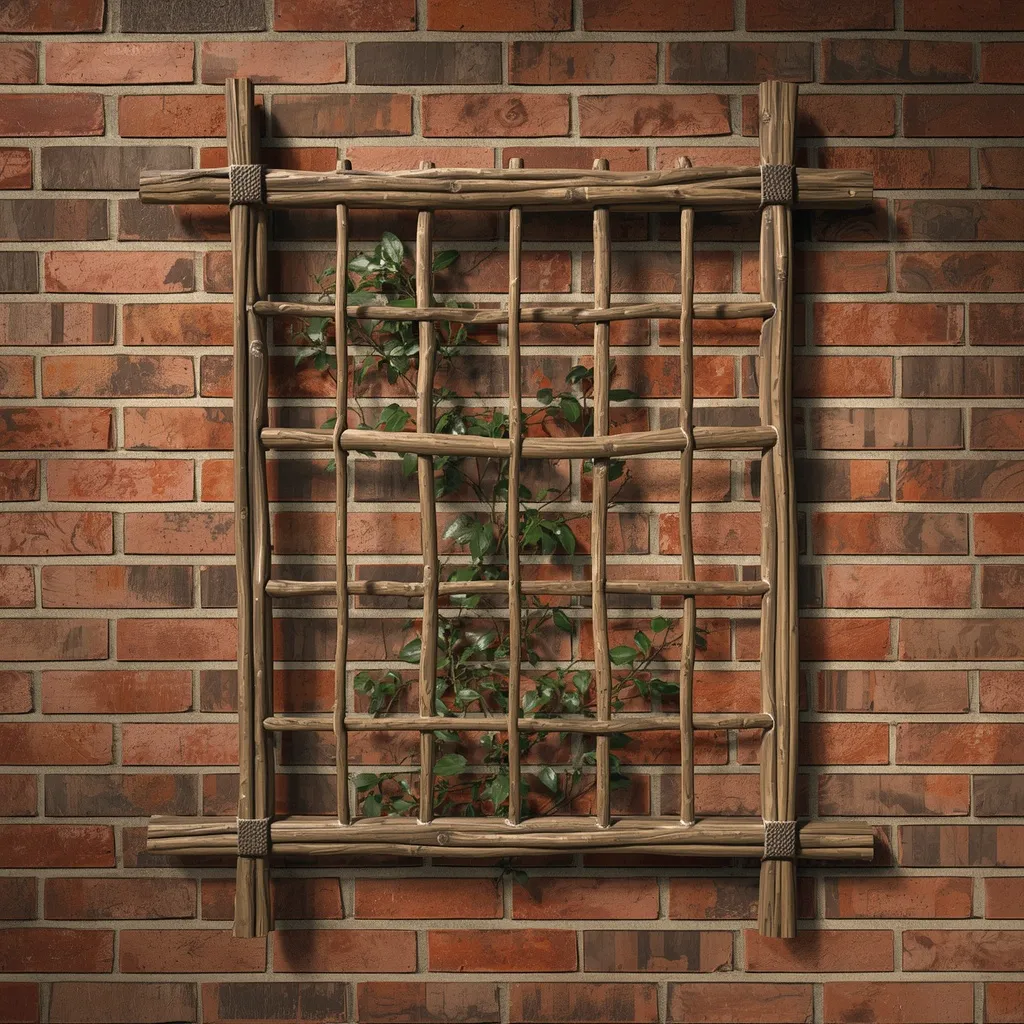
A wall-mounted frame is a flat grid fixed against brick or render: slim branches lashed into a rectangular lattice, held clear of the wall so stems can twine behind it. Neat and space-saving, wall frames suit narrow gardens. Flat, tidy, and unobtrusive.
Build a rectangular grid with squares roughly 15–20 cm (6–8 in) across, then mount it on battens or spacers so the frame sits about 5 cm (2 in) clear of the wall. That gap matters twice over: it lets stems twine behind the frame, and it allows air to circulate, which reduces the humid stagnant conditions that encourage mildew on climbers. Fix into masonry with rated plugs rather than into mortar joints alone. This suits narrow gardens, courtyards, and renters using removable fixings.
- Why it works: A 5 cm gap lets stems twine behind and keeps air moving, reducing mildew on wall-trained climbers.
- Best for: Narrow gardens and courtyards; wall-trained climbers.
- Key elements: 15–20 cm grid squares, battens or spacers, 5 cm standoff, rated masonry fixings.
11. Container Obelisk
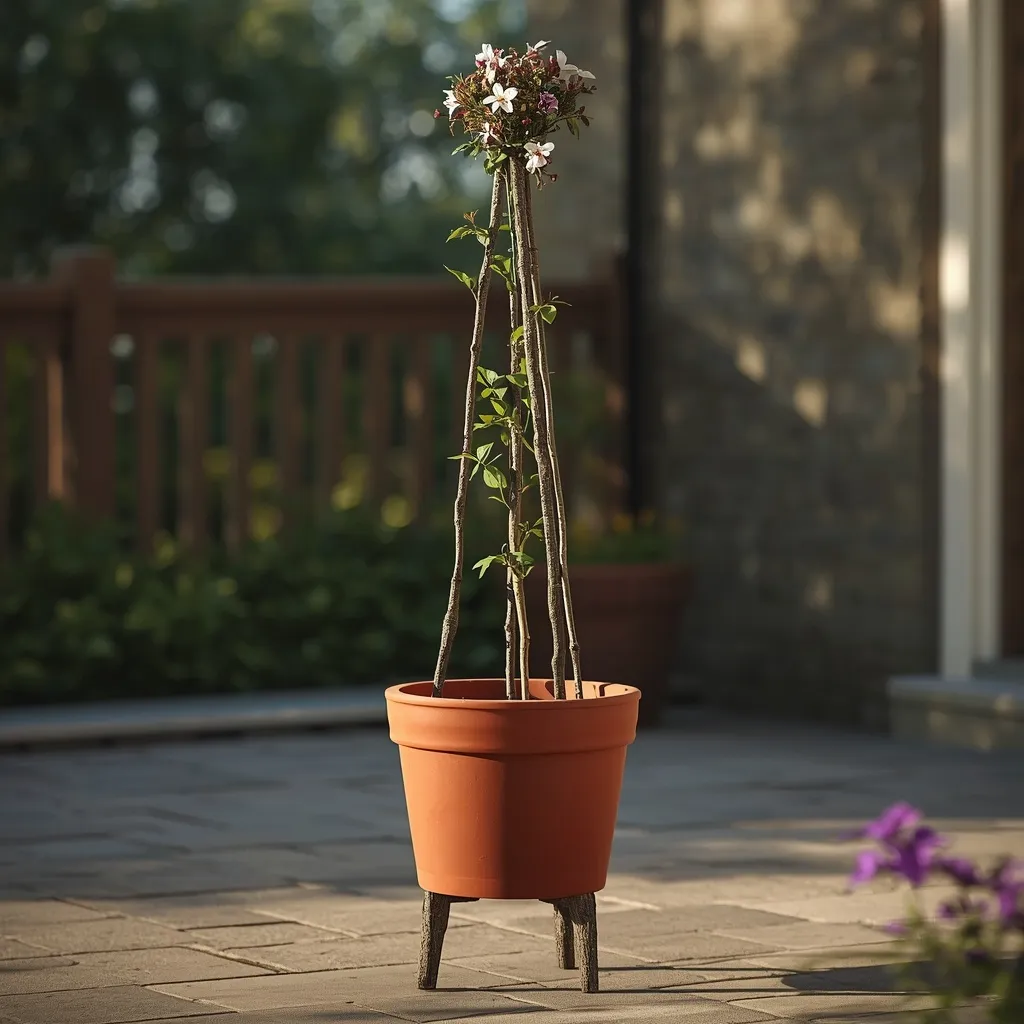
A container obelisk brings vertical structure to a pot: four slim branches gathered into a tapering tower and set into a large container, with a compact clematis or black-eyed Susan vine winding up. Compact and charming, an obelisk lifts a container arrangement. Slim, tapering, and neat.
Scale the obelisk to the pot, roughly twice the container’s height looks balanced, so a 40 cm (16 in) pot suits an obelisk around 80 cm (32 in) tall. Push the legs down the inside edge of the pot to the base so the container’s soil mass anchors them properly, rather than pushing them in shallowly where they wobble. Choose a heavy container, since a planted obelisk catches wind and light plastic pots blow over. This suits balconies, patios, and container gardeners.
- Why it works: Legs pushed to the base of the pot let the soil mass anchor the structure instead of wobbling.
- Best for: Balconies; patios; container-grown climbers.
- Key elements: height roughly twice pot height, legs to pot base, heavy container, compact climbers.
12. Tomato Support Frame
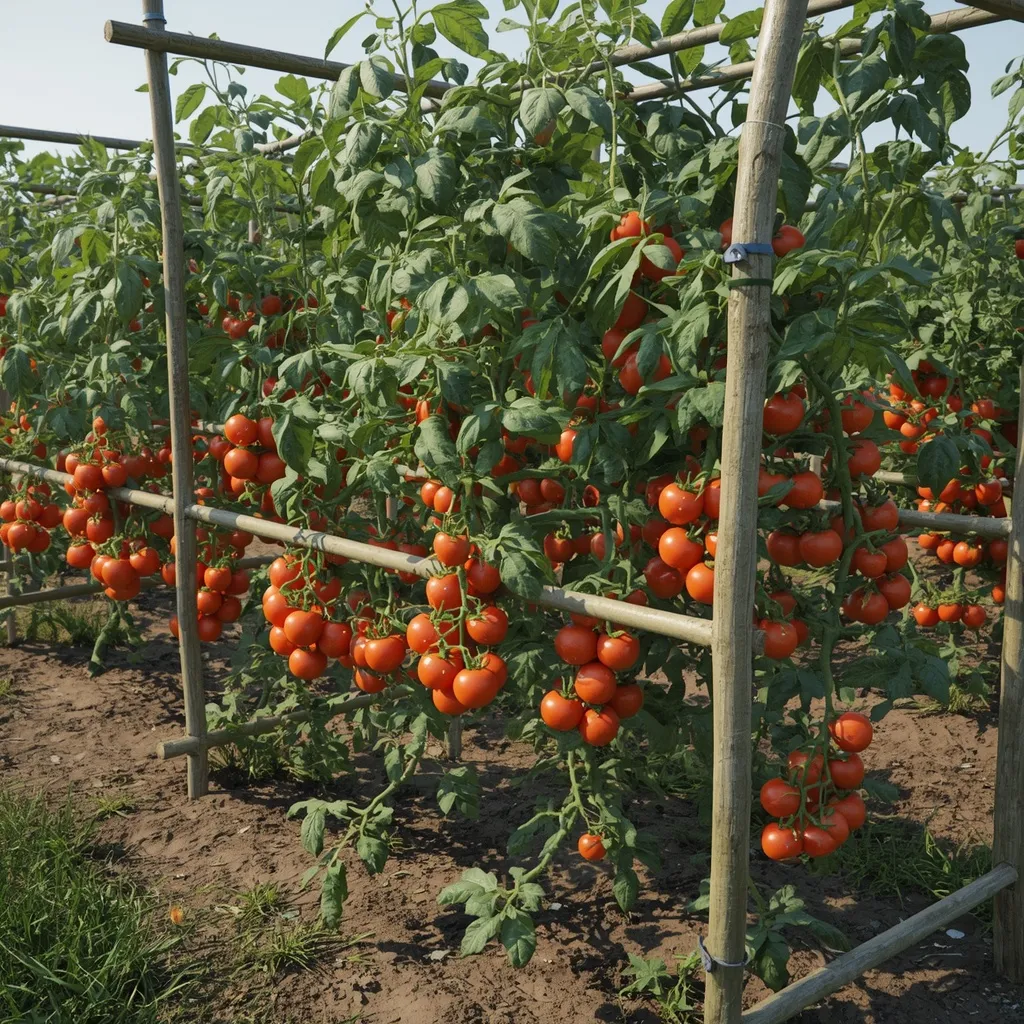
A tomato frame is built for real weight: sturdy stakes and horizontal rails forming a strong cage around growing plants, holding up trusses heavy with ripening fruit. Robust and functional, this is the least decorative and most useful structure here. Strong, upright, and productive.
Do not underestimate the load. Indeterminate tomatoes grow tall and carry a lot of weight, so use stakes of at least 4–5 cm (1.5–2 in) diameter driven 40 cm (16 in) into the ground, with horizontal rails every 30 cm (12 in) to tie stems to as they climb. A frame built from thin twigs will bow and fail in mid-summer, exactly when the crop is heaviest and hardest to rescue. Tie stems with soft ties in a loose figure-of-eight so the stem isn’t strangled. This suits vegetable gardens and tomato growers.
- Why it works: A figure-of-eight soft tie supports the stem without constricting it as the plant thickens.
- Best for: Vegetable gardens; indeterminate tomatoes; heavy crops.
- Key elements: 4–5 cm stakes 40 cm deep, rails every 30 cm, soft figure-of-eight ties.
13. Pea and Bean Brush
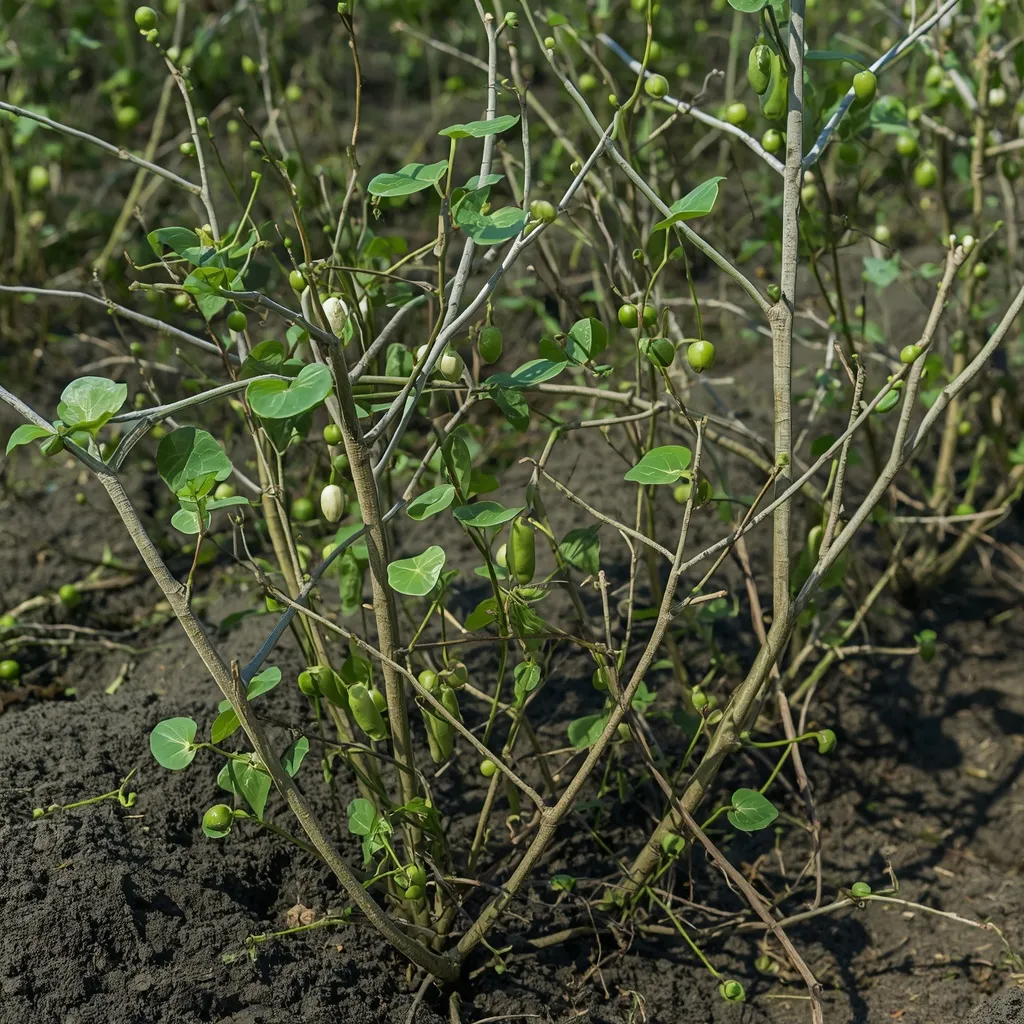
Pea brush is the oldest support there is: twiggy branched prunings pushed straight into the soil along a row, their fine side shoots giving pea tendrils hundreds of natural holds. Traditional and effortless, brush costs nothing and works better than netting. Twiggy, informal, and time-honored.
Save branched twiggy prunings, birch and hazel are ideal because their fine side shoots make a dense network, and push them into the row while peas are still small, since inserting supports after plants flop damages stems. Use brush roughly 1.2 m (4 ft) tall for standard peas, angling pieces slightly toward each other so they interlock. Tendrils grip fine twigs far more readily than they grip smooth netting. This suits kitchen gardens, peas and mangetout, and zero-budget gardening.
- Why it works: Pea tendrils grip fine twiggy side shoots far more readily than smooth netting or canes.
- Best for: Kitchen gardens; peas and mangetout; zero budget.
- Key elements: branched birch or hazel prunings, inserted while plants are small, 1.2 m tall, interlocked.
14. Fence-Line Twig Panel
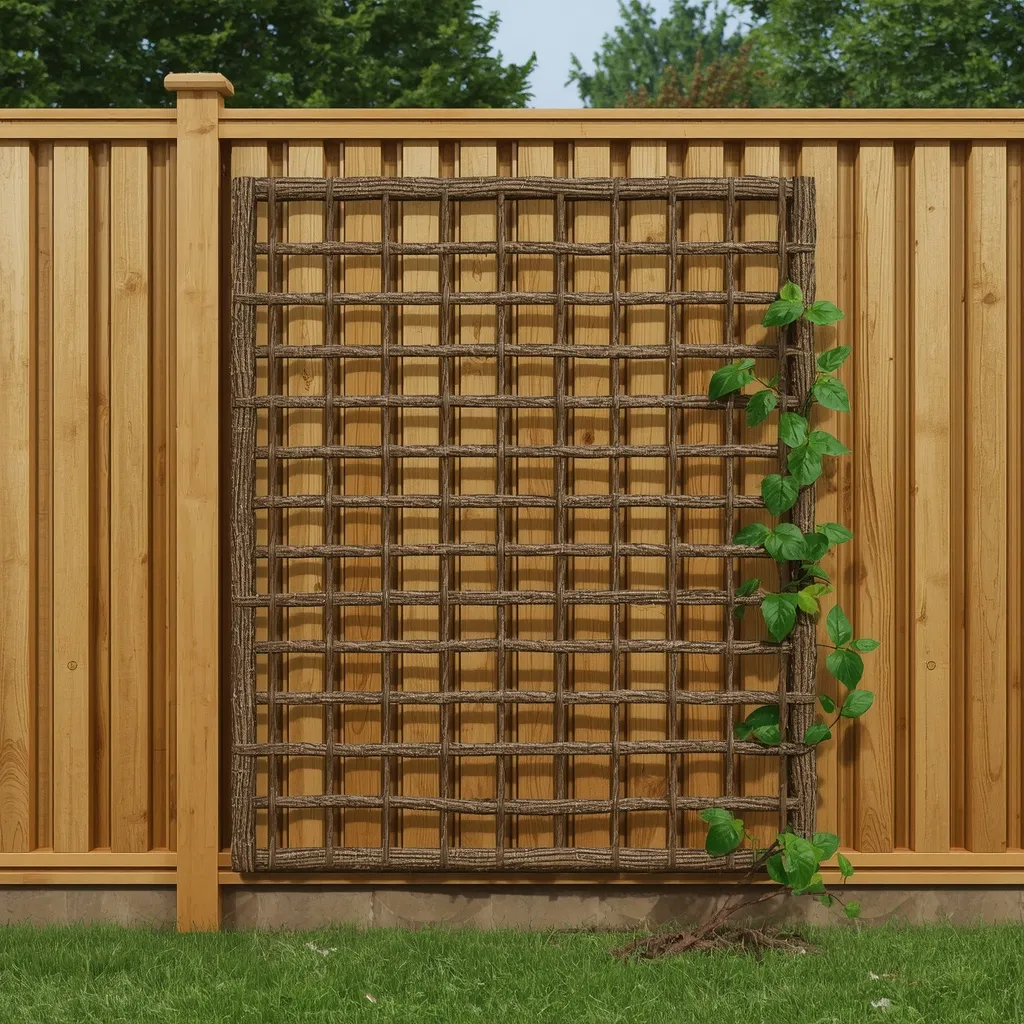
A fence-line panel dresses a plain boundary: a flat lattice of branches fixed along an existing fence, breaking up bare panels and giving climbers something to hold that fence boards don’t provide. Practical and transformative, this hides a dull fence cheaply. Linear, textured, and softening.
Fix panels to fence posts rather than to the boards themselves, since panels rarely take the load of a mature climber and can pull loose in wind. Leave a gap of about 5 cm (2 in) behind the lattice. Note the maintenance point: anything fixed to a fence you’ll eventually need to repaint or replace becomes an obstacle, so use removable ties rather than permanent fixings if the fence has years of upkeep ahead. This suits renters, plain boundaries, and small gardens.
- Why it works: Fixing to posts rather than boards handles the wind load a covered panel generates.
- Best for: Renters; plain fences; small gardens.
- Key elements: fixed to posts, 5 cm standoff, removable ties for future fence maintenance.
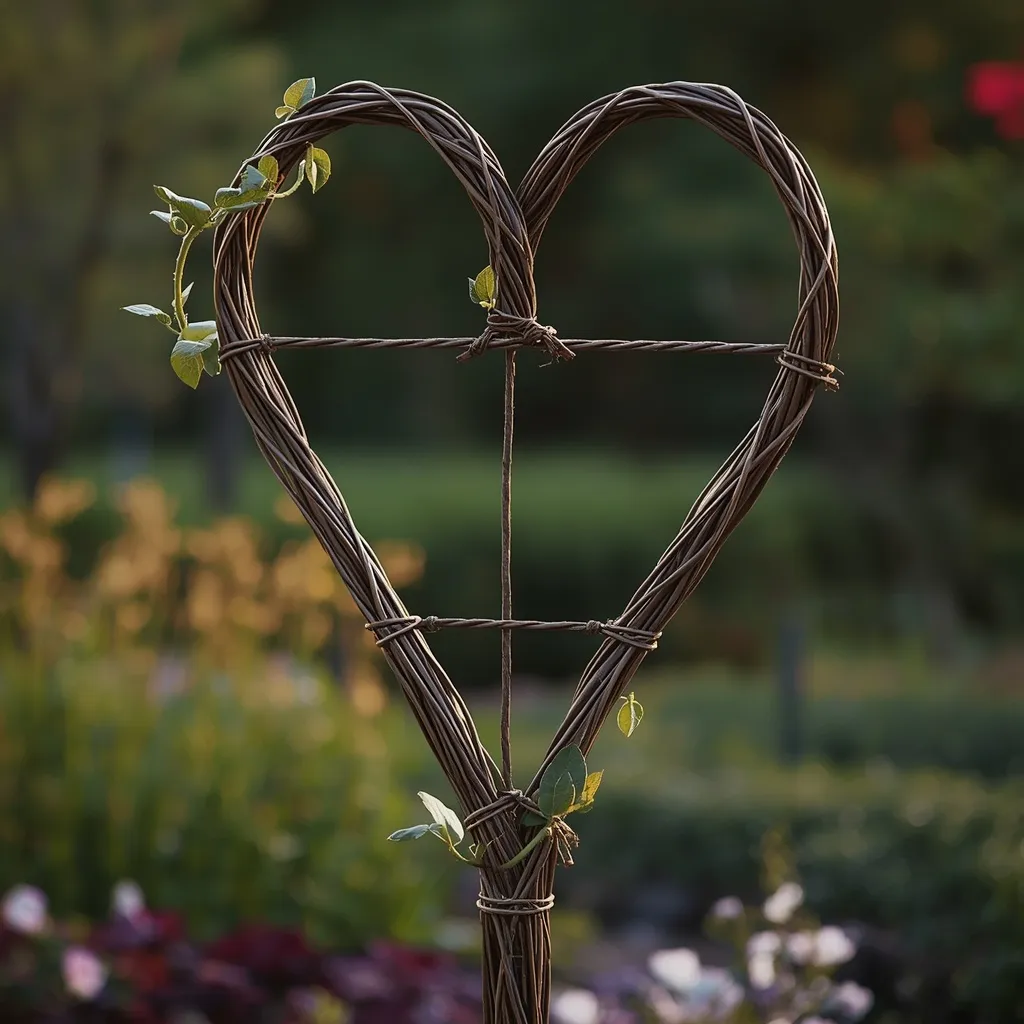
15. Sculptural Branch Trellis
A sculptural trellis abandons the grid: branches bent and lashed into a heart, a spiral, or a free-form curve, standing in a border as much as artwork as support. Playful and personal, this is where twig work becomes expression. Curved, original, and characterful.
Bend fresh flexible rods into the shape while green and lash the joints in several places, since a single tie at each junction lets the shape drift as the wood dries and settles. Build the outline first and add internal cross rods afterward, because a shape without internal bracing distorts under its own weight within a season. Keep the design simple, as complex shapes disappear entirely once a climber covers them. This suits creative gardeners, focal points, and children’s garden projects.
- Why it works: Internal cross bracing holds a curved shape that would otherwise distort under its own weight.
- Best for: Creative gardeners; focal points; family projects.
- Key elements: fresh green rods, multiple ties per joint, outline first then bracing, simple shapes.
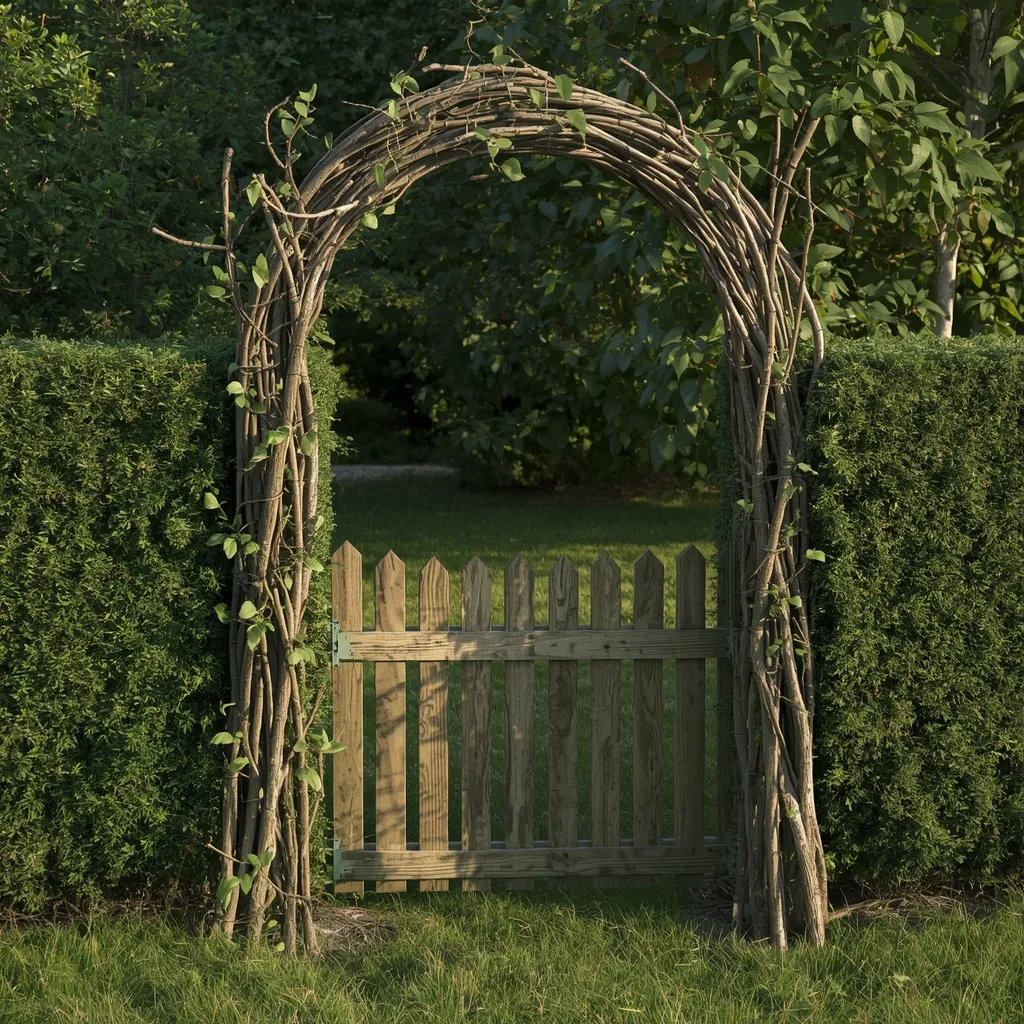
16. Twig Gate Arch
A gate arch marks a threshold: a woven arch built over an existing gate or gap in a hedge, with climbers softening the frame and a clear sense of arriving somewhere. Welcoming and defining, an arch at a gate does real navigational work. Framed, arched, and welcoming.
Build the arch independently of the gate itself, standing on its own uprights, so the gate can still swing freely and be maintained or replaced without dismantling the structure. Allow generous clearance above head height, remembering climbers will hang down 20–30 cm (8–12 in) once established. Set uprights well outside the swing path. This suits garden entrances, hedge gaps, and gardens wanting defined thresholds.
- Why it works: Standing on its own uprights lets the gate swing and be replaced without touching the arch.
- Best for: Garden entrances; hedge gaps; defined thresholds.
- Key elements: independent uprights, clear of the swing path, extra headroom for hanging growth.
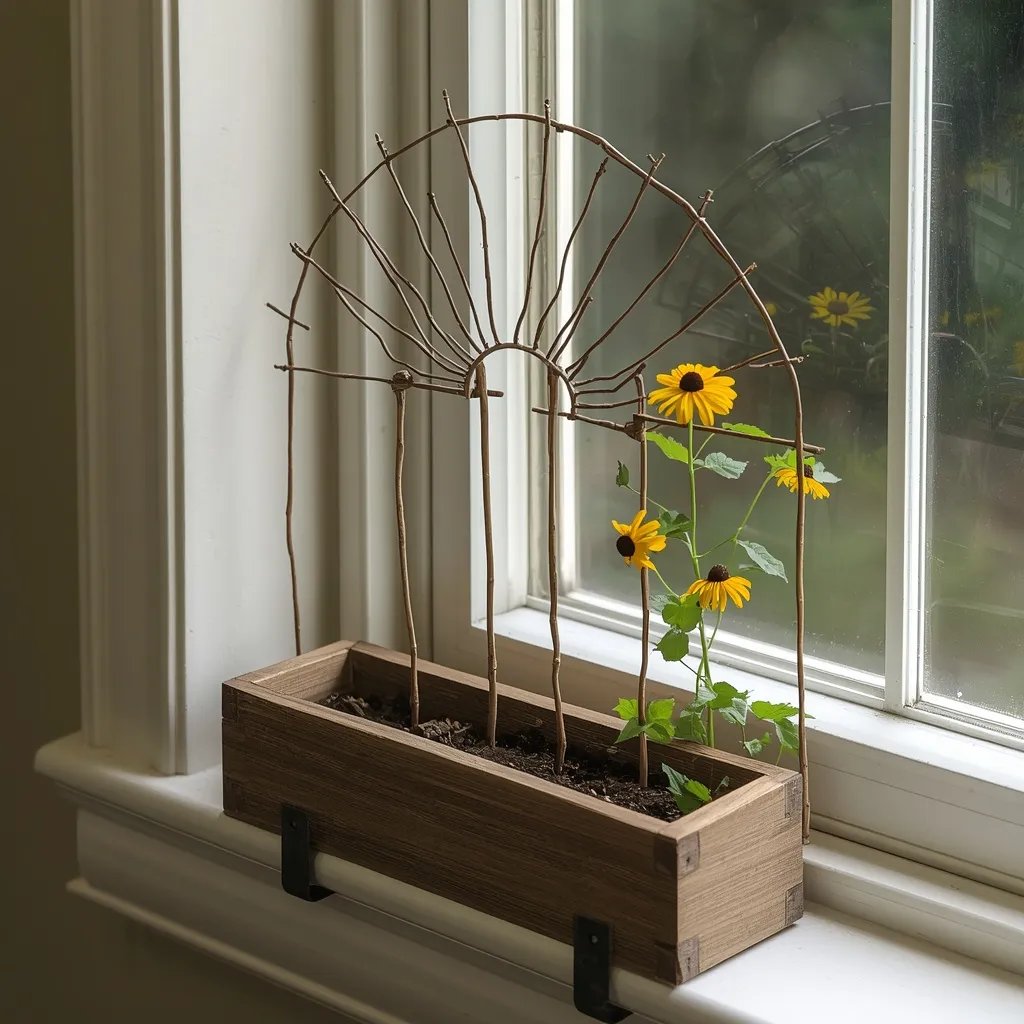
17. Window Box Mini Trellis
A mini trellis scales the idea down to a windowsill: a small fan or grid of slim twigs set into a window box, with a compact trailing or climbing plant winding up against the glass. Tiny and charming, this is twig work for people with no garden at all. Small, delicate, and clever.
Use thin twigs of 5–8 mm (0.25 in) diameter, since anything thicker looks clumsy at this scale, and push them into the compost until they reach the box’s base for stability. Choose genuinely compact climbers, sweet peas bred for containers, or annual black-eyed Susan vine, rather than vigorous species that will swamp a small box within weeks. Secure window boxes properly with brackets rated well above the filled weight, since wet compost is heavy and a falling box is dangerous. This suits apartments, renters, and gardeners without outdoor space.
- Why it works: Twigs pushed to the base of the box stay upright where shallow insertion topples in wind.
- Best for: Apartments; renters; windowsill gardening.
- Key elements: 5–8 mm twigs, pushed to box base, compact climbers only, brackets rated above filled weight.
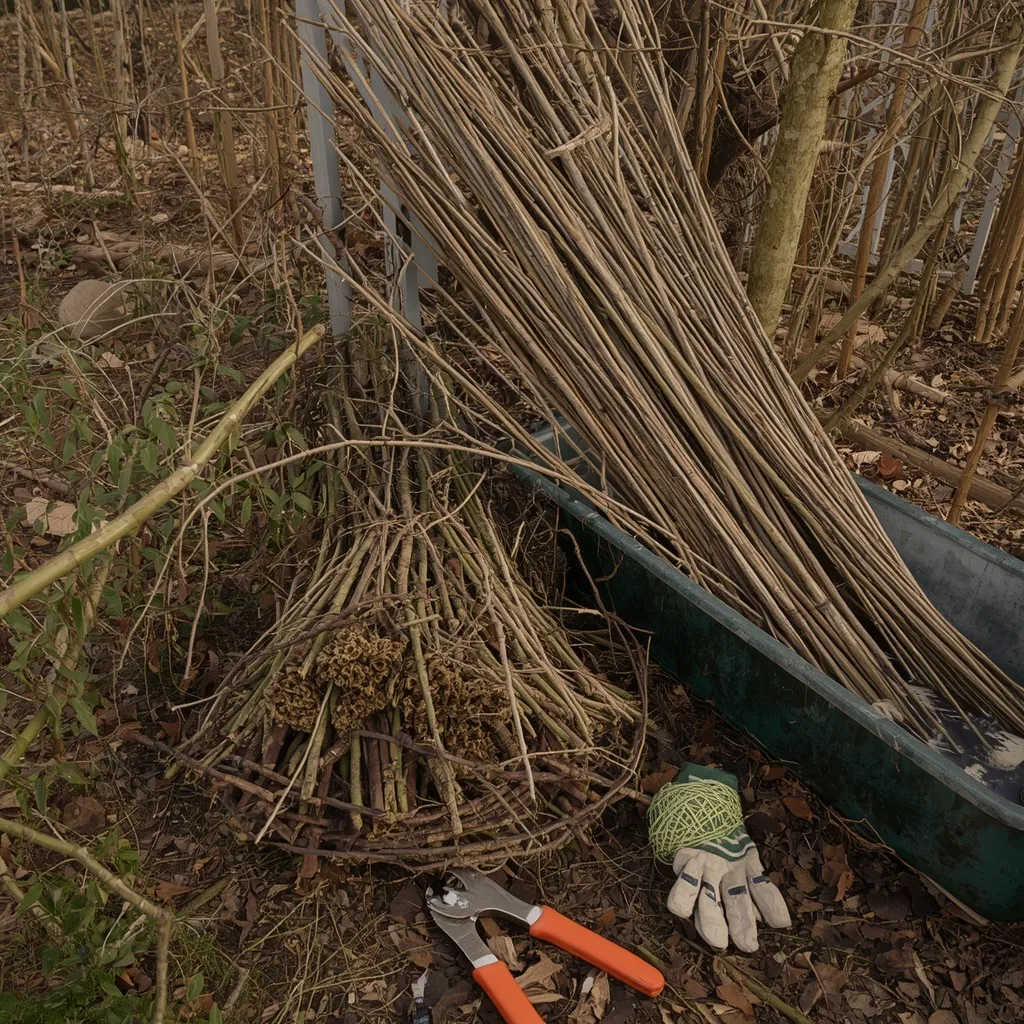
18. The Harvest and Build Method
Good twig work starts before construction: cutting at the right season, sorting by thickness, soaking what’s dried out, and lashing joints that hold. Methodical and unglamorous, this sequence is what separates a structure that lasts from one that sags by midsummer. Ordered, careful, and skill-building.
Cut in late winter while wood is dormant and flexible, taking material from your own prunings or with the landowner’s permission, never from protected sites or land you don’t have rights to. Sort rods by thickness before starting, keeping the straightest for uprights. Soak dried rods for one to two days before bending. Lash joints with garden twine in a figure-of-eight, retightening after a few weeks as wood shrinks. Char or gravel-bed the buried ends, since rot always begins at the soil line. Two cautions worth heeding: avoid yew, whose foliage and seeds are toxic to people and livestock, and don’t transport gathered wood long distances, since moving untreated wood spreads tree pests and is restricted in some regions. Wear gloves and eye protection, as springy branches whip back sharply when released. This suits every twig project.
- Why it works: Rot always starts at the soil line, so treating just that zone extends a structure’s life most.
- Best for: Every twig trellis project; skill-building beginners.
- Key elements: late-winter cutting with permission, sorted by thickness, dried rods soaked 1–2 days, figure-of-eight lashing retightened, charred or gravel-bedded ends, no yew, wood kept local.
How Do You Make a Twig Trellis?
Make a twig trellis by cutting flexible branches in late winter, sorting them by thickness, and lashing them into shape with garden twine. Willow and hazel are the best species because they bend through tight curves without snapping. Use the straightest, thickest rods as uprights, weave or tie thinner rods across them, and sink any ground-set uprights at least 30 cm (12 in) deep. Soak dried branches for a day or two before bending, since dry wood cracks where green wood flexes.
Garden projects that use what you already have are central to the Sunday Abode approach. The same gathered branches work beautifully indoors too, as our guide to arranging summer flowers shows when it comes to structuring a vase. For more growing inspiration, browse the rest of our flower garden ideas.
Which Branches Work Best for a Twig Trellis?
Species is the single biggest factor in whether a twig trellis works. This compares the common options by how well they bend, how long they last, and what each suits.
| Wood | Bends? | Typical lifespan | Best used for |
| Willow | Excellent | 5–8 years | Weaving, arches, living structures |
| Hazel | Very good | 5–8 years | Uprights, arches, sturdy frames |
| Dogwood | Good | 3–5 years | Small woven panels, color interest |
| Birch | Fair; twiggy | 2–4 years | Pea brush, fine detail work |
| Young ash | Fair | 4–6 years | Straight uprights and rails |
| Chestnut | Poor; stiff | 8–12 years | Heavy uprights, rose arbors |
| Oak or maple | Poor; snaps | Long if thick | Straight structural pieces only |
| Yew | Avoid | — | Not recommended; toxic foliage and seeds |
Safety notes: wear sturdy gloves and eye protection when cutting and bending branches, since springy rods whip back sharply when released and cut ends are surprisingly capable of causing eye injuries. Keep loppers, pruning saws, and secateurs sharp, as blunt tools slip. Cut only from your own garden or with the landowner’s explicit permission, never from protected sites or public woodland where cutting is restricted. Avoid yew for garden structures, since its foliage and seeds are toxic to people, pets, and livestock, and check what you’re handling before cutting unfamiliar material, climbing vines on gathered branches can include poison ivy or poison oak in regions where those grow. Do not transport untreated cut wood long distances, as moving it spreads tree pests and diseases and is restricted in some regions; use local material. When building anything overhead, work with a helper rather than balancing alone, and use a stable step ladder on level ground rather than standing on furniture or garden containers. Secure window boxes and wall-mounted frames with fixings rated well above the filled wet weight, since wet compost is heavy and a falling box is dangerous. Keep willow structures well away from drains, septic systems, and building foundations, since willow roots are vigorous and water-seeking.
Frequently Asked Questions
What branches are best for a twig trellis?
Willow and hazel are the best choices because both bend through tight curves without snapping, which is what weaving and arch-building require. Dogwood, birch, and young ash are workable for lighter structures. Oak, maple, and most fruit wood are too stiff to weave and are better used as straight uprights. Avoid yew entirely, since its foliage and seeds are toxic.
When should I cut branches for a trellis?
Late winter is ideal, while the wood is dormant and at its most flexible, and before leaves make handling awkward. Freshly cut green wood bends readily, which matters enormously for woven or curved designs. If you’re working with branches that have already dried out, soak them for one to two days before bending or they’ll crack at the first tight curve.
How long does a twig trellis last?
It depends on the wood and its thickness. Thin twig structures typically last two to three years, woven willow and hazel five to eight, and thick chestnut uprights considerably longer. Rot always begins at the soil line where wood meets damp ground, so charring the buried ends or bedding uprights on gravel adds a season or two to the life of any structure.
Will a twig trellis support a climbing rose?
Only if it’s built for the weight. A mature climbing rose is genuinely heavy, especially when wet, and will flatten a delicate woven panel within a couple of seasons. Use uprights of at least 6–8 cm (2.5–3 in) diameter for roses. Light annual climbers like sweet peas, clematis, and black-eyed Susan vine are much better suited to fine twig work.
Will willow branches take root in the ground?
Fresh-cut willow very often does. Willow strikes so readily that rods pushed into damp ground in late winter will usually root and sprout leaves, which is exactly how living willow arches and tunnels are made. If you want a static structure rather than a living one, use seasoned willow that has dried out, or choose hazel instead. Living willow needs pruning at least once a year.
Can I make a twig trellis for a balcony or window box?
Yes, scaled down. Use thin twigs of 5–8 mm (0.25 in) diameter, push them right down to the base of the container so the soil mass anchors them, and choose a heavy pot, since a planted structure catches wind. Stick to compact climbers such as container-bred sweet peas rather than vigorous species that will swamp a small box within weeks.
How do you join twigs together securely?
Lash joints with garden twine using a figure-of-eight wrap, which pulls the two pieces tight against each other rather than simply bundling them. Retighten the ties after a few weeks, since wood shrinks as it dries and joints that felt firm on build day loosen. For curved and sculptural shapes, use several ties per junction rather than one, or the shape drifts as the wood settles.
Conclusion
The best twig trellis ideas share one thing: they’re matched to the material and the plant. Choose willow or hazel if you want to weave, cut in late winter while the wood still bends, sort your rods before you start, and be honest about what each structure can carry, a wigwam that carries sweet peas beautifully will buckle under a mature rose. Build one afternoon’s worth and you’ll have a support that costs nothing, looks better than anything shop-bought, and can be composted when it finally gives way. For more projects like this, explore the flower garden ideas collection on Sunday Abode.