
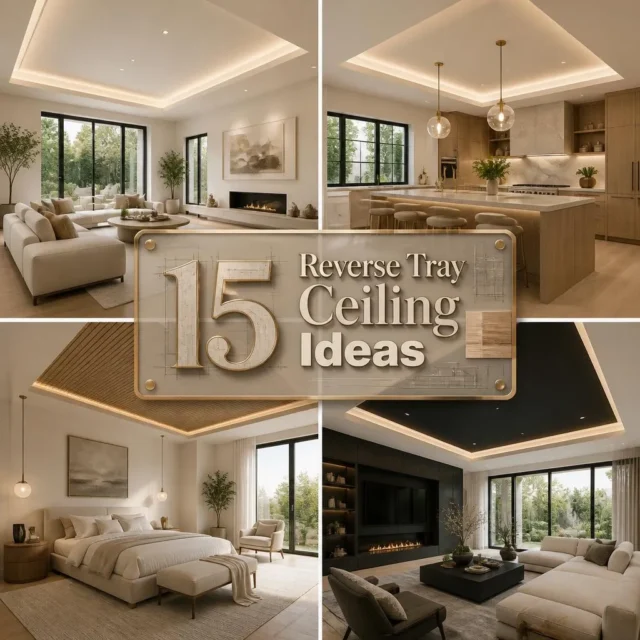

Look up in most homes and you’ll find the largest untouched surface in the house. A reverse tray ceiling idea changes that, turning a flat, forgotten expanse into architecture, with a dropped center panel that seems to float and a glow of hidden light around its edges. It’s the detail that makes a builder-grade room suddenly look designed, and it works just as beautifully over a kitchen island as it does above a bed. At Sunday Abode, we believe the best design details are the ones people feel before they notice, and this is one of them. These 15 ideas cover every room, plus the honest structural and ceiling-height realities most articles never mention.
Key Takeaways
- A reverse tray ceiling drops the center panel downward (or lifts the perimeter), so the middle reads as a floating box, the opposite of a standard tray, which recesses the center upward.
- Because it lowers the center, a reverse tray needs ceiling height. In a standard 2.4 m (8 ft) ceiling a deep drop feels oppressive; use a shallow reveal instead.
- Hidden LED cove lighting around the perimeter is the signature effect, washing the upper surface with indirect light.
- Check what’s above the ceiling first, joists, ducts, and plumbing often occupy exactly the cavity you want to use. Never cut structural joists.
- This is a build project, not a rental-friendly one; leave the wiring to a licensed electrician and check your local code’s minimum ceiling height.
What Is a Reverse Tray Ceiling?
A reverse tray ceiling is a ceiling in which the central section is dropped below the surrounding perimeter, so the middle reads as a lowered, floating panel. It inverts the standard tray ceiling, where the center is instead recessed upward and the perimeter sits lower.
The practical effect is different in each case. A standard tray draws the eye up and makes a room feel taller. A reverse tray does the opposite: it brings the ceiling plane down over a defined area, creating intimacy and framing whatever sits beneath it, an island, a bed, a dining table. That makes it a zoning tool as much as a decorative one, which is why it appears so often in open-plan homes.
Worth knowing: builders and designers use these terms loosely, and “reverse tray” occasionally gets applied to any inverted or stepped ceiling detail. If you’re briefing a contractor, describe what you want, center dropped, perimeter higher, cove lighting in the reveal, rather than relying on the label alone.
1. Modern Minimalist Living Room
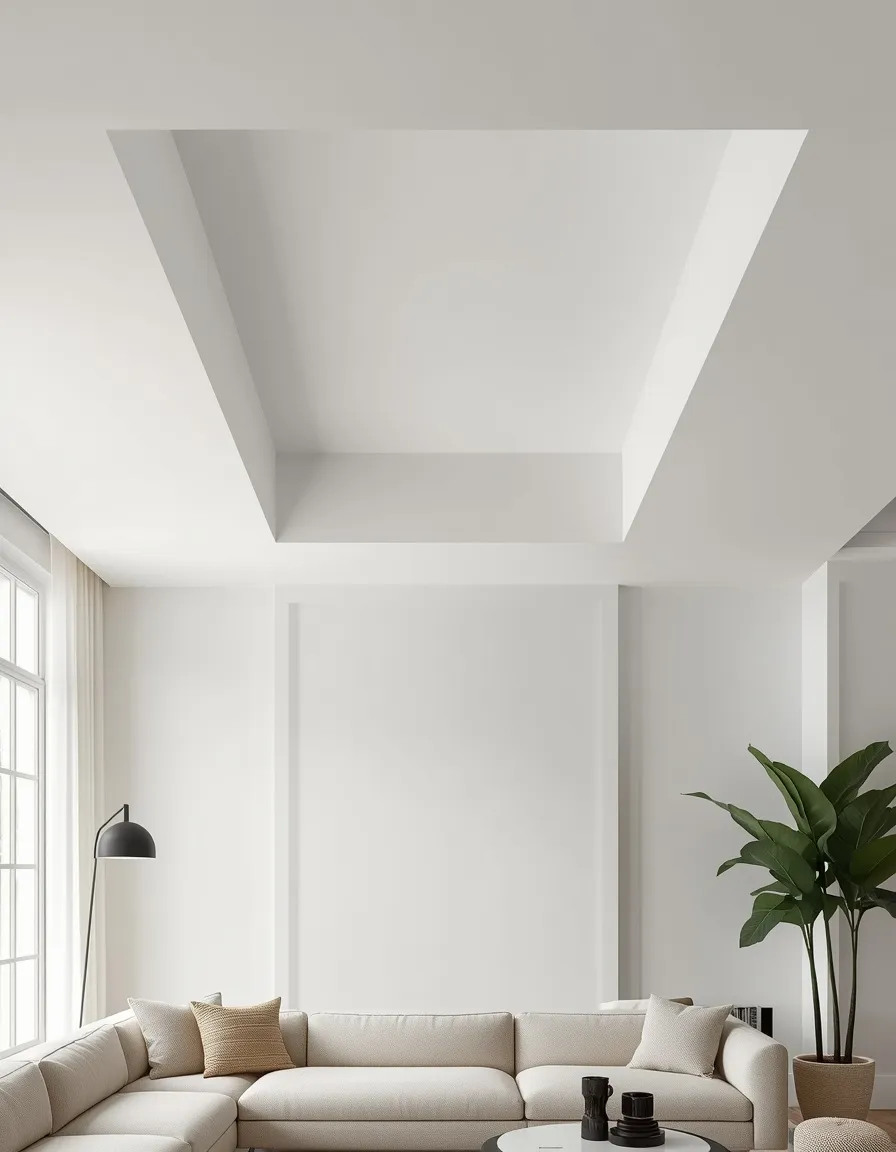
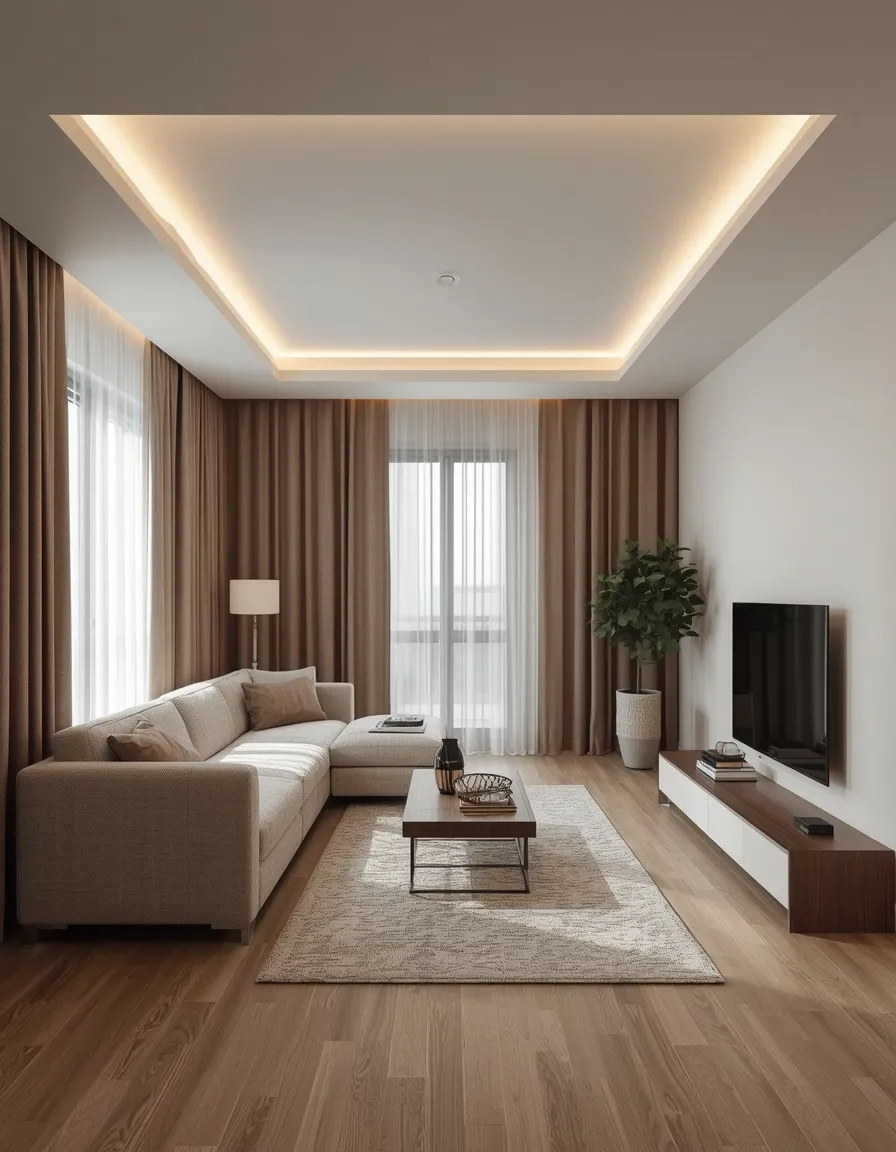
A clean, unadorned reverse tray gives a modern living room quiet architectural weight. A crisp dropped panel with sharp square edges, no molding at all, and a slim shadow gap around the perimeter floats above the seating area like a piece of built-in sculpture.
The minimalist version depends entirely on precision, since there is no molding to hide imperfect joints. Keep the drop shallow, around 10–15 cm (4–6 in), and the edges square rather than beveled, and paint the whole ceiling a single color so the shape reads through shadow alone. A narrow shadow-gap reveal at the perimeter looks far more contemporary than crown molding. This suits modern and minimalist homes with ceilings of at least 2.7 m (9 ft), where the drop won’t crowd the room.
- Best for: modern, minimalist rooms with 2.7 m (9 ft) or higher ceilings.
- Watch out: no molding means joints must be perfect; hire a skilled finisher.
- Key elements: shallow square drop, shadow-gap reveal, single paint color.
2. Kitchen Island Statement Ceiling
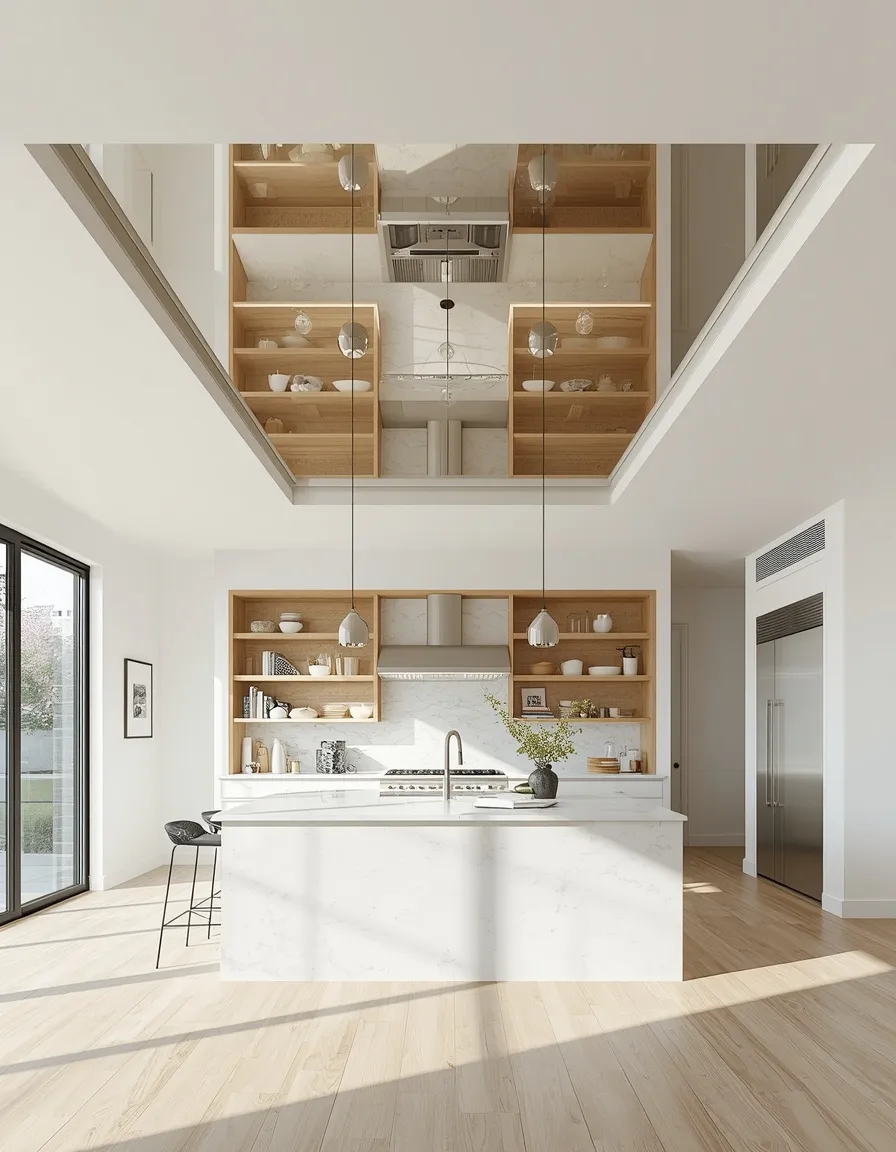
A reverse tray directly above a kitchen island turns cooking space into architecture. The dropped rectangular panel mirrors the island’s footprint below, tying the two together and giving an open-plan kitchen a defined center of gravity.
Size the tray to echo the island beneath it, ideally matching or slightly exceeding its footprint so the proportions read as deliberate. Because the panel drops, it also gives you a place to conceal ductwork or run wiring for pendant lights, which is a genuine practical bonus in a kitchen. Hang pendants from the dropped panel rather than the higher perimeter so they don’t look stranded. Check for existing ducts and plumbing above before framing. This suits open-plan kitchens with generous ceiling height.
- Best for: open-plan kitchens needing a defined focal zone.
- Why it works: the dropped panel can conceal ductwork and pendant wiring.
- Key elements: tray sized to the island, pendants hung from the dropped panel.
3. Cove-Lit Bedroom Canopy
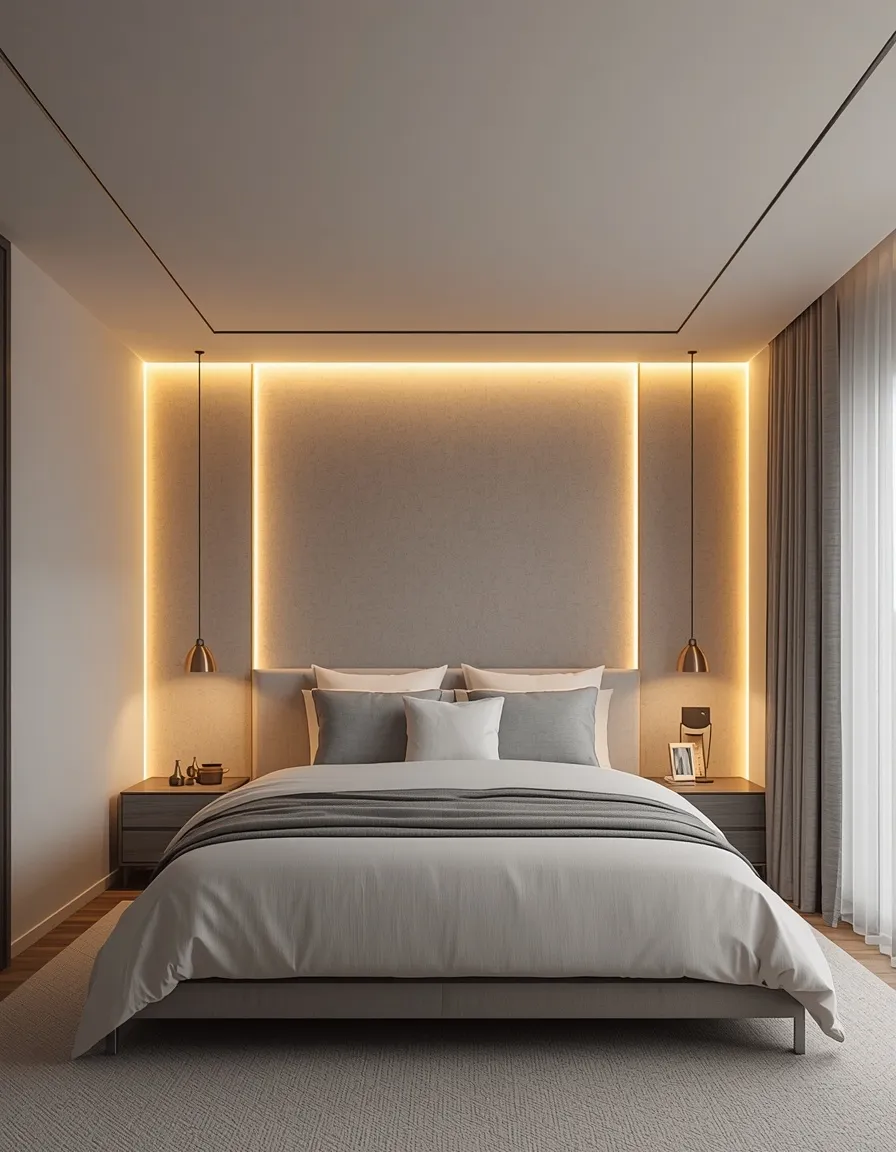
Above a bed, a reverse tray becomes a soft architectural canopy. The dropped panel frames the bed below while hidden LED strips wash warm light up into the perimeter recess, giving the room a glow with no visible fixture at all.
Center the tray over the bed and size it to align with the bed’s width, so the composition looks intentional from the doorway. Conceal warm-white LED strip lighting, around 2700K to 3000K for a restful bedroom, in the perimeter reveal, aimed upward. Put the cove lighting on a dimmer, which is what makes it usable at night rather than merely decorative. Never rely on the strip as the room’s only light source; keep bedside lamps too. This suits main bedrooms with ceilings of 2.7 m (9 ft) or more.
- Best for: main bedrooms wanting soft, hidden, restful lighting.
- Watch out: use warm-white LEDs on a dimmer; keep bedside lamps as task light.
- Key elements: tray aligned to bed width, concealed uplighting, dimmer switch.
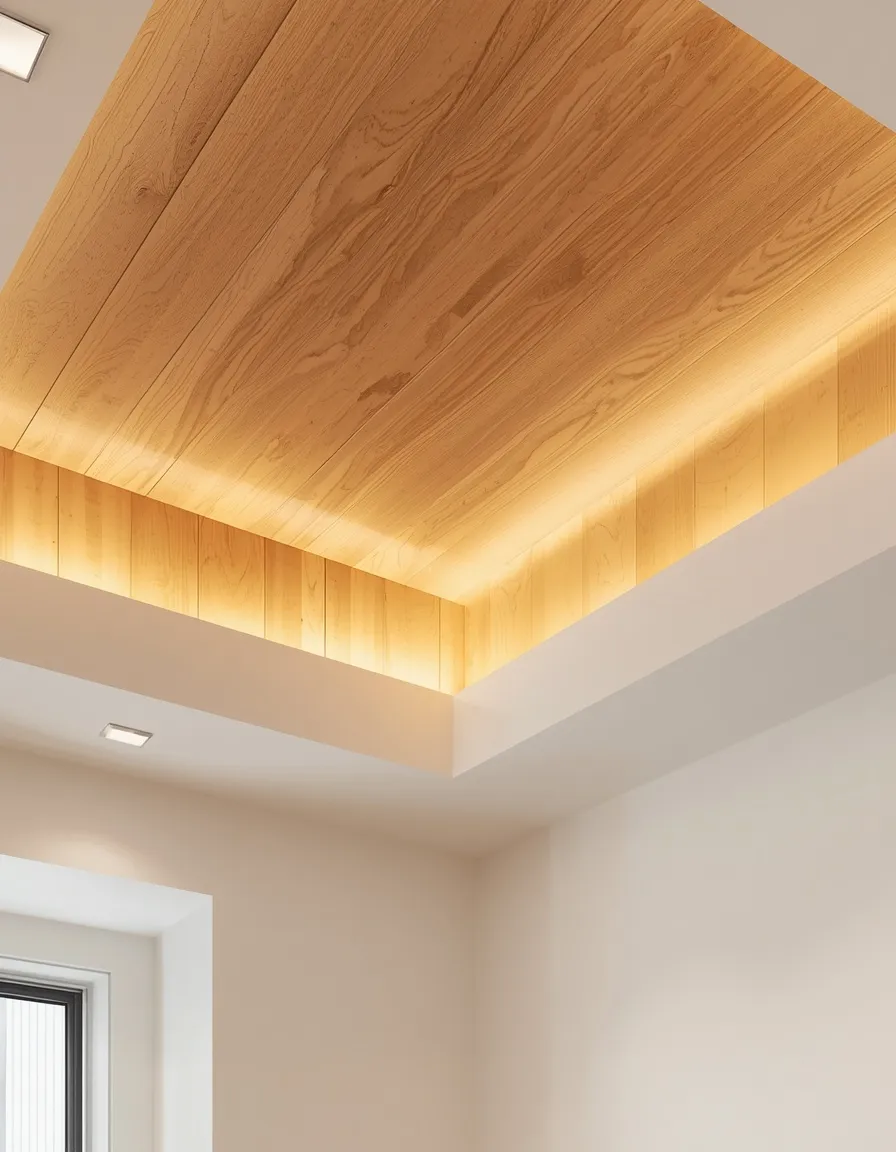
4. Warm Wood-Clad Panel
Cladding the dropped panel in timber transforms a plain white ceiling into a warm architectural feature. Oak, walnut, or stained pine on the lowered surface brings grain, color, and texture right into the room’s upper plane.
Line the underside of the dropped panel with real wood, planks, slats, or veneered panels, while keeping the surrounding perimeter painted white so the wood reads as an inset feature rather than a heavy beam ceiling. Wood slats also help absorb sound, softening echo in a hard-surfaced open-plan room. Because timber is heavier than drywall, confirm the framing is properly rated for the load. This suits Scandinavian, mid-century, and modern rustic interiors, and pairs especially well with white walls.
- Best for: Scandi, mid-century, and modern rustic rooms.
- Why it works: wood slats add warmth and genuinely absorb sound in echoey rooms.
- Watch out: timber is heavier than drywall; confirm framing is rated for it.
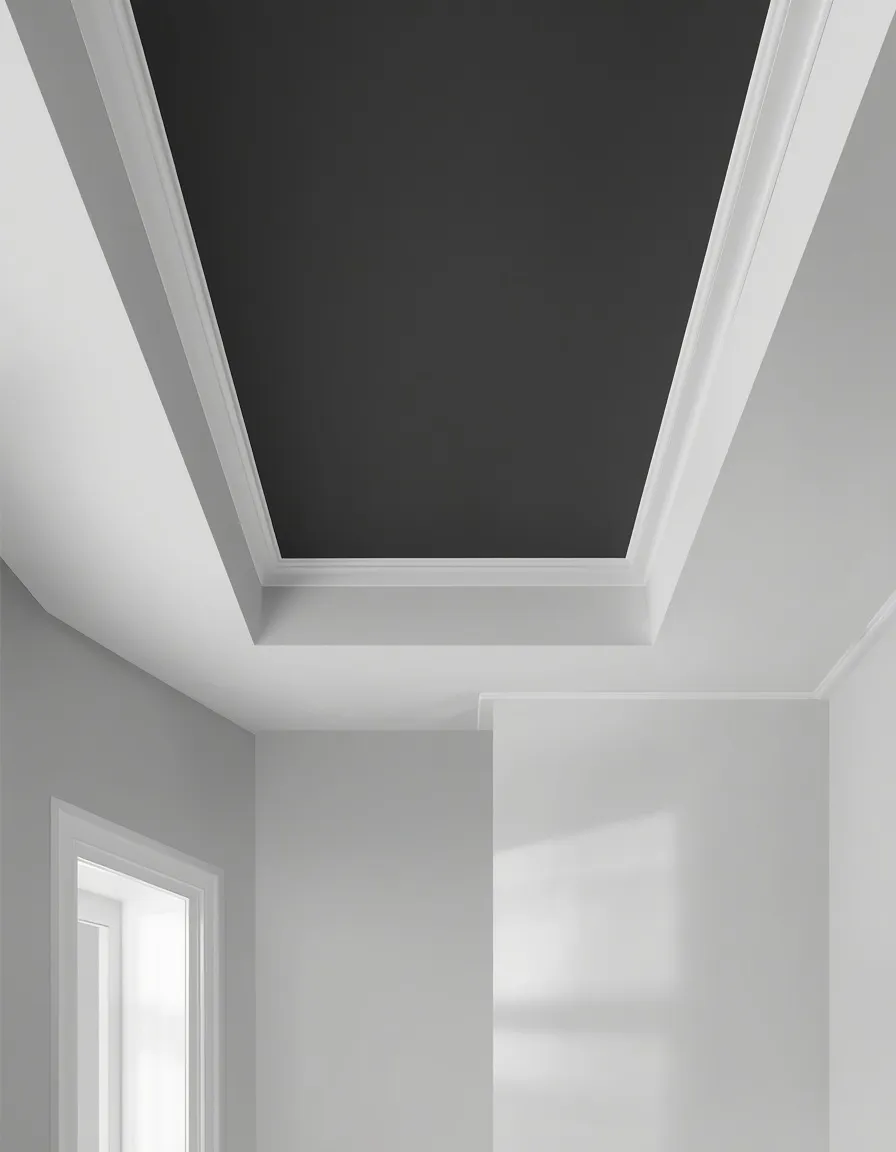
5. Two-Tone Painted Contrast
Painting the dropped panel a different shade from the perimeter makes the geometry unmistakable. A deep charcoal, navy, or forest green center against a crisp white surround turns a subtle architectural move into a graphic statement.
Paint the lowered panel in the darker shade and the perimeter in white or a pale neutral, which reinforces the sense of a floating box. Darker colors visually recede a little, which softens the impact of the drop, genuinely useful if your ceiling is on the lower side. Use a flat or matte ceiling paint, since any sheen highlights every imperfection in a large flat plane. This is the cheapest way to make a reverse tray read strongly, and it suits bold, modern, and eclectic rooms of any size.
- Best for: bold rooms; the cheapest way to make the geometry read.
- Why it works: a darker panel recedes slightly, softening the drop’s visual weight.
- Watch out: use flat or matte ceiling paint; sheen exposes every flaw.
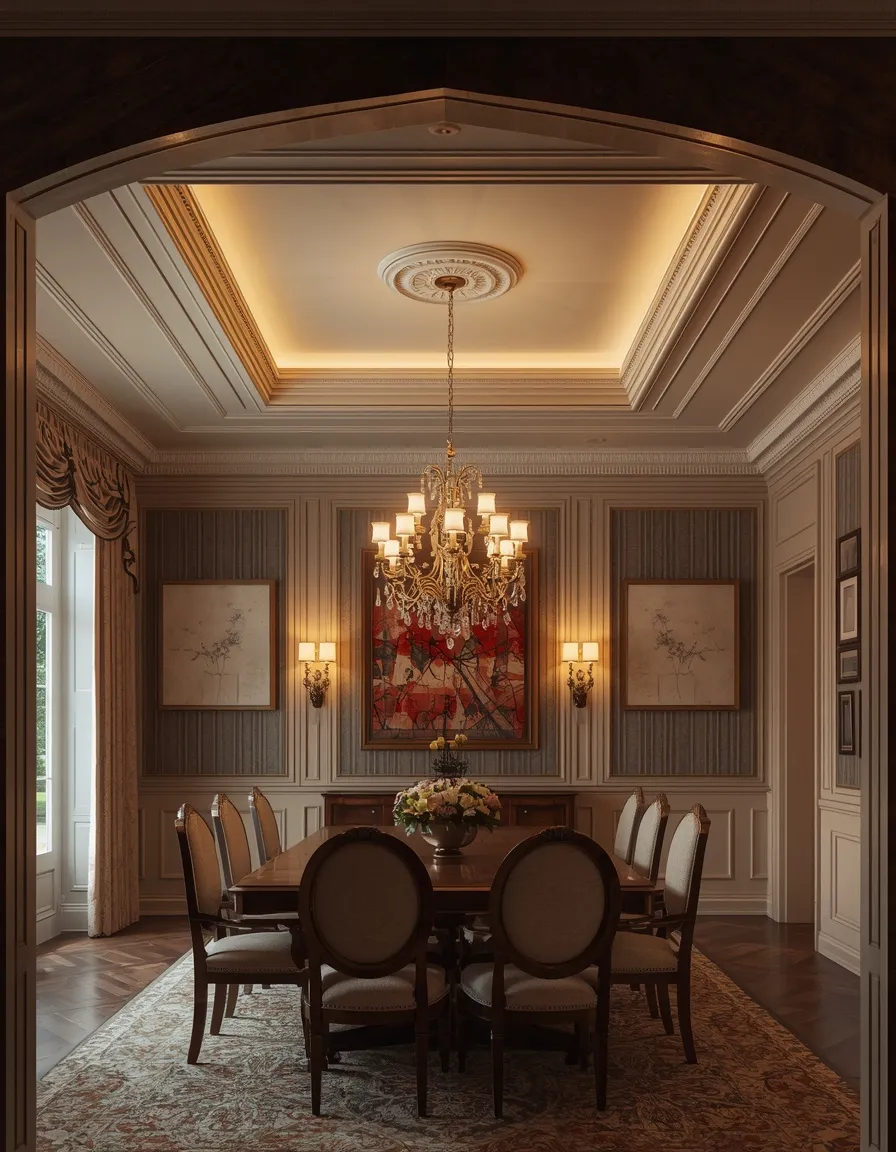
6. Dining Room Chandelier Frame
A reverse tray above a dining table frames the chandelier and the gathering below. The dropped panel brings the ceiling closer, making a large dining room feel intimate, while the fixture hangs from its center like a jewel in a setting.
Align the tray with the dining table’s footprint, then hang the chandelier from the center of the dropped panel. Because the panel already lowers the ceiling, hang the fixture a little higher than you otherwise would, roughly 75–90 cm (30–36 in) above the tabletop still applies, measured from the table, so account for the reduced height above. Add a dimmer for evening meals. This suits formal dining rooms and large open-plan spaces where a table needs its own defined zone.
- Best for: formal dining rooms and open-plan spaces needing intimacy.
- Watch out: the drop reduces headroom; keep 75–90 cm (30–36 in) above the table.
- Key elements: tray aligned to table, centered chandelier, dimmer control.
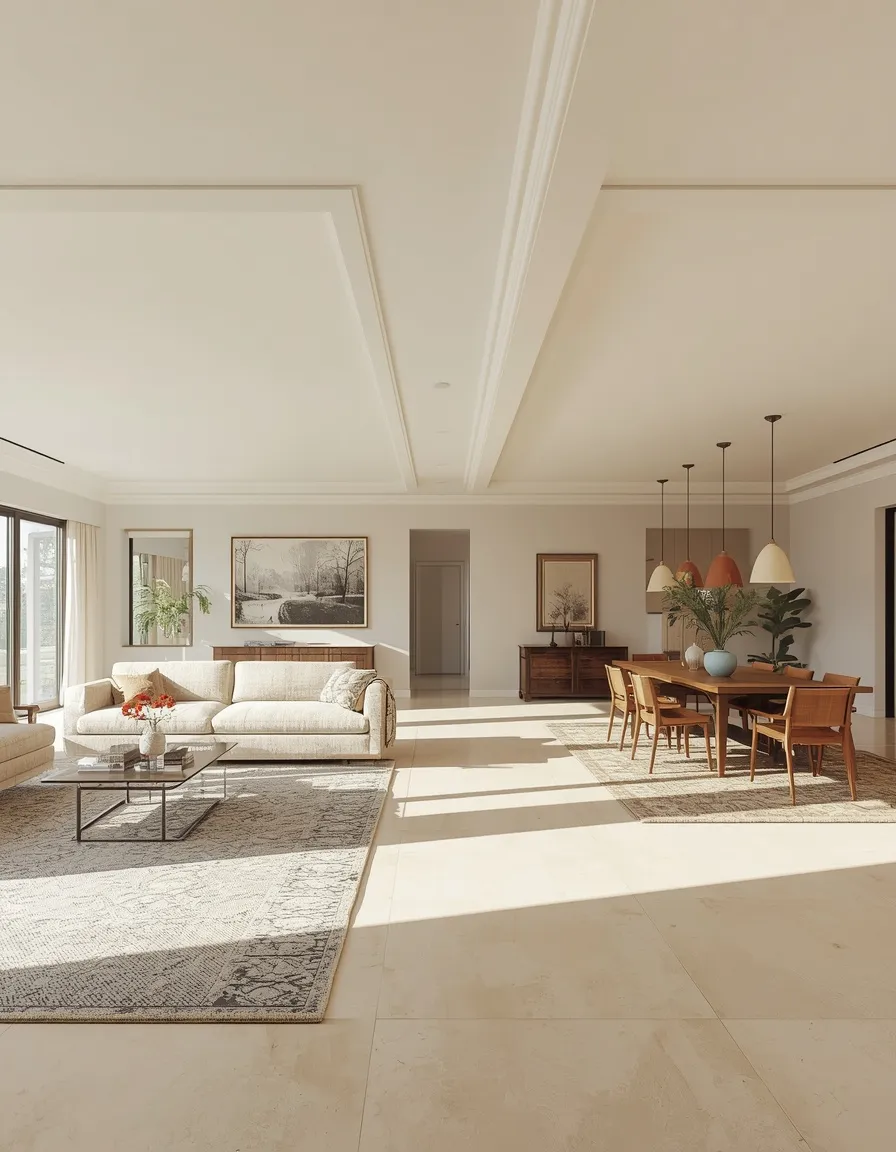
7. Open-Plan Zoning Ceiling
In a large open-plan space, reverse trays act as invisible walls. A dropped panel over the living area and another over the dining zone quietly separate the two without a single partition, letting the ceiling do the work furniture usually has to.
Use a separate reverse tray over each functional zone, sizing each one to the furniture group beneath, the sofa arrangement, the dining table, the island. Keep the drop depth consistent across all of them so the ceiling reads as one coherent design rather than a patchwork. Rugs beneath each zone reinforce the division from below. This is the single most useful application of the design, and it suits large open-plan homes where defining space without walls is the whole challenge.
- Best for: large open-plan homes needing zones without walls.
- Why it works: the ceiling divides space where furniture and rugs alone can’t.
- Key elements: one tray per zone, consistent drop depth, rugs echoing below.
8. Layered Stepped Tray
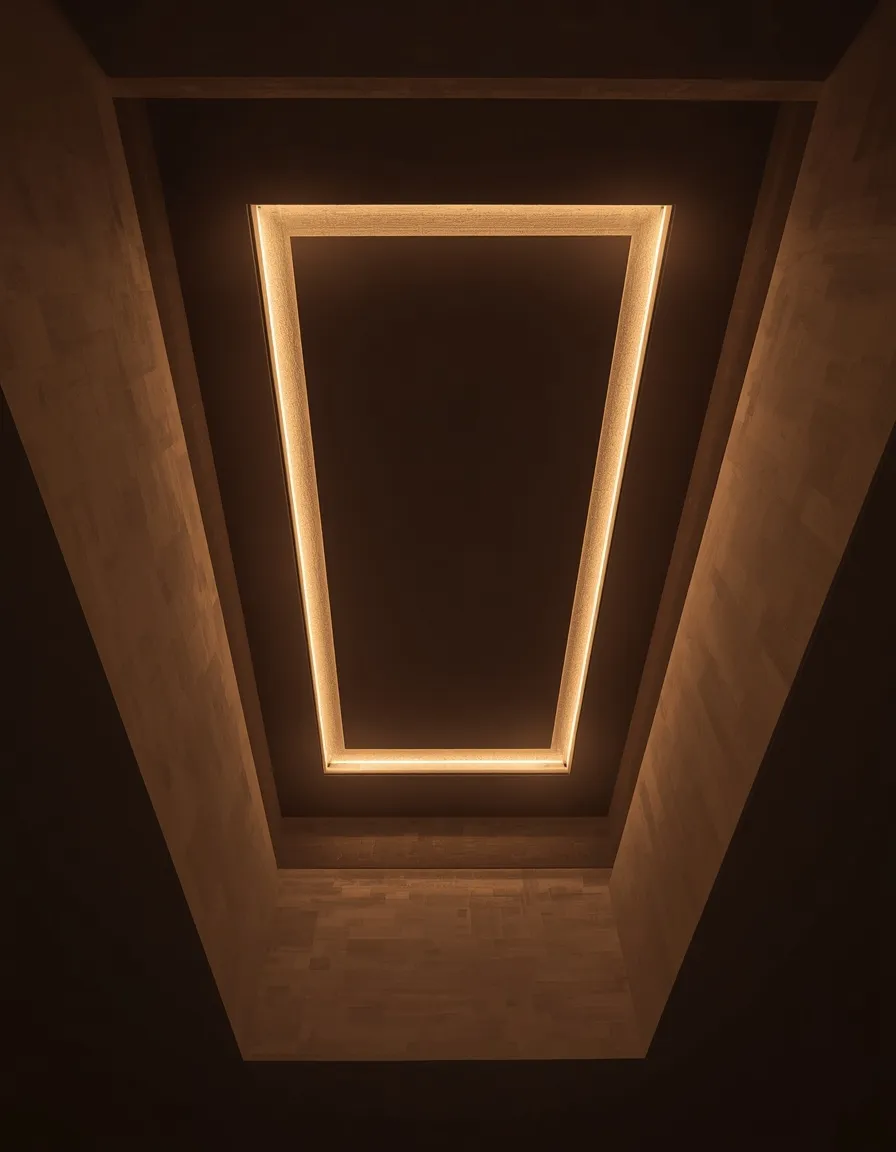
A stepped, multi-tier reverse tray adds real depth and drama. Two or three progressively smaller dropped panels descend toward the center, creating layered shadow lines that give a ceiling genuine architectural presence.
Build the tiers in graduated steps, each dropping perhaps 8–10 cm (3–4 in), and consider concealing LED strips in more than one reveal so the light layers as the shape does. This look demands height, a stepped tray in a low room will feel like the ceiling is closing in, so it genuinely needs 3 m (10 ft) or more to work. Keep the steps clean and square for a modern read, or add molding at each transition for a traditional one. This suits grand entryways, formal rooms, and high-ceilinged homes.
- Best for: grand, high-ceilinged rooms of 3 m (10 ft) or more.
- Watch out: genuinely needs height; in a low room it feels claustrophobic.
- Key elements: 2–3 graduated tiers, layered LED reveals, square or molded edges.
9. Beam-Framed Rustic Ceiling
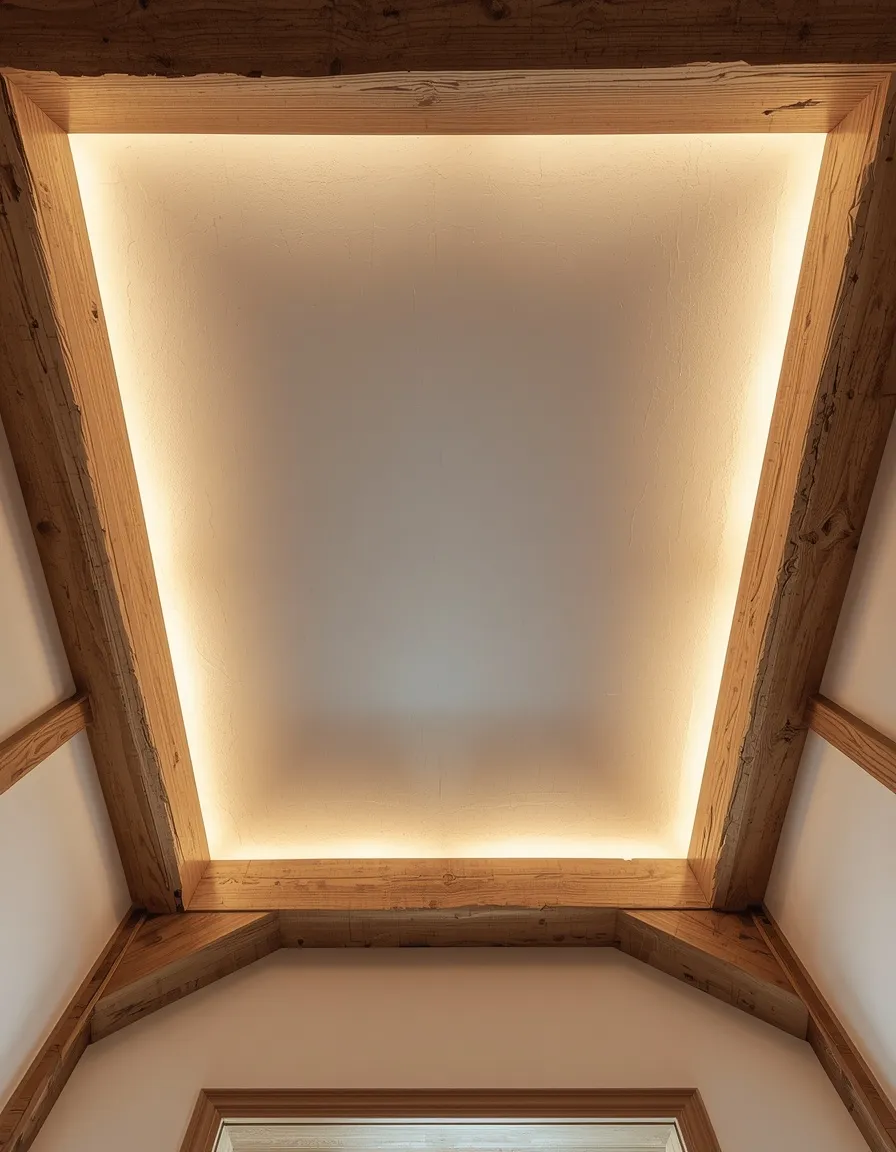
Framing the dropped panel with timber beams marries modern geometry to rustic warmth. Chunky wood beams outline the tray’s perimeter while the recessed surface glows softly behind them, giving a farmhouse or transitional room real character.
Run beams, real timber or convincing box beams built from wood over a light frame, around the edge of the dropped panel, and finish the recessed surface in white plaster or paint so it reads as light against the dark wood. Box beams are far lighter than solid timber and are the practical choice for most homes. Conceal uplighting behind the beams for a soft glow that grazes the wood grain. This suits farmhouse, rustic, and transitional interiors with reasonable ceiling height.
- Best for: farmhouse, rustic, and transitional homes.
- Why it works: lightweight box beams give solid-timber character without the weight.
- Key elements: perimeter beams, pale recessed surface, hidden uplighting.
10. Textured or Papered Inset
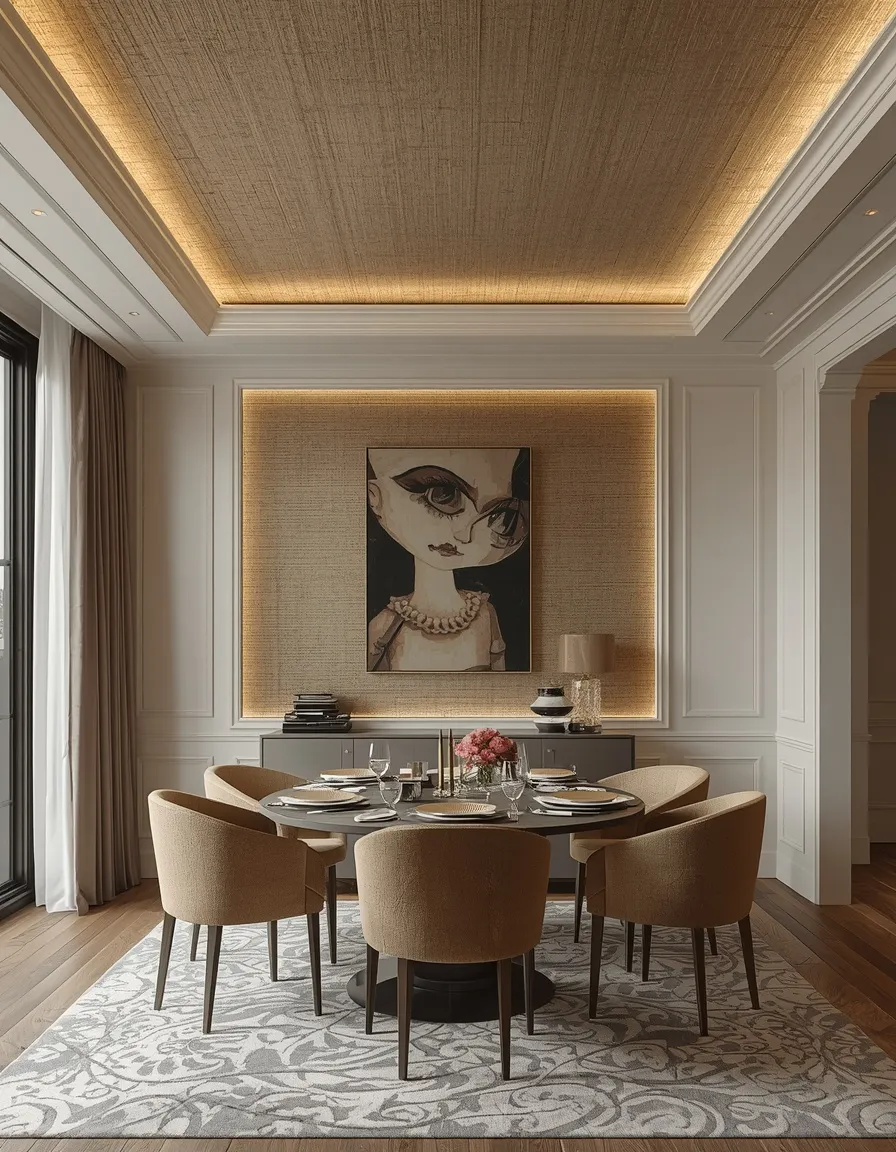
Treating the dropped panel as a canvas turns a ceiling into a surprise. Grasscloth, a subtle wallpaper, or a hand-applied plaster texture on the lowered surface rewards anyone who happens to look up.
Apply the texture or wallpaper only to the underside of the dropped panel, keeping the perimeter plain so the treatment reads as a deliberate inset. Grasscloth and textured plaster both catch raking light beautifully, so pair them with perimeter cove lighting to bring the surface alive. Avoid busy patterns in a small room, where a loud ceiling quickly becomes overwhelming; subtle texture almost always outperforms bold print overhead. This suits dining rooms, powder rooms, and bedrooms, anywhere a small moment of delight belongs.
- Best for: dining rooms, powder rooms, and bedrooms wanting a surprise.
- Watch out: subtle texture beats busy pattern overhead, especially in small rooms.
- Key elements: grasscloth or plaster on the panel only, raking cove light.
11. Grand Entryway Statement
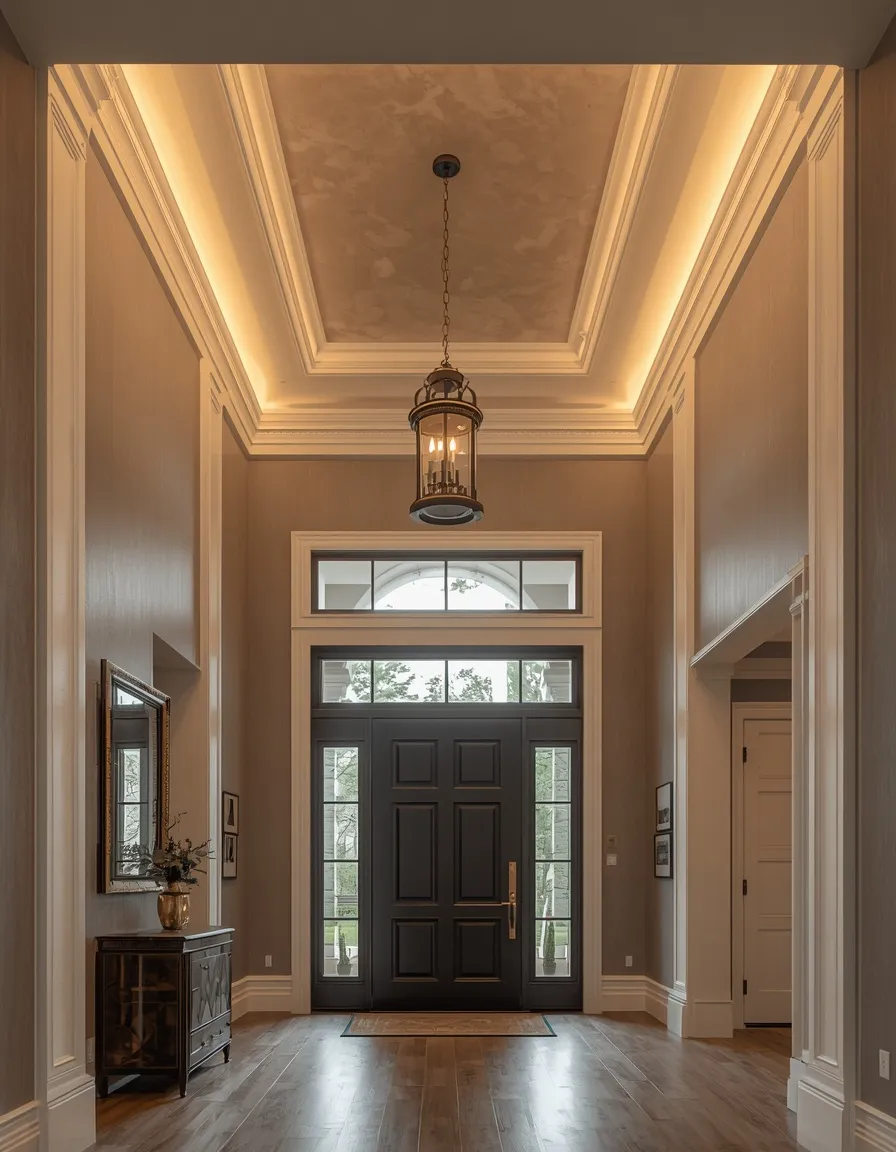
A reverse tray in an entryway sets the tone before anyone reaches the living room. The dropped panel above a foyer, lit from its perimeter and centered on a pendant, gives a first impression of considered, custom design.
Center the tray on the entry’s focal point, usually a pendant, lantern, or the door itself, and keep the geometry simple, since a foyer is a transitional space nobody lingers in. Entryways often have the highest ceilings in a home, which makes them one of the few places a deeper drop genuinely works. Wire the cove lighting to a switch by the door so it greets you on arrival. This suits homes with double-height or generous foyer ceilings and anyone wanting a strong first impression.
- Best for: homes with tall foyers wanting a strong first impression.
- Why it works: entry ceilings are often the tallest, so a deeper drop works there.
- Key elements: simple geometry, centered pendant, cove light switched at the door.
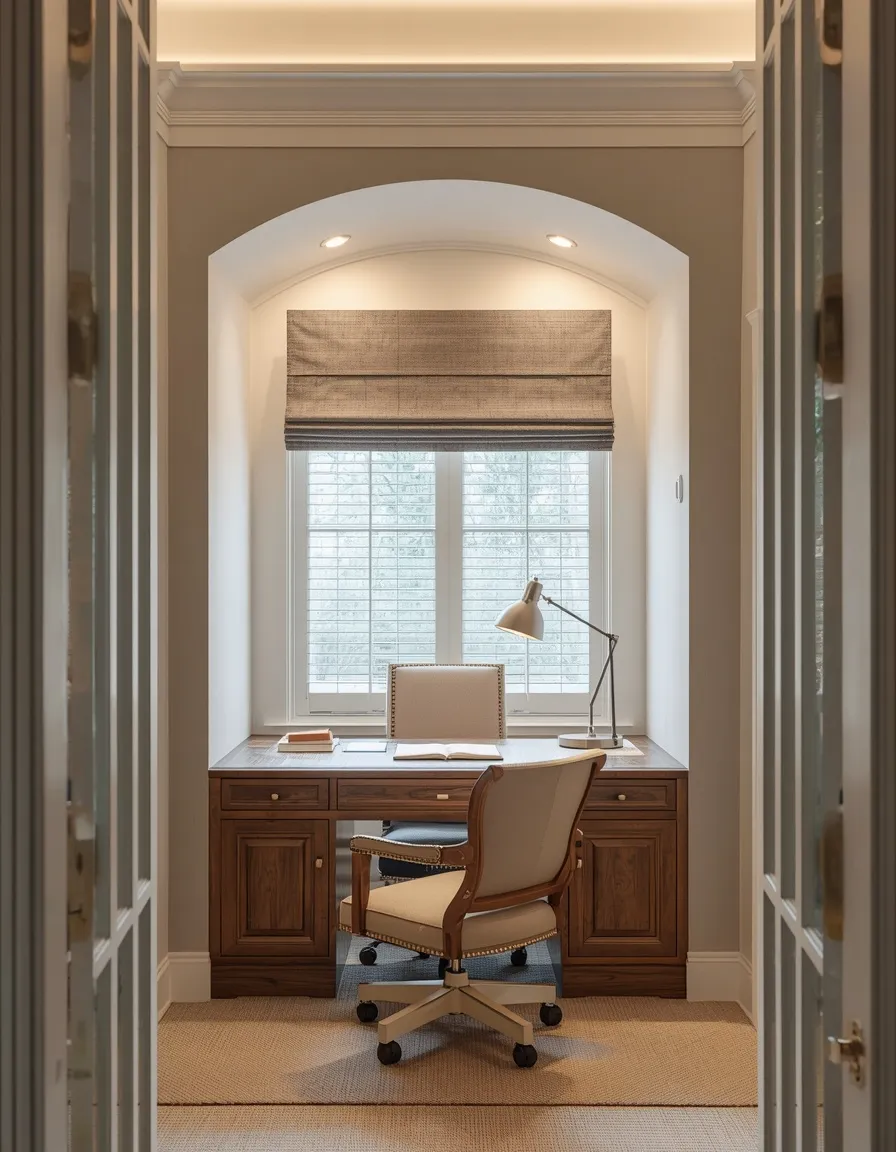
12. Home Office Focus Ceiling
A reverse tray over a desk defines a working zone within a shared room. The dropped panel above the desk quietly separates work from the rest of the space, while its concealed lighting removes the glare of a harsh overhead.
Position the tray over the desk area, especially useful when the office shares a room with a bedroom or living space. Cove uplighting is genuinely practical here, since indirect light bounced off the ceiling reduces the screen glare and harsh shadows a direct downlight creates. Add a separate task lamp for detail work, since ambient cove light alone isn’t enough to work by. This suits home offices, studies, and multi-use rooms where a workspace needs to feel distinct.
- Best for: home offices, especially those sharing a room with another use.
- Why it works: indirect cove light reduces screen glare and harsh shadows.
- Watch out: cove light alone isn’t enough to work by; add a task lamp.
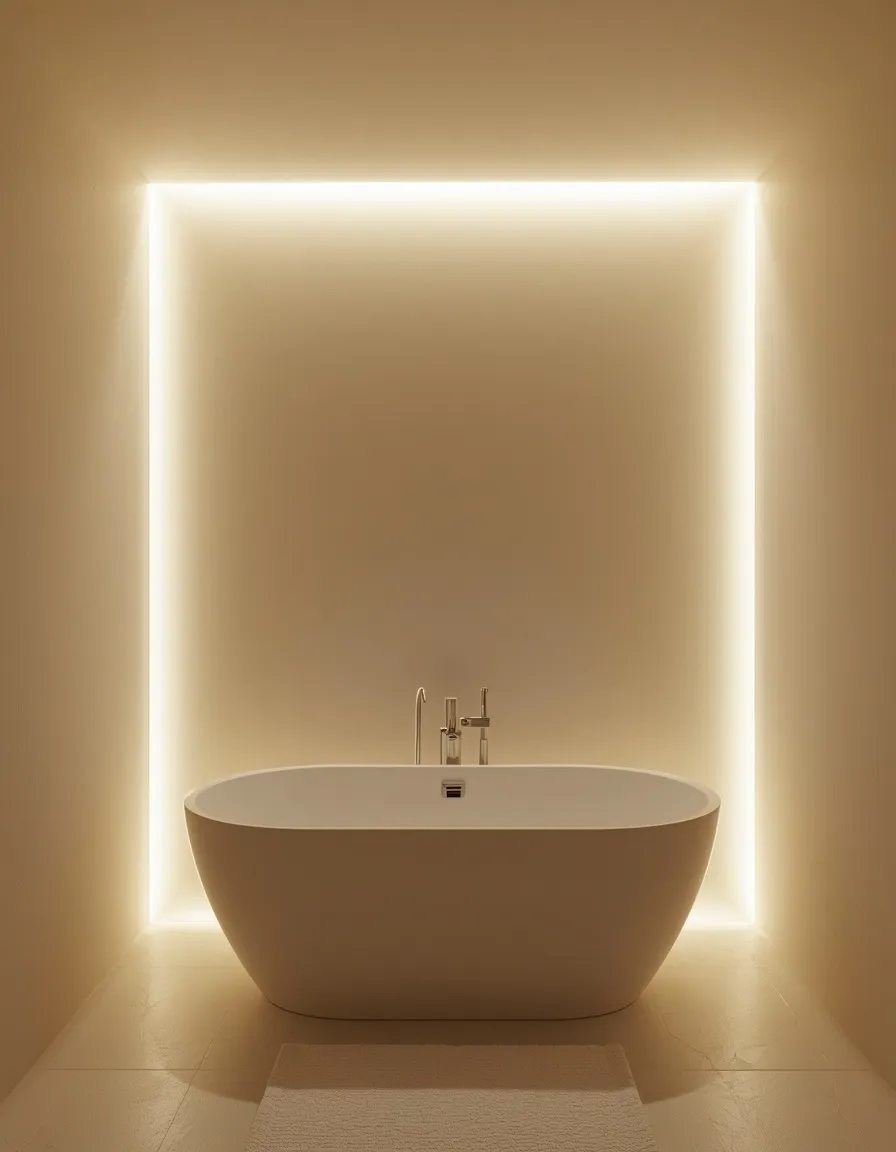
13. Spa Bathroom Ceiling
Above a freestanding tub, a reverse tray creates a serene, spa-like canopy. The dropped panel with a soft perimeter glow frames the bathing area and makes an ordinary bathroom feel like a retreat.
Center the tray over the tub and keep the finish simple, painted drywall or a moisture-resistant board. This is the one room where materials matter most: use moisture-resistant drywall and fixtures rated for damp locations, and make sure the bathroom is properly ventilated, or humidity will attack the ceiling detail and cause mold. Choose LED strips and any recessed fixtures rated for bathroom use. This suits main bathrooms with good ventilation and enough ceiling height to carry the drop.
- Best for: main bathrooms with a freestanding tub and good ventilation.
- Watch out: use moisture-rated board and damp-rated fixtures; ventilate well.
- Key elements: tray centered over the tub, soft perimeter glow, simple finish.
14. Molding-Trimmed Traditional Tray
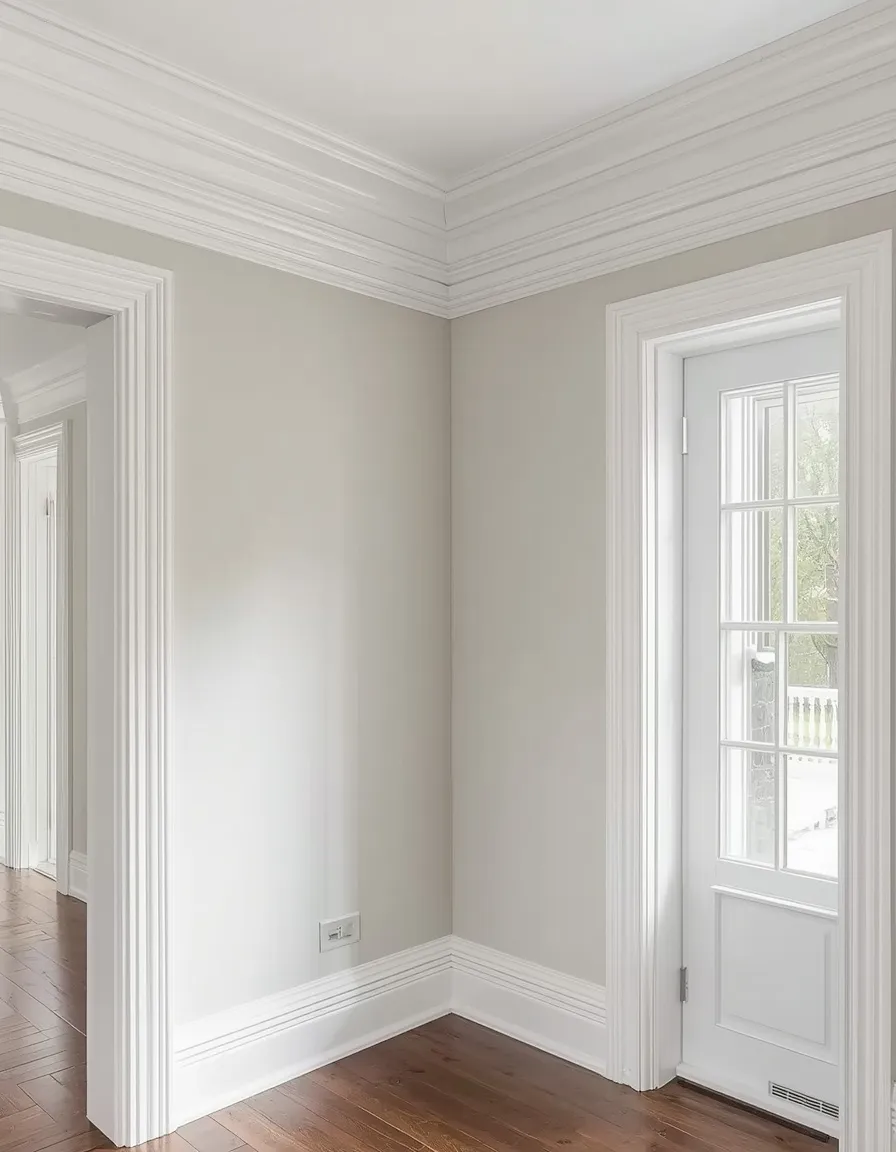
Crown molding at the transition gives a reverse tray a classic, traditional character. Layered molding around the edge of the dropped panel adds shadow, detail, and a sense of period craftsmanship to a modern structure.
Run crown or cove molding at the step between the perimeter and the dropped panel, layering two profiles for a richer, deeper shadow line. Molding has a genuine practical advantage over the minimalist approach: it hides slight imperfections in the drywall joint, making it far more forgiving to build. Paint the molding the same white as the ceiling so the detail reads through shadow rather than color. This suits traditional, transitional, and classic interiors, and is the more forgiving option for a first attempt.
- Best for: traditional interiors; the most forgiving option to build.
- Why it works: molding hides imperfect drywall joints that a minimalist edge exposes.
- Key elements: layered crown molding at the step, painted to match the ceiling.
15. Shallow Reveal for Low Ceilings
In a standard-height room, a whisper of a reverse tray does the job without stealing headroom. A shallow reveal of just a few centimeters, lit softly around its edge, suggests the architecture without ever making the ceiling feel close.
When your ceiling is a standard 2.4 m (8 ft), a deep drop is genuinely the wrong move, it will make the room feel low and heavy. Instead, keep the drop to around 5–7 cm (2–3 in), just enough to catch a shadow line and hide a slim LED strip. A paler color on the dropped panel keeps it feeling light. If even that feels like too much, a painted or molded rectangle on a flat ceiling suggests the same geometry with no loss of height at all. This suits apartments, standard-build homes, and renters.
- Best for: standard 2.4 m (8 ft) ceilings, apartments, and renters.
- Why it works: a 5–7 cm reveal reads architecturally without stealing headroom.
- Key elements: shallow drop, slim LED strip, pale panel, or paint the shape instead.
Before You Build: Height, Structure, and Safety
A reverse tray ceiling lowers part of your ceiling, so the two questions that decide everything are how much height you can afford to lose and what is already sitting in the cavity above.
On height, the honest guidance is this: a drop of 10–20 cm (4–8 in) reads beautifully in a room of 2.7 m (9 ft) or more, but in a standard 2.4 m (8 ft) ceiling that same drop will feel oppressive. Keep it to a shallow 5–7 cm (2–3 in) reveal instead. Many building codes also set a minimum ceiling height for habitable rooms, and the figure varies by country and jurisdiction, check your local code before removing any height at all.
On structure, look before you cut. Joists, HVAC ducts, plumbing, and existing wiring often run through exactly the space you want to use, and a duct in the wrong place can end a design outright. Never cut or notch a structural joist to make a ceiling detail fit; work around it or move the tray. Leave all wiring to a licensed electrician, use fixtures rated for their location, and choose IC-rated recessed lights wherever insulation may touch them. This is a build project, so if you’re renting, use the painted-rectangle illusion from idea 15 instead.
How Do You Light a Reverse Tray Ceiling?
Light a reverse tray with concealed LED strip lighting in the perimeter reveal, aimed upward so it washes the higher surface with indirect glow. The fixture itself should never be visible, only the light it produces.
Choose warm-white LEDs, roughly 2700K to 3000K, for living rooms and bedrooms, where cooler light feels clinical. Put the cove lighting on a dimmer, which turns it from a fixed effect into a genuinely usable layer of light. Remember that cove lighting is ambient, not task lighting, it sets mood, and it will not light a kitchen counter or a desk, so keep proper task lights too. A recessed downlight or a pendant in the center of the dropped panel handles that job.
A ceiling detail like this pairs naturally with a wider renovation, inside and out. If you’re rethinking the whole house, our guide to a chocolate brown exterior palette tackles the same instinct for warmth and depth from the outside in. You’ll find both among our trending interior decor ideas.
Reverse Tray vs. Other Ceiling Designs
Ceiling terminology gets muddled constantly, so it helps to see the options side by side. This is what each design actually does to a room.
| Ceiling type | What it does | Best for |
| Reverse tray | Center dropped below perimeter | Zoning; framing an island, bed, or table |
| Standard tray | Center recessed upward | Making a room feel taller |
| Coffered | Grid of recessed panels | Formal rooms; traditional grandeur |
| Soffit / drop | A lowered box, often at edges | Hiding ducts, pipes, and wiring |
| Beamed | Exposed or box beams | Rustic and farmhouse character |
| Flat + molding | Painted or molded rectangle | Low ceilings and renters (no height lost) |
Conclusion
A reverse tray ceiling idea is one of the few design moves that changes how a room feels rather than merely how it looks, dropping the ceiling plane to frame an island, a bed, or a dining table, and glowing softly from an edge you never see. Get the two fundamentals right and the rest is style: give it enough height to breathe, and find out what’s above the plasterboard before anyone picks up a saw. For more architectural inspiration, browse our trending interior decor ideas, then go look up at the biggest blank surface in your home and imagine it with a shadow line.
Frequently Asked Questions
Q: What is a reverse tray ceiling?
A reverse tray ceiling drops the central section below the surrounding perimeter, so the middle reads as a lowered, floating panel. It inverts the standard tray ceiling, where the center is recessed upward instead. The reverse version is used to define a zone beneath it, an island, a bed, a dining table, and usually hides LED cove lighting in the perimeter.
Q: What’s the difference between a tray ceiling and a reverse tray ceiling?
A standard tray ceiling recesses the center upward, which draws the eye up and makes a room feel taller. A reverse tray does the opposite, dropping the center down to create intimacy and frame the area below. Be aware that builders use these terms loosely, so describe the shape you want rather than relying on the name alone.
Q: Can you put a reverse tray ceiling in an 8-foot ceiling?
Only a very shallow one. Because a reverse tray lowers the center, a deep drop in a standard 2.4 m (8 ft) ceiling will make the room feel low and heavy. Keep the drop to roughly 5–7 cm (2–3 in), just enough to catch a shadow line and conceal an LED strip, or use a painted or molded rectangle on the flat ceiling instead, which loses no height at all.
Q: How do you light a reverse tray ceiling?
Conceal LED strip lighting in the perimeter reveal, aimed upward so it washes the higher surface with indirect glow and the fixture itself stays hidden. Choose warm-white LEDs around 2700K to 3000K for living rooms and bedrooms, and always fit a dimmer. Cove lighting is ambient only, so keep task lighting for counters, desks, and reading.
Q: Is a reverse tray ceiling a DIY project?
It’s a build project rather than a weekend job. It involves framing, drywall, finishing, and electrical work, and the cavity above often contains joists, ducts, plumbing, and wiring that must be worked around. Never cut a structural joist to make the design fit, and leave the wiring to a licensed electrician. Renters should use a painted or molded rectangle instead.
Q: Where does a reverse tray ceiling work best?
It works best above something worth framing: a kitchen island, a bed, or a dining table. In open-plan homes it’s especially useful as a zoning tool, defining a living or dining area without any walls. It suits rooms with ceilings of 2.7 m (9 ft) or higher, since the design costs you height by definition.