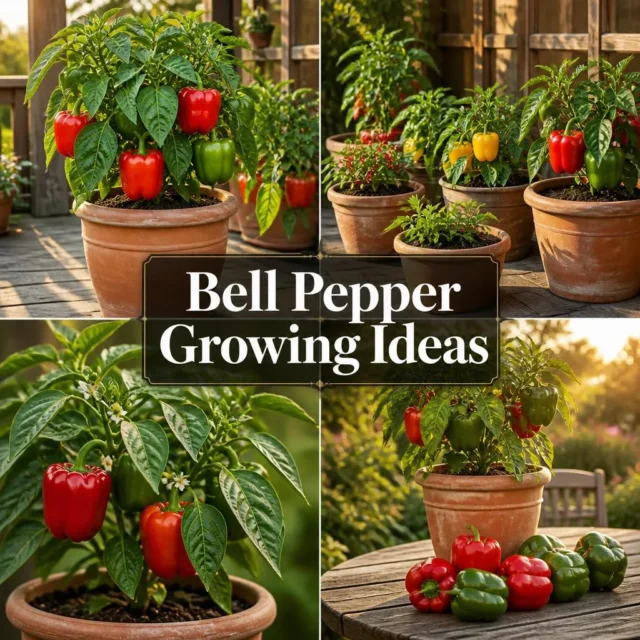

A single bell pepper plant, its glossy leaves catching the afternoon sun, can turn a narrow balcony rail or a sunny kitchen step into a small working garden. Growing bell peppers in pots is one of the most rewarding projects for anyone without a traditional backyard bed, and it is far more forgiving than most first time gardeners expect. With the right container, consistent warmth, and a bit of patience, a single plant can produce eight to twelve full sized peppers over a season, whether your abode is a city apartment, a suburban patio, or a countryside porch. This guide walks through every stage, from choosing a pot and starting seeds to feeding, staking, and harvesting peppers at their peak color.
Why Bell Peppers Thrive in Pots and Containers
Bell peppers (Capsicum annuum, grossum group) are naturally compact, bushy plants that rarely exceed 2 to 3 feet (60 to 90 cm) in height, which makes them one of the best fruiting vegetables for container life. Unlike sprawling squash or indeterminate tomatoes, a bell pepper plant keeps a tidy, rounded shape and can sit comfortably on a balcony, a patio corner, or a bright windowsill without taking over the space.
Container growing also gives you control that an in ground garden cannot. You can move plants to chase the sun, bring them indoors ahead of an early frost, and swap out old potting mix each year instead of managing soil borne disease in the same patch of earth. For renters and apartment dwellers, this portability is often the entire reason container vegetable gardening works at all. It is part of the same practical, hands on spirit behind the wider home and garden ideas on Sunday Abode, where a home’s outdoor space is treated as another room to shape and enjoy.
If you already grow other vegetables in pots, much of what applies to peppers will feel familiar. The same logic used when growing carrots in containers, a deep enough pot, steady moisture, and a container sized to the mature plant, carries over directly to peppers, even though the two crops look nothing alike above the soil line.
Choosing the Right Pot, Bucket, or Grow Bag
Pot size determines almost everything else about how well a bell pepper performs. University of Maryland Extension guidance on container vegetables recommends a minimum of 5 gallons (about 19 liters) of growing medium for large fruiting plants such as peppers, with a depth of at least 12 inches (30 cm) so roots have room to spread. Undersized containers are the most common reason container peppers stall out at knee height and produce only a handful of small fruit.
Material matters almost as much as size:
- Plastic containers hold moisture longest and are lightweight to move, though dark colors can trap heat around the roots during peak summer sun.
- Fabric grow bags, the method behind growing bell peppers in grow bags, let excess water drain freely and air prune the roots for a healthier root system, but the soil dries out faster and may need daily watering in hot weather.
- Terracotta and unglazed ceramic look attractive on a patio but are porous, so they dry out fastest of all and often need watering once or twice a day in summer.
- Upcycled 5 gallon (19 liter) buckets are a genuinely budget friendly option for growing bell peppers in buckets. Drill four to six drainage holes in the base, and confirm any bucket is food grade; containers that once held chemicals, paint, or solvents can leach residue into the soil.
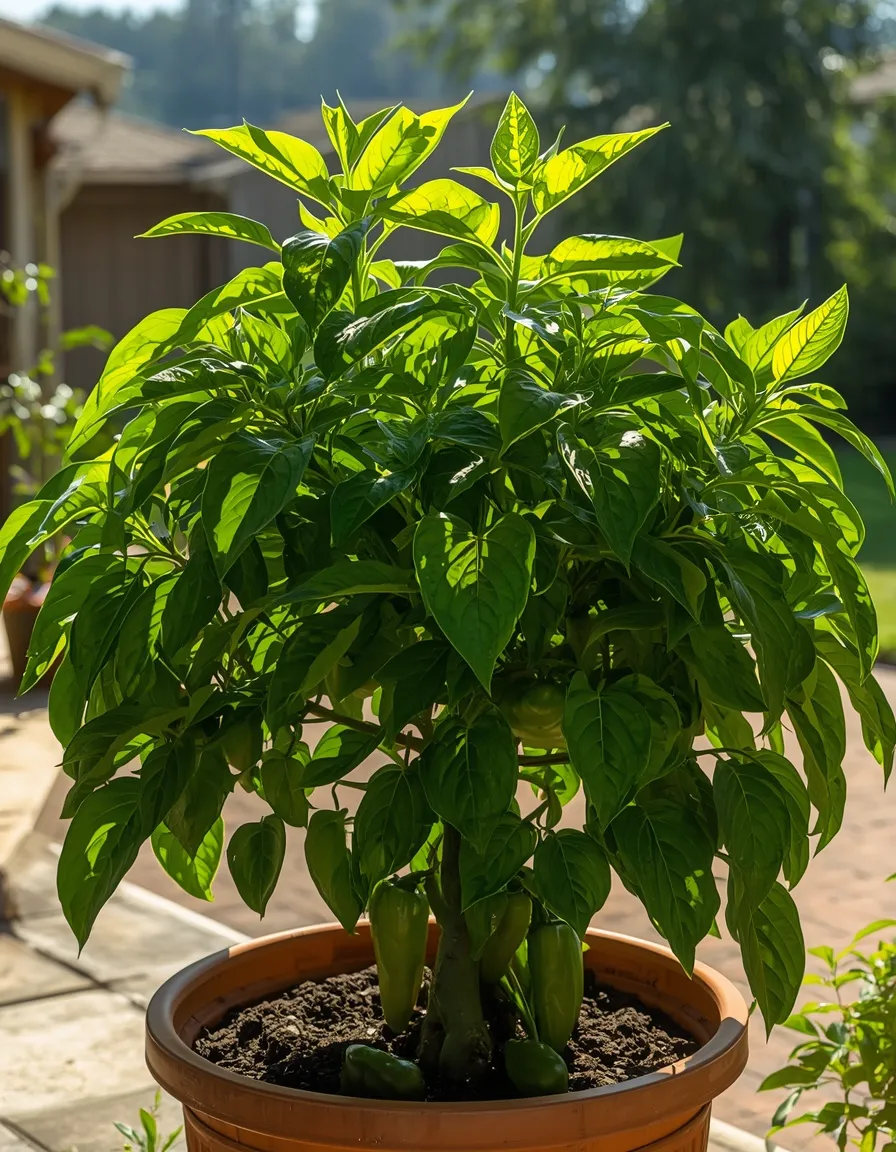
One method that surfaces often in searches is growing bell peppers upside down, in a hanging planter with the stem threaded through the bottom and roots packed in soil above. This works reasonably well for lightweight, vining tomatoes, but bell pepper stems are more brittle and the plant’s rounded, bushy shape does not hang the way a vining plant does. In practice, an upside down planter usually leaves bell peppers straining sideways toward the light with stunted growth, so a right side up container with a stake for support gives far more reliable results.
If you have a small patch of garden space rather than only a balcony, a raised bed is worth considering alongside pots. Raised beds give roots more uninterrupted room and hold moisture more evenly than a stand alone container, though they are fixed in place and cannot be moved indoors ahead of a cold snap. For anyone gardening on pavement, a rooftop, or a rented apartment, a pot, bucket, or grow bag remains the more practical choice.
Picking a Bell Pepper Variety for Containers
Not every bell pepper variety was bred with pot life in mind. Full sized heirlooms such as ‘California Wonder’ can still succeed in a large container, but compact and dwarf varieties are more forgiving for beginners and small spaces.
Compact Varieties for Small Containers
- ‘Redskin’, an All-America Selections winner bred specifically as a compact, container friendly plant that still produces full size, sweet peppers.
- ‘Mohawk’ and ‘Cupid’, dwarf, ornamental leaning varieties that stay under 12 inches (30 cm) tall, well suited to a sunny windowsill or small pot.
- ‘Islander’ and ‘Gourmet’, mid sized plants with strong yields that adapt well to a 5 to 7 gallon (19 to 26 liter) pot.
- ‘California Wonder’, a classic, full sized heirloom that is reliable in containers but performs best in a larger 7 to 10 gallon (26 to 38 liter) pot with a sturdy stake.
Growing Red Bell Peppers in Pots
Every bell pepper starts out green. Red, orange, yellow, and even purple bell peppers are simply the same fruit left on the plant longer to fully ripen, and ripening adds both sweetness and vitamin content. Green peppers are typically ready 60 to 75 days after transplanting, while a fully colored red pepper needs another 3 to 4 weeks on the vine after it reaches full green size. Varieties are not entirely interchangeable for this purpose. A seed packet or plant tag bred toward one specific ripe color will color up more reliably than a green harvesting variety simply left on the vine longer, so check the packet description if a particular ripe color is the goal.
Starting Bell Peppers from Seed
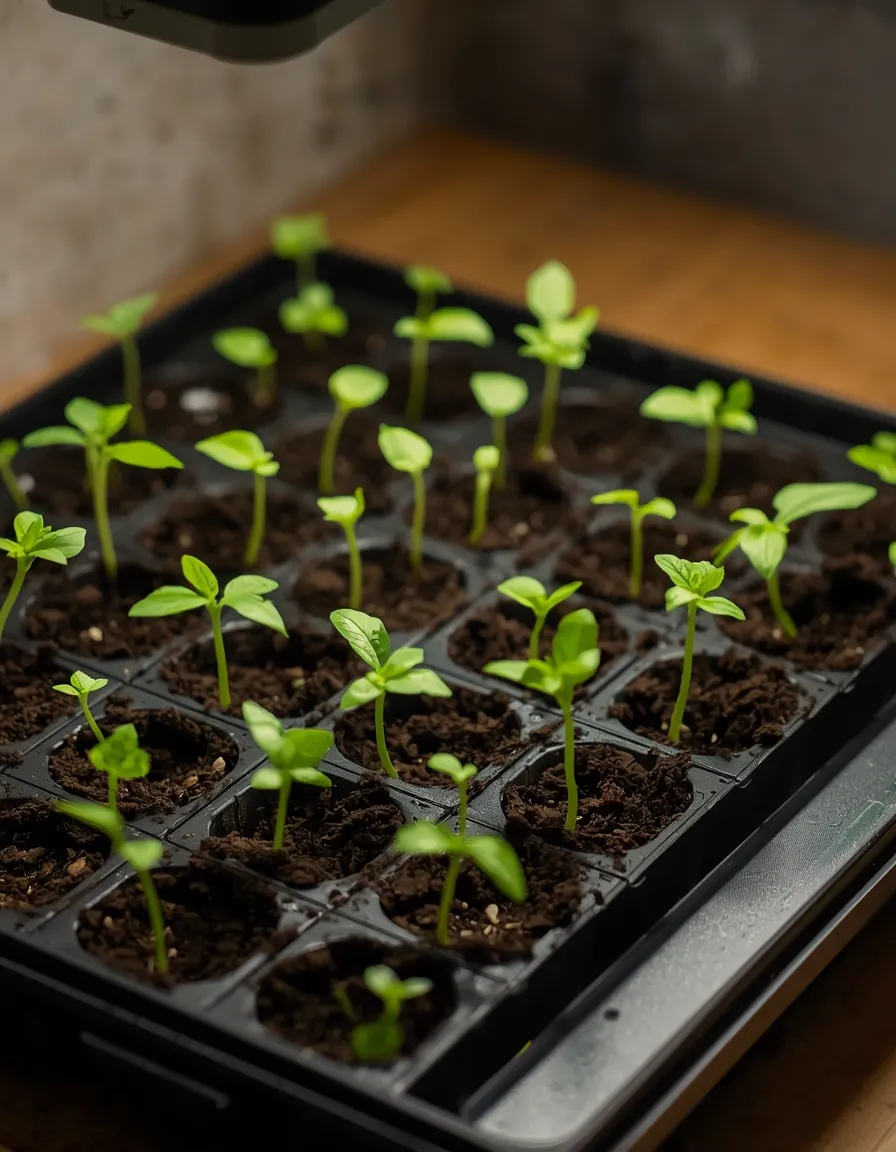
Bell peppers are slow and somewhat fussy to germinate compared with many vegetables, which is exactly why most container gardeners start growing bell peppers from seeds indoors rather than sowing directly outside. Sow seeds 8 to 10 weeks before the last expected frost date in your region, using small seed starting trays or 3 inch (7.5 cm) pots filled with a light seed starting mix.
Plant seeds about 1/4 inch (6 mm) deep and keep the growing medium consistently moist but not soggy. The single biggest factor in successful germination is warmth: pepper seeds need a soil temperature of 75 to 85°F (24 to 29°C) to sprout reliably, warmer than most homes run, so a seedling heat mat placed under the tray dramatically improves and speeds up germination. Without added warmth, seeds can take three to four weeks to sprout, or fail to sprout at all in a cool room.
- Common mistake: sowing too early. Seedlings started more than 10 weeks ahead often become leggy and stressed waiting for warm outdoor weather, and rarely catch up to seedlings started on time.
- Once seedlings emerge, move them under a grow light for 14 to 16 hours a day; a windowsill alone is rarely bright enough and tends to produce thin, stretched stems.
- Thin to one seedling per cell or pot once true leaves appear, and begin light feeding with a diluted, balanced liquid fertilizer at half strength.
It is also possible to try growing bell peppers from scraps in a loose sense, meaning seeds saved from a ripe pepper bought at a grocery store rather than a purchased seed packet. This works best with a fully red, orange, or yellow pepper, since the seeds inside a still green pepper are usually immature and germinate poorly. Scoop out the seeds, rinse off any pulp, and let them air dry on a paper towel for a few days before sowing as usual. One caveat: many grocery store peppers are hybrid varieties, and seeds saved from a hybrid will not reliably grow into a plant identical to the parent, so treat this as a fun, low cost experiment rather than a guaranteed match to the original pepper.
Moving Seedlings Into Their Final Container
Bell peppers are noticeably more cold sensitive than tomatoes, so timing the move outdoors matters. Wait until nighttime temperatures are consistently holding above 55°F (13°C), usually one to two weeks after the last frost date, not right on it. Moving pepper seedlings out too early is one of the most common reasons a plant stalls and never fully recovers its growth rate for the rest of the season.
Harden off seedlings first by setting them outside in a sheltered, partly shaded spot for a couple of hours a day, gradually increasing sun exposure and time outdoors over 7 to 10 days before the final transplant. Unlike tomatoes, pepper stems do not root readily along a buried section of stem, so plant seedlings at the same soil depth they were growing at in their nursery pot rather than burying them deeper.
- One plant per 5 gallon (19 liter) container is the standard spacing.
- In a larger 15 to 20 gallon (57 to 76 liter) container, two plants can share the space if set about 18 inches (45 cm) apart.
- Water well immediately after transplanting to settle the soil around the roots and reduce transplant shock.
Soil, Sunlight, and Placement
Skip garden soil entirely in a container; it compacts, drains poorly, and often carries weed seeds or soil borne disease. A quality potting mix formulated for containers, ideally one with added compost, perlite, and a slow release balanced fertilizer, gives roots the loose, well aerated structure they need. Aim for a soil pH between 6.0 and 6.8, on the slightly acidic side of neutral.
Full sun is non negotiable for good fruit production. Outdoors, bell peppers need 6 to 8 hours of direct sunlight a day, with a south facing spot being ideal in the Northern Hemisphere (north facing in the Southern Hemisphere). Peppers grown in too much shade produce lush green leaves but disappointingly few flowers or fruit.
Temperature swings affect peppers more than most vegetables. Daytime temperatures of 70 to 85°F (21 to 29°C) are ideal, with nights staying above 60°F (15°C). Once temperatures climb past 90°F (32°C), plants often drop their flowers before fruit can even set, a stress response rather than a disease, so afternoon shade cloth or moving a container into partial shade during a heat wave can save a flush of blooms.
Watering and Feeding Container Bell Peppers
Watering
Containers dry out far faster than garden soil, sometimes within a single hot day, so check moisture by pushing a finger about 2 inches (5 cm) into the soil rather than watering on a fixed schedule. Water deeply until it runs from the drainage holes, then let the top layer dry slightly before watering again. In peak summer heat, especially in fabric grow bags or terracotta pots, daily watering is common and is not a sign anything is wrong. A 2 inch (5 cm) layer of mulch such as straw or shredded bark on top of the soil slows evaporation and evens out moisture between waterings, which also helps prevent blossom end rot.
Feeding
Bell peppers are steady feeders throughout a long growing season. Mix a balanced, slow release fertilizer into the potting mix at planting time, then switch to a liquid feed every 2 to 3 weeks once flowering begins. During flowering and fruiting, choose a formula lower in nitrogen and higher in phosphorus and potassium, since too much nitrogen pushes out leafy growth at the expense of flowers and fruit. A calcium supplement, or simply consistent watering, helps prevent blossom end rot, a dark, sunken patch on the bottom of the fruit that comes from irregular water uptake rather than a pest or disease.
Staking and Supporting Heavy Plants
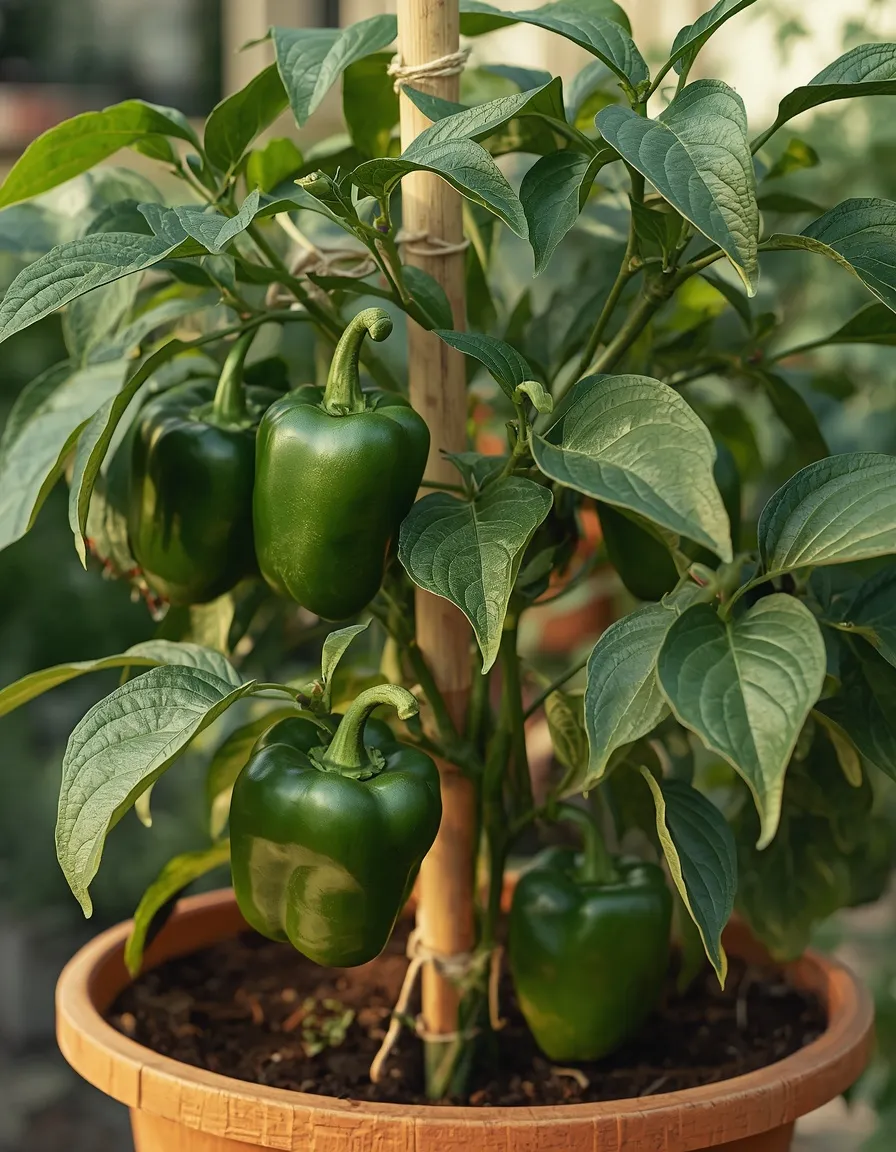
A bell pepper plant loaded with fruit is heavier and more top heavy than its modest height suggests, and container grown plants are especially vulnerable to tipping in wind since there is no surrounding garden bed to anchor them. This is where growing bell peppers with a trellis, stake, or small tomato cage earns its place, particularly for balconies and rooftop gardens that catch more wind than a ground level yard.
Insert a stake, bamboo cane, or small cage at planting time rather than pushing it into established roots later, which can damage the root system. Tie the main stem loosely to the support with soft garden twine or a plant tie in a figure eight pattern, leaving room for the stem to thicken as it grows. As a safety measure on windy balconies, choose a wider, heavier bottomed pot, or add a layer of gravel in the base, to lower the center of gravity and reduce the risk of the whole container tipping over.
Growing Bell Peppers Indoors Year Round
Growing bell peppers indoors is possible in any season, though it asks more of the grower than a sunny outdoor spot does. The biggest obstacle is light. Even a bright south facing window rarely delivers the 6 to 8 hours of strong, direct sunlight peppers want, so a full spectrum LED grow light running 12 to 16 hours a day, positioned 6 to 12 inches (15 to 30 cm) above the plant, is close to essential for growing bell peppers inside with any real fruit production.
Pollination is the second challenge. Outdoors, wind and visiting insects move pollen between flowers without any help; indoors, that movement has to be recreated by hand. Every two to three days while the plant is flowering, gently shake the stems or brush the inside of each flower with a small, soft paintbrush to transfer pollen and encourage fruit to set.
Choose a genuinely compact or dwarf variety for growing bell peppers at home indoors, since a full sized plant quickly outgrows most indoor setups. Keep indoor temperatures in the same 70 to 85°F (21 to 29°C) daytime range peppers prefer outdoors, and expect a smaller, though entirely usable, harvest compared with a plant grown outdoors in full sun. For more on keeping potted plants healthy through every season, Sunday Abode’s houseplants and care coverage has further guidance that applies to edible container plants as well as ornamental ones.
Common Problems and How to Solve Them
Blossom Drop
Flowers falling off without setting fruit is usually a heat or cold stress response rather than a pest problem. Daytime temperatures above 90°F (32°C) or nighttime temperatures below 55°F (13°C), combined with inconsistent watering, are the most frequent triggers. Providing afternoon shade during a heat wave and keeping the watering schedule steady usually resolves it within a week or two once conditions moderate.
Blossom End Rot
A sunken, leathery brown or black patch on the bottom of an otherwise healthy looking pepper is blossom end rot, caused by inconsistent water delivery interrupting the plant’s calcium uptake rather than by any pest, fungus, or disease that could spread. Even watering, a layer of mulch, and avoiding long dry spells between waterings are the most effective fixes; affected fruit will not recover, but new fruit set afterward typically grows normally.
Pests
Aphids and spider mites are the most common container pests, especially on plants brought indoors or grown in a greenhouse where natural predators are absent. Check the undersides of leaves regularly for small clusters of insects or fine webbing. Insecticidal soap or neem oil, applied in the cooler part of the day to avoid leaf burn, controls most infestations without resorting to stronger chemical pesticides. Always follow the product label’s dilution and application instructions exactly, and keep pets and children away from treated foliage until it has fully dried.
It is worth clearing up a common point of confusion around pet safety. The ASPCA’s toxic plant listing for ‘ornamental pepper’ refers specifically to Solanum pseudocapsicum, also known as Jerusalem cherry, an unrelated ornamental plant with small round berries, not the edible bell pepper (Capsicum annuum) grown for cooking. Sweet bell pepper plants and their fruit are generally considered non-toxic to cats and dogs, though as with most garden foliage, a pet that eats a large quantity of leaves can still experience mild stomach upset, so it is sensible to keep containers out of easy reach of a curious cat or dog regardless.
Yellowing Leaves or Leggy Growth
Yellowing lower leaves combined with soggy soil point to overwatering and poor drainage; check that drainage holes are not blocked and let the pot dry out more between waterings. Yellowing paired with dry soil and stunted growth is more often a nitrogen deficiency, especially in older potting mix that has used up its nutrients, and responds well to a balanced liquid feed. Tall, thin, leaning seedlings are almost always a light problem: move them closer to a grow light or a brighter window before the stems weaken further.
Harvesting Green and Red Bell Peppers
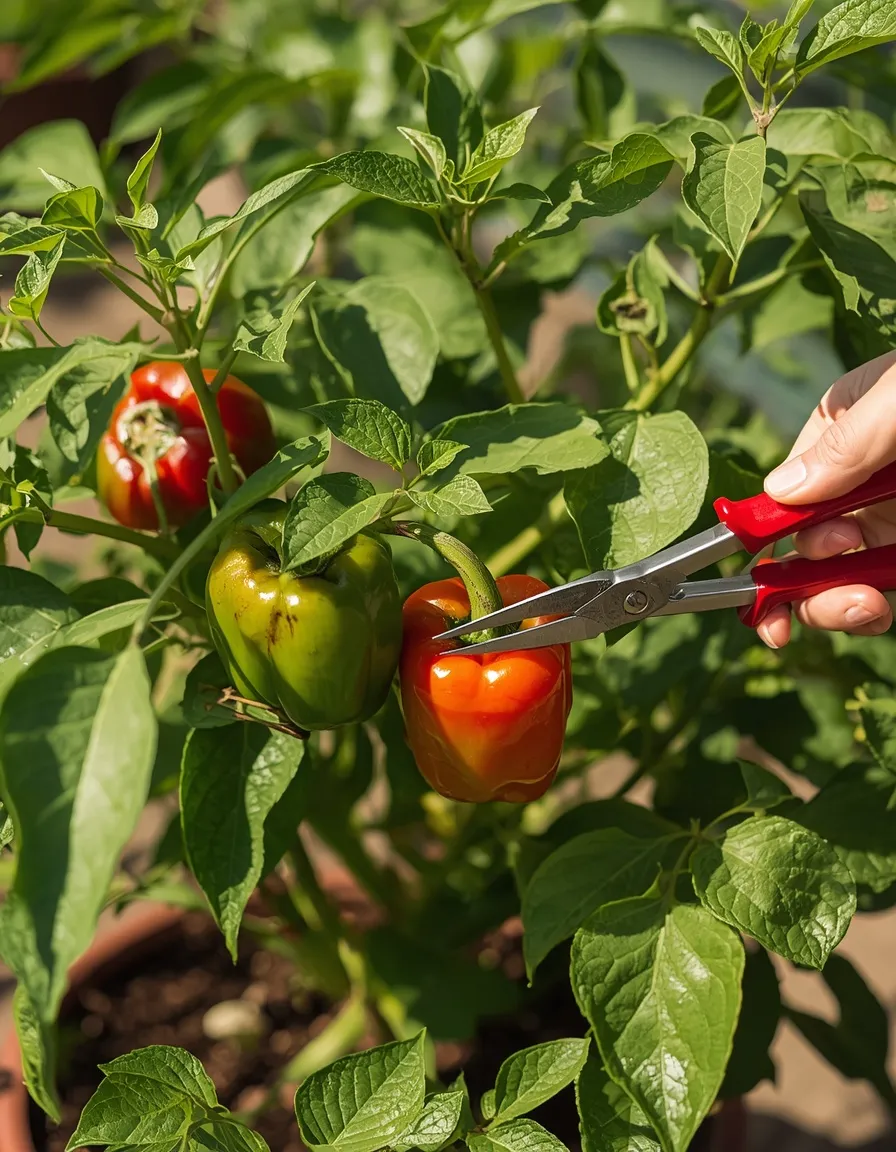
Bell peppers can be harvested at two distinct stages, and both are correct depending on preference. A green pepper is ready when it reaches full size for its variety, usually 3 to 4 inches (7.5 to 10 cm) across, with firm, glossy, thick skin, generally 60 to 75 days after transplanting. Left on the plant longer, the same pepper will gradually turn red, orange, yellow, or purple depending on the variety, becoming sweeter and higher in vitamin C as it ripens, a process that takes another 3 to 4 weeks.
Cut peppers from the plant with scissors or garden pruners rather than pulling or twisting them off, since the stems are brittle and pulling can snap an entire branch along with it. Per University of Maryland Extension, peppers do not continue to ripen after they are picked, unlike tomatoes, so leave any pepper on the plant until it has reached the color you actually want before harvesting. Regular picking, rather than letting fruit sit and mature for weeks, also signals the plant to keep producing new flowers, which extends the harvest window.
- Store freshly picked peppers unwashed in the refrigerator crisper drawer, where they typically keep well for 1 to 2 weeks.
- A light frost warning in fall is a good reason to pick every usable pepper at once, even the smaller green ones, rather than risk losing the whole harvest overnight.
- If a plant is loaded with green peppers as a first frost approaches, the entire plant can be pulled and hung upside down in a cool garage to let existing fruit finish ripening off the vine.
Bringing It All Together
Growing bell peppers in pots rewards patience more than it demands special skill: a well sized container, steady warmth, consistent water, and enough sun will carry a plant from a small seedling to a productive harvest in one season, no yard required. Start with a container that actually fits the plant’s mature size, choose a variety suited to your space, and keep a close eye on watering once summer heat sets in, since that single habit prevents most of the problems that trip up new container gardeners. For more edible and ornamental container inspiration, similar seasonal growing guides live within Sunday Abode’s garden ideas coverage. Pick a pot, plant a seedling on a bright windowsill or balcony this week, and watch the first flowers appear.
FAQs
Q: What size pot do I need to grow bell peppers?
A: Give each bell pepper plant a minimum of 5 gallons (about 19 liters) of potting mix and a container at least 12 inches (30 cm) deep, in line with University of Maryland Extension guidance for large fruiting vegetables. A bigger pot, in the 7 to 10 gallon (26 to 38 liter) range, generally produces a larger, more productive plant if space allows.
Q: Can I grow bell peppers indoors year round?
A: Yes, though indoor growing requires a full spectrum LED grow light running 12 to 16 hours a day, since even a sunny window rarely provides enough direct light on its own. You will also need to hand pollinate the flowers every few days with a small brush, since there is no wind or insect activity indoors to move pollen naturally.
Q: How long does it take for bell peppers to turn red in a pot?
A: A pepper usually reaches full green size 60 to 75 days after transplanting, and if left on the plant, needs about another 3 to 4 weeks to fully ripen to red, orange, or yellow. Peppers do not continue ripening once picked, so leave the fruit on the plant until it has reached the color you want.
Q: Why do the flowers on my potted bell pepper plant keep falling off?
A: Blossom drop is almost always caused by temperature stress, either daytime heat above 90°F (32°C) or nighttime cold below 55°F (13°C), combined with inconsistent watering. Providing afternoon shade during a heat wave and keeping soil moisture steady usually brings flowering back within a week or two.
Q: Can I grow bell peppers from seeds saved from a store bought pepper?
A: Yes, seeds from a fully ripe, red, orange, or yellow store bought pepper can be rinsed, air dried, and sown just like packet seeds. Keep in mind that many grocery store peppers are hybrid varieties, so the resulting plant may not grow exactly like the one the seeds came from, though it will usually still produce edible peppers.
Q: Does a potted bell pepper plant need a stake or trellis?
A: A stake, small tomato cage, or short trellis is a smart addition once a plant starts setting fruit, since a heavy load of peppers can make container grown plants top heavy and prone to tipping, especially in a windy balcony spot. Insert the support at planting time rather than after roots are established, to avoid damaging them later.
Q: How often should I water bell peppers in containers?
A: Rather than following a fixed schedule, check the top 2 inches (5 cm) of soil and water deeply whenever it starts to feel dry, which in hot summer weather can mean daily watering, especially in fabric grow bags or terracotta pots. A layer of mulch on top of the soil helps slow evaporation and keeps moisture more consistent between waterings.