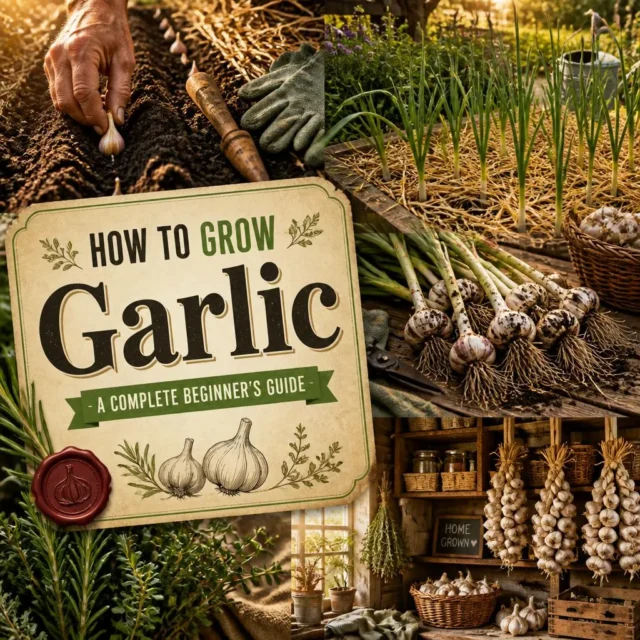

A single clove of garlic, pushed into the soil in autumn, quietly becomes a whole bulb by the following summer, that slow, hands-off magic is why learning how to grow garlic hooks so many first-time gardeners. It asks very little of you, survives winter underground, and rewards you with heads far more flavorful than anything at the store.
This guide walks you through every way to grow it: in garden beds, in pots on a balcony, on an indoor windowsill, and even a clove in water for quick greens. You’ll get exact planting depths, timing, and harvest cues so your garlic patch becomes one of the easiest, most satisfying corners of your abode.
Garlic Basics: What You’re Actually Growing
Garlic (Allium sativum) grows from a single clove into a full bulb over a long season, usually planted in autumn and harvested the next summer. Each clove you plant becomes one complete head of many cloves.
The most important rule comes first: plant seed garlic, not a bulb from the supermarket. Grocery-store garlic is often treated to slow sprouting and can carry soil-borne diseases like white rot. Certified seed garlic from a garden center or nursery is disease-screened and bred for planting, which gives you a far better crop.
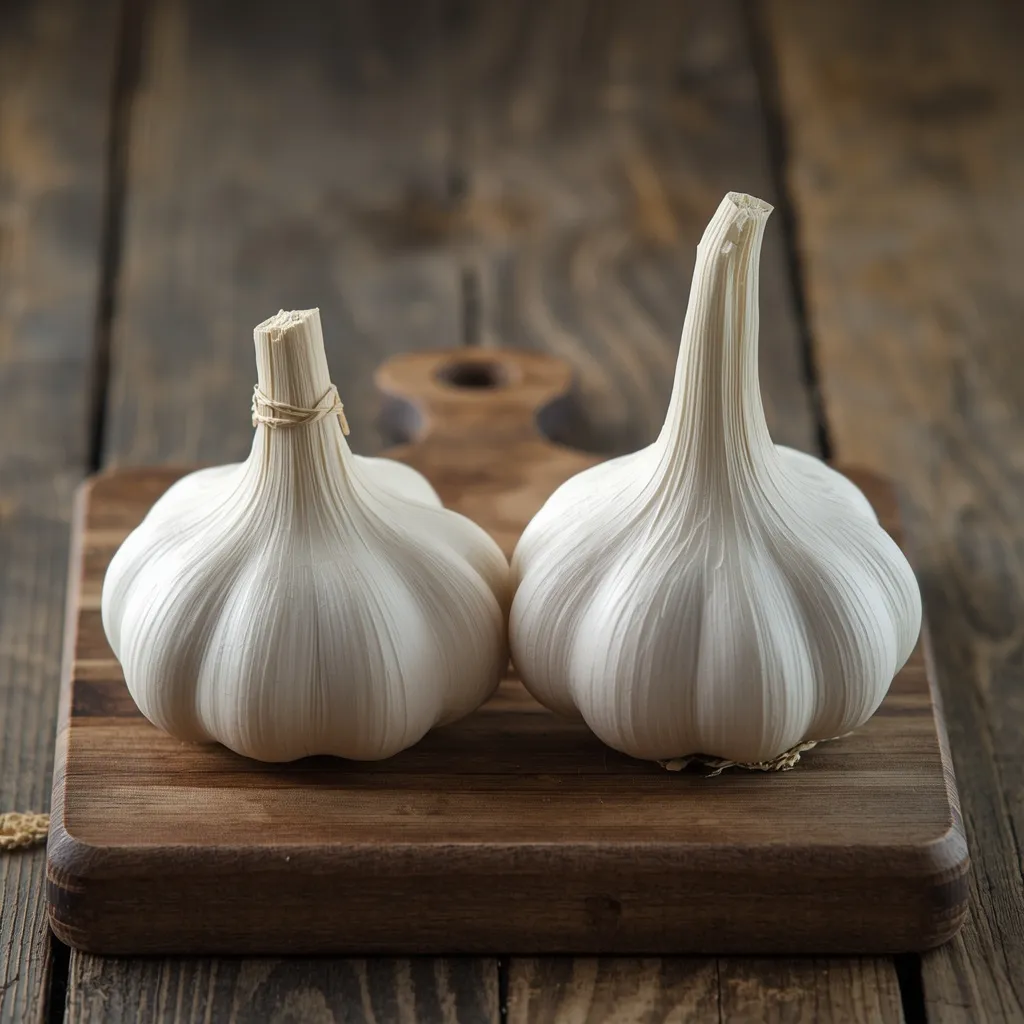
You’ll also see the word “clove” and “bulb” used a lot. A bulb (or head) is the whole thing; a clove is one segment. You break a bulb into cloves and plant the biggest ones individually, bigger cloves grow bigger bulbs.
Hardneck vs. Softneck: Which Garlic to Grow
Choose hardneck garlic for cold climates and softneck garlic for mild ones. This single choice affects your flavor, storage life, and whether you’ll get edible flower stalks called scapes.
Hardneck varieties (like Music or Chesnok Red) handle hard winters well, produce fewer but larger cloves, and send up curling scapes you can harvest and cook. Softneck varieties (like California Early or Inchelium Red) prefer milder winters, store much longer, and are the type used for braiding.
| Feature | Hardneck | Softneck |
| Best climate | Cold winters (colder zones) | Mild winters (warmer zones) |
| Clove size | Fewer, larger cloves | More, smaller cloves |
| Storage life | 3–6 months | 6–12 months |
| Scapes | Yes (edible) | Usually none |
| Good for braiding | No | Yes |
Best for beginners in cold regions: hardneck. Best for mild-winter or long-storage needs: softneck. If you’re unsure of your winters, hardneck is the more forgiving choice for a first try.
When to Plant Garlic
Plant garlic in autumn, about 4–6 weeks before the ground freezes, so the cloves grow roots before winter without sprouting much top growth. In most temperate regions this falls between September and November.
The cloves need a cold period (called vernalization) to split into a full bulb, which is why autumn planting produces the biggest heads. In warm climates with mild winters, plant in late autumn or early winter instead, and choose softneck types suited to less cold.
Spring planting is possible where winters are too harsh or if you missed the autumn window, but expect smaller bulbs. For a spring crop, get the cloves in as early as the soil can be worked.
How to Grow Garlic Outdoors in the Ground
Growing garlic outdoors in a garden bed is the classic method and gives the largest bulbs. Garlic wants full sun (at least 6 hours daily) and loose, well-draining soil rich in organic matter.
Step 1: Prepare the Bed
Loosen the soil to about 20 cm (8 in) deep and mix in compost or well-rotted manure. Garlic rots in soggy ground, so if your soil is heavy clay, add grit or plant in a raised bed for drainage.
Step 2: Split and Plant the Cloves
Break the bulb into cloves just before planting, keeping the papery skin on each. Plant each clove pointed end up, about 5 cm (2 in) deep and 15 cm (6 in) apart, in rows 30 cm (12 in) apart. Planting a clove upside down leads to twisted, weak growth, a very common beginner mistake.
Step 3: Mulch for Winter
After planting, cover the bed with 5–10 cm (2–4 in) of straw or shredded-leaf mulch. This insulates the cloves through winter, suppresses weeds in spring, and keeps moisture even. In very cold regions, this mulch layer is what protects roots from frost heave that can push cloves out of the ground.
How to Grow Garlic in Pots and Containers
Garlic grows well in containers, making it a real option for renters, balcony gardeners, and anyone without a bed. The key is a deep enough pot: at least 20 cm (8 in) deep and wide, since garlic roots need room.
Fill the container with a free-draining potting mix and confirm it has drainage holes, waterlogged pots are the fastest way to lose a container crop. Plant cloves 5 cm (2 in) deep and space them 10–15 cm (4–6 in) apart; a 30 cm (12 in) pot comfortably holds three to five cloves.
Container garlic dries out faster than ground garlic, so check moisture more often, especially in spring. Feed every few weeks in the growing season with a balanced liquid fertilizer, since nutrients wash out of pots quickly. Set the pot where it gets full sun, and in cold climates move it against a sheltered wall or into an unheated shed over the harshest weeks.
How to Grow Garlic Indoors
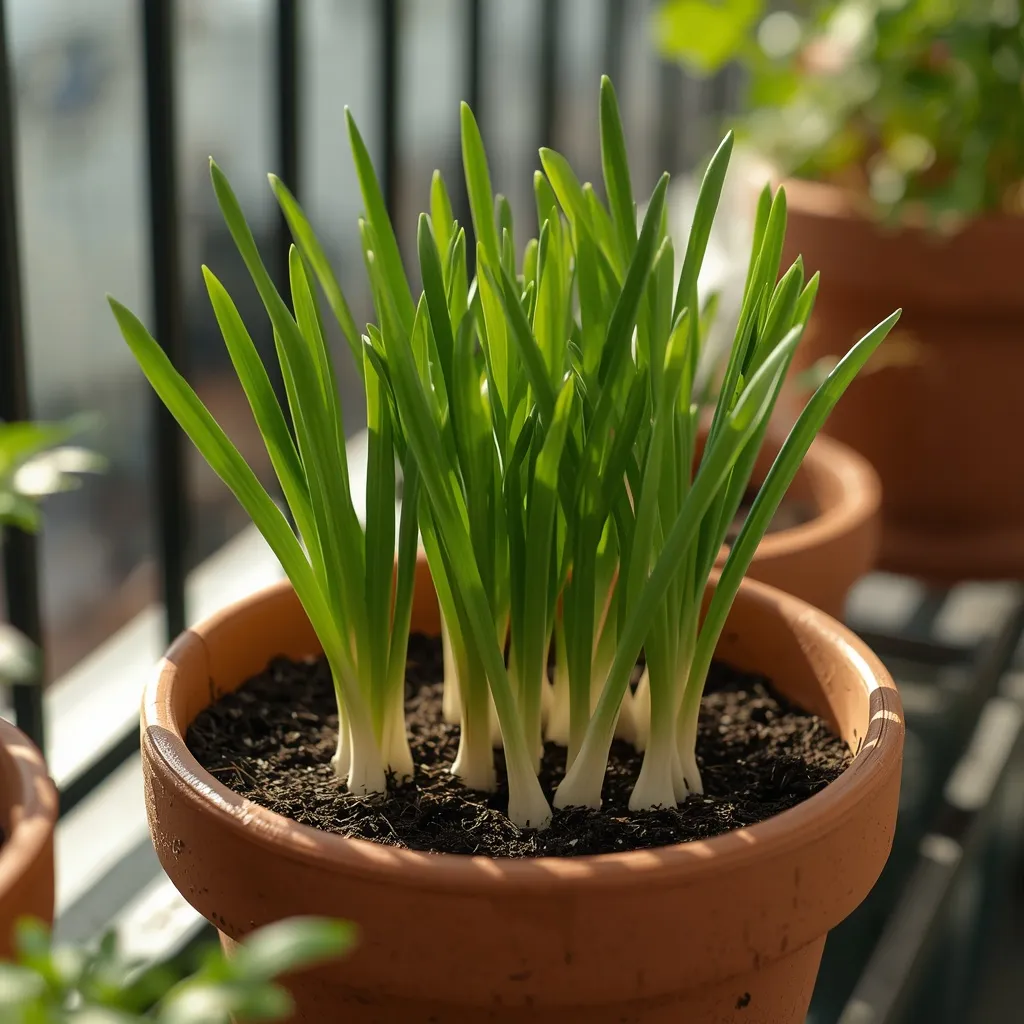
Indoors, garlic is best grown for its greens rather than full bulbs, because a windowsill rarely gives the cold period and long season a bulb needs. Garlic greens are the tender green shoots, mild and chive-like, ready in a couple of weeks.
To grow greens, plant a few cloves pointed end up in a small pot of potting soil, barely covered, and set it on your brightest windowsill, a south-facing one is ideal. Keep the soil lightly moist, and snip the green shoots with scissors once they reach about 15–20 cm (6–8 in), leaving the base to regrow.
If you genuinely want a full bulb indoors, you’d need a very bright spot, a deep pot, and a way to give the cloves several weeks of cold (some gardeners chill cloves in the refrigerator for 6–8 weeks first). It’s possible but slow, so most indoor growers stick to greens for a reliable, fast harvest.
Can You Grow Garlic in Water?
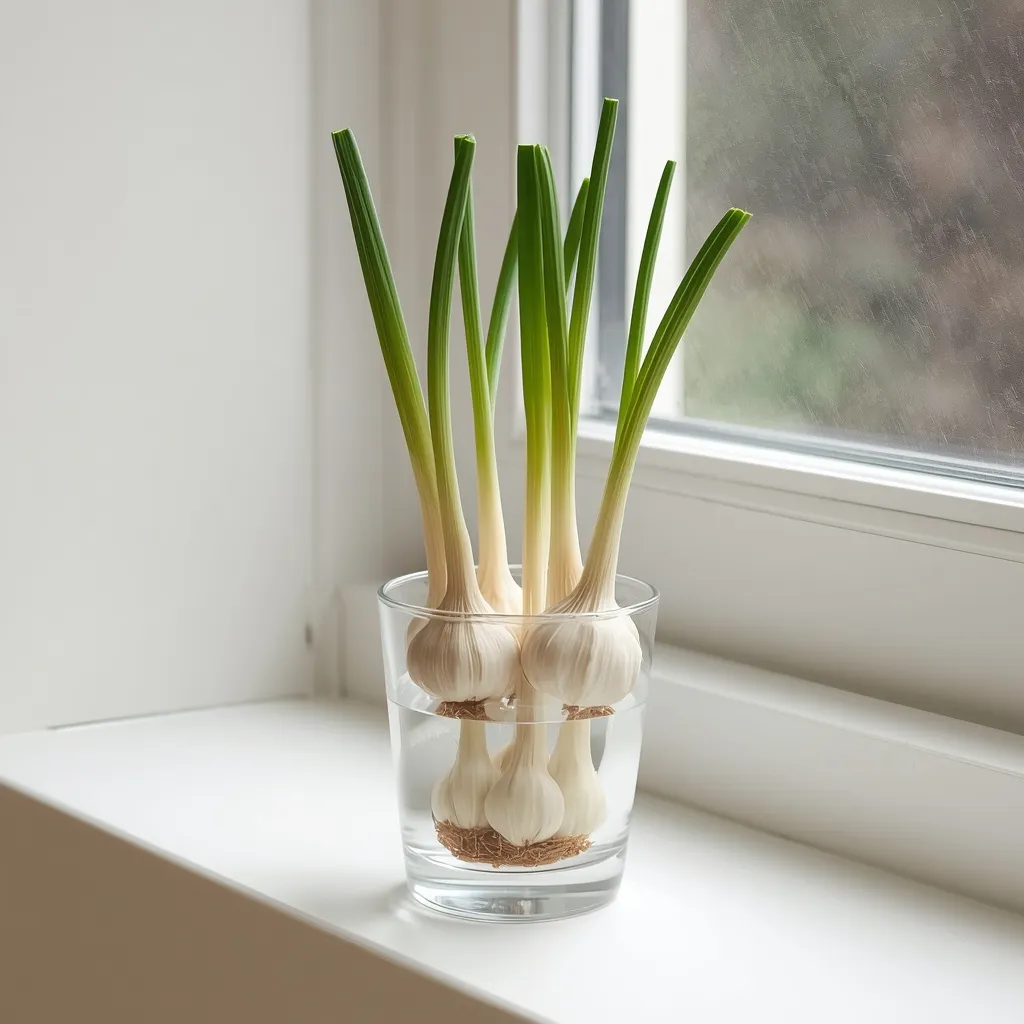
You can grow garlic greens in water, but not a full bulb. A clove suspended over water will sprout green shoots in about a week, giving you a small, renewable harvest of mild garlic greens, but it will never form a new head this way.
To try it, stand one or a few cloves pointed end up in a small glass or egg cup, add just enough water to touch the base (not submerge the clove), and place it on a bright windowsill. Change the water every day or two to prevent it turning cloudy and rotting the clove.
Within a week you’ll see green shoots you can snip for cooking. This is a fun, low-effort project for kids or anyone wanting fresh greens without soil, but be clear-eyed about the limit: water-grown garlic is for greens only. For an actual bulb, you need soil, sun, and a full season.
Caring for Garlic While It Grows
Garlic is low-maintenance once planted, needing mainly steady moisture, weed control, and a spring feed. Keep the soil evenly moist during active spring growth, then ease off as harvest nears.
Watering
Water deeply about once a week during dry spring weather, aiming for evenly moist (not soggy) soil. Stop watering two to three weeks before harvest, once the leaves start to yellow, dry soil at the end helps the bulbs cure and store better.
Feeding and Weeding
Feed with a nitrogen-rich fertilizer in early spring as new growth appears, which fuels leafy growth that powers bulb size. Keep the bed weed-free, since garlic has shallow roots and competes poorly, the winter mulch layer does much of this work for you.
Remove the Scapes
If you grow hardneck garlic, cut off the curling flower stalks (scapes) when they appear in late spring. Removing scapes redirects the plant’s energy into the bulb instead of the flower, giving noticeably bigger heads, and the scapes themselves are delicious sautéed, so nothing goes to waste. This tip is one many first-time growers miss entirely.
When and How to Harvest Garlic
Harvest garlic when the lower third of the leaves have turned brown but the upper leaves are still green, usually in early to mid-summer. Each green leaf represents a papery wrapper around the bulb, so you want several still healthy to protect the head.
Don’t pull garlic up by the stem, it can snap or bruise the bulb. Instead, loosen the soil around each bulb with a fork and lift it gently. If you wait too long, the bulbs “split” and the cloves separate, which shortens storage life, so harvesting on time matters.
A quick test: dig up one bulb and check it. If the cloves are plump and the wrappers well-formed, the rest are ready. If it still looks like a single undivided lump, give the patch another week or two.
Curing and Storing Your Harvest
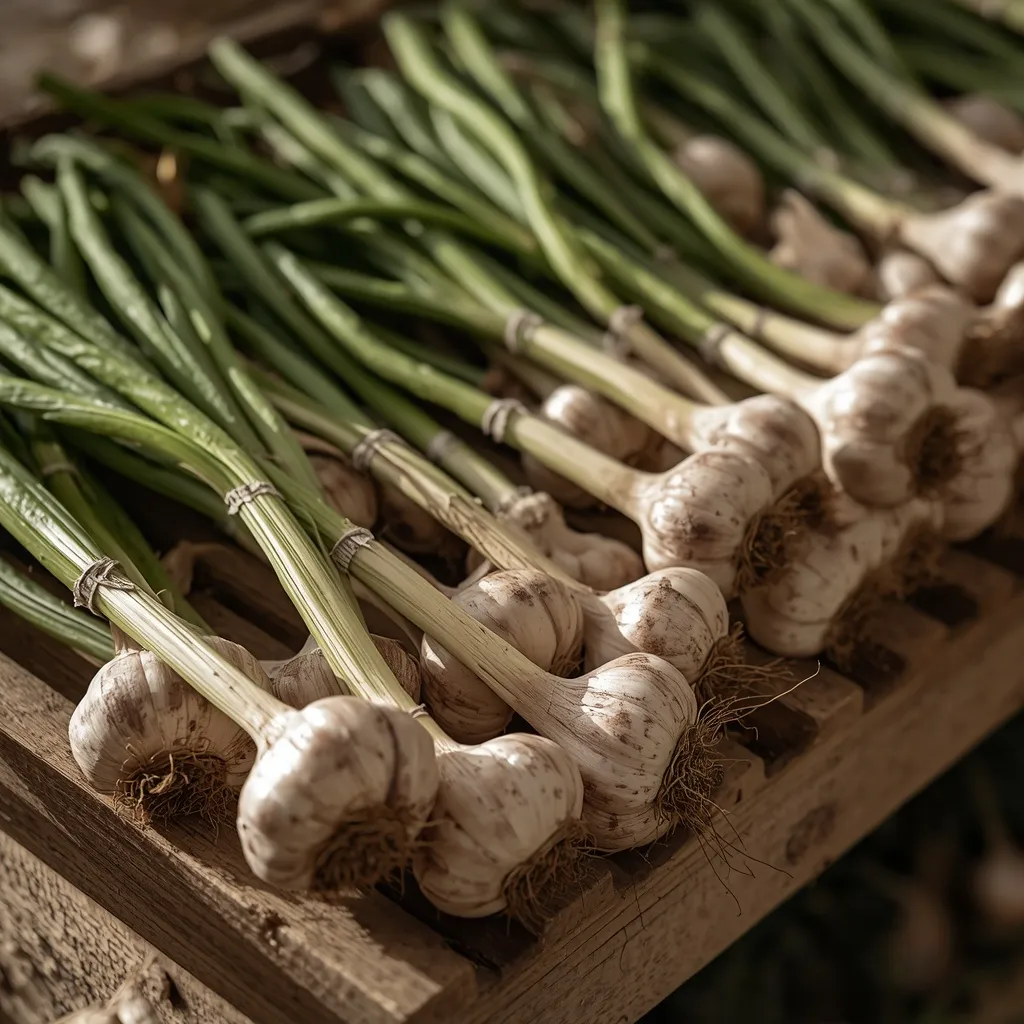
Cure garlic by drying the whole plants in a warm, airy, shaded spot for two to four weeks before storing. Curing lets the outer skins dry into protective wrappers, which is what allows garlic to keep for months.
Hang the plants in bunches or lay them on a rack somewhere dry with good airflow and out of direct sun. Once the skins are papery and the roots dry and brittle, trim the roots and cut the stems to about 2.5 cm (1 in), or leave softneck stems on for braiding.
Store cured garlic in a cool, dry, well-ventilated place at around 10–15°C (50–60°F). Avoid the refrigerator, which encourages sprouting, and never store in sealed plastic, which traps moisture and causes rot. Save your biggest, healthiest bulbs to replant next autumn, over a few seasons your garlic adapts to your garden and gets better each year. For more ways to build a productive kitchen garden, browse our herb garden inspiration.
Common Garlic-Growing Problems
Most garlic troubles trace back to drainage, timing, or planting depth. This quick table covers the issues new growers hit most, with the usual fix.
| Problem | Likely cause | Fix |
| Small bulbs | Planted too late; overcrowded; no spring feed | Plant in autumn; space 15 cm; feed in spring |
| Yellowing leaves (early) | Overwatering or poor drainage | Ease off water; improve drainage |
| Rotting cloves | Soggy soil; grocery-store stock | Use seed garlic; plant in well-drained beds |
| Bulbs that never split | Not enough cold period | Autumn-plant; pick a type suited to your zone |
| Split / bursting bulbs | Harvested too late | Lift when lower third of leaves brown |
Your Garlic Planting Timeline
Here’s the whole growing cycle at a glance, from clove to stored bulb. Timings shift with your climate, so treat these as typical temperate-region windows.
| Stage | Typical timing | What to do |
| Plant | Autumn (Sep–Nov) | Set cloves 5 cm deep, point up; mulch |
| Overwinter | Winter | Leave under mulch; roots establish |
| Active growth | Early–mid spring | Water weekly; feed with nitrogen; weed |
| Remove scapes | Late spring | Cut hardneck scapes to boost bulbs |
| Harvest | Early–mid summer | Lift when lower third of leaves brown |
| Cure & store | Summer | Dry 2–4 weeks; store cool and dry |
Save this timeline somewhere handy, garlic’s long season means the autumn planting decision pays off nearly a year later, so a little planning now sets up next summer’s harvest.
Conclusion
Learning how to grow garlic comes down to a few reliable moves: start with seed garlic, plant in autumn with the pointed end up, mulch for winter, feed in spring, and lift the bulbs once the lower leaves brown. Whether you have a full bed, a single deep pot on a balcony, or just a sunny windowsill for greens, there’s a version of this that fits your space.
Tuck a few cloves into the ground this autumn and let winter do the quiet work, then set a reminder for next summer’s harvest. If you enjoy this slow, generous kind of growing, our backyard herb garden ideas are a natural next step, and you can find the broader Sunday Abode garden philosophy across the site.
FAQs
Can I grow garlic from a clove from the grocery store?
You can, but it’s not recommended. Supermarket garlic is often treated to resist sprouting and may carry diseases like white rot, and it may not suit your climate. Certified seed garlic from a nursery is disease-screened and gives far more reliable bulbs.
How long does garlic take to grow?
Garlic is a long-season crop. Planted in autumn, it’s usually ready to harvest the following early to mid-summer roughly 8 to 9 months. Spring-planted garlic grows faster but produces smaller bulbs.
Can you really grow a full garlic bulb in water?
No. A clove in water will sprout green shoots you can snip and eat within about a week, but it will never form a new bulb. For a full head of garlic you need soil, full sun, and a complete growing season including a cold period.
How deep and far apart should I plant garlic cloves?
Plant each clove pointed end up, about 5 cm (2 in) deep and 15 cm (6 in) apart, in rows around 30 cm (12 in) apart. In containers you can space them a little closer, about 10–15 cm (4–6 in) apart.
How do I know when garlic is ready to harvest?
Watch the leaves. Harvest when the lower third have turned brown while the upper leaves are still green, usually in early to mid-summer. Loosen the soil with a fork and lift gently rather than pulling by the stem.
Can I grow garlic indoors on a windowsill?
Yes, mainly for garlic greens rather than full bulbs. Plant a few cloves in a small pot on your brightest, ideally south-facing windowsill and snip the shoots once they reach about 15–20 cm (6–8 in). Growing a full indoor bulb is possible but slow and needs a cold period first.
Should I remove garlic scapes?
Yes, if you grow hardneck garlic. Cutting off the curling flower stalks in late spring redirects the plant’s energy into the bulb, giving bigger heads. The scapes are also edible and tasty sautéed, so it’s a two-for-one.