
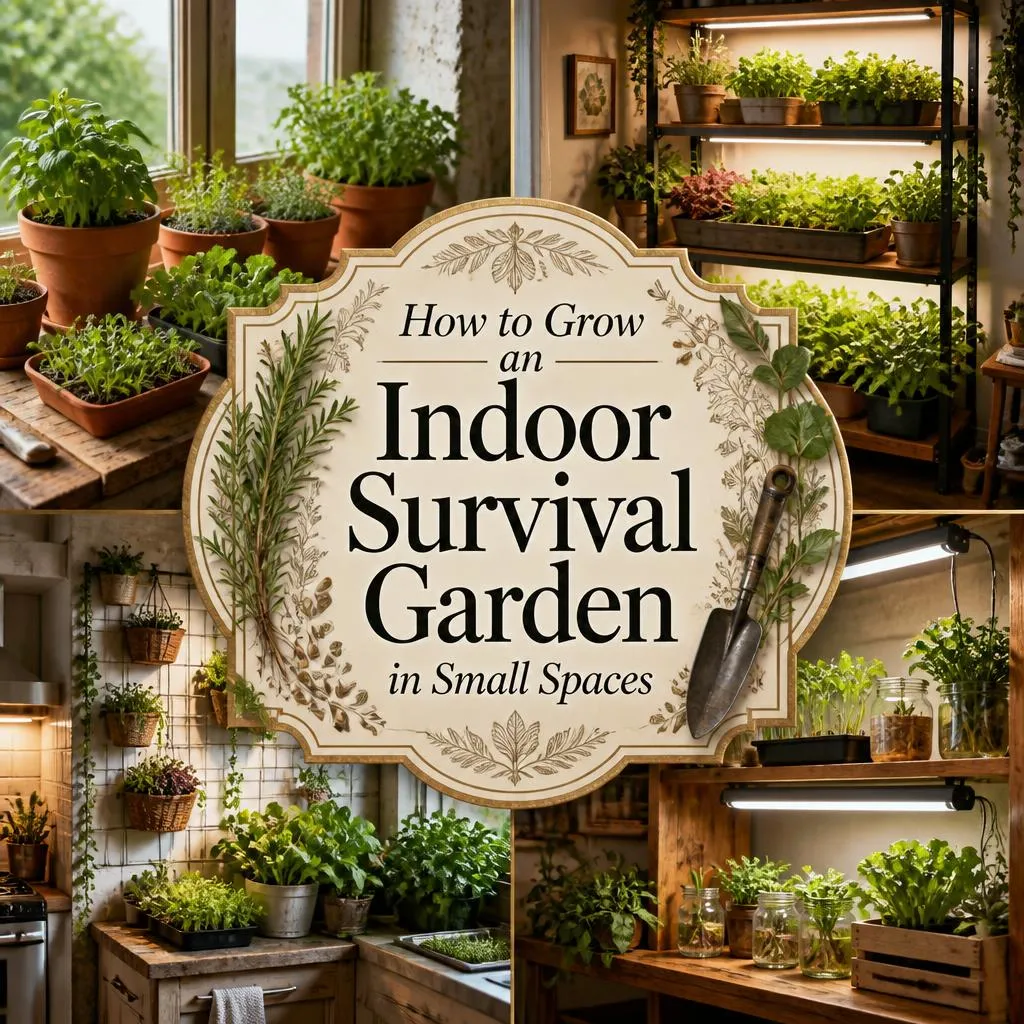
Introduction
An indoor survival garden starts the moment a spare closet, shelf, or corner of a spare room starts looking like real estate worth using. At its core, growing an indoor survival garden means combining grow lights, the right containers, and a rotation of fast, nutrient-dense crops so a household can produce a meaningful amount of its own food regardless of season, yard size, or growing zone. This guide walks through the full setup, from choosing a growing space and picking the right grow lights to building a simple DIY grow tent and selecting crops that deliver real calories and nutrition rather than just garnish. Whether the goal is food security, year-round fresh greens, or simply more control over where dinner comes from, there’s a version of this system that fits any abode, apartment included.
What Counts as an Indoor Survival Garden
An indoor survival garden differs from a typical houseplant shelf or windowsill herb pot in one key way: every plant earns its spot by calories, nutrients, or genuine culinary usefulness rather than looks. Ornamental foliage and slow-growing specimens are set aside in favor of crops that mature quickly, tolerate close spacing, and can be harvested repeatedly, think leafy greens, sprouts, compact legumes, and productive herbs rather than a single showpiece fig tree. The goal isn’t necessarily total self-sufficiency; even a modest setup covering 10 to 20 square feet (about 1 to 2 square meters) can supply a household with fresh greens, herbs, and sprouts several times a week, which meaningfully reduces reliance on store-bought produce during supply disruptions, extreme weather events, or simply the depths of winter when fresh produce gets expensive and travels the farthest.
- Prioritizes fast-cycling, nutrient-dense crops over ornamental plants
- Works at any scale, from a single shelf to a converted closet
- Reduces dependence on external food supply during disruptions or winter months
Choosing the Right Growing Space
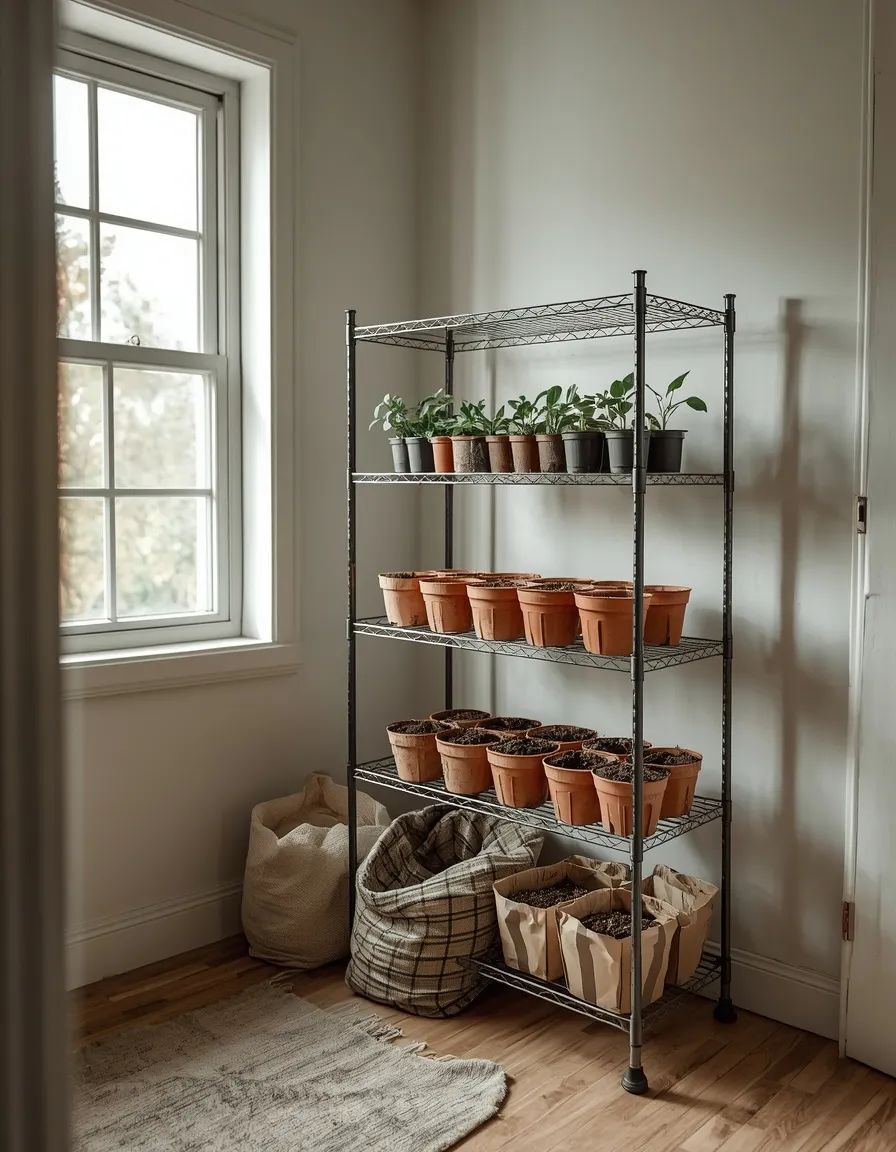
Almost any interior space with a stable temperature and access to an electrical outlet can host an indoor survival garden, a spare closet, a basement corner, an unused guest room, or even a wide hallway shelf. Because grow lights replace the sun entirely, window access becomes optional rather than required, which opens up rooms that would never work for a typical houseplant collection.
Aim for a spot that stays between 65 and 75°F (18 to 24°C), since temperatures much colder slow growth and temperatures much warmer stress most leafy crops. Closets and basements need a small clip fan running continuously for air circulation, both to strengthen stems and to prevent the still, humid air that invites mold. A common mistake is choosing a space with no nearby outlet and running an extension cord across a walkway, which is both a trip hazard and, over time, a fire risk if the cord isn’t rated for the load; plan the layout around an existing outlet or have a licensed electrician add one rather than improvising.
- Works in windowless spaces since grow lights fully replace natural light
- A stable 65 to 75°F (18 to 24°C) range keeps most crops actively growing
- Continuous airflow from a small fan prevents mold and strengthens seedling stems
Grow Lights: The Foundation of an Indoor Garden
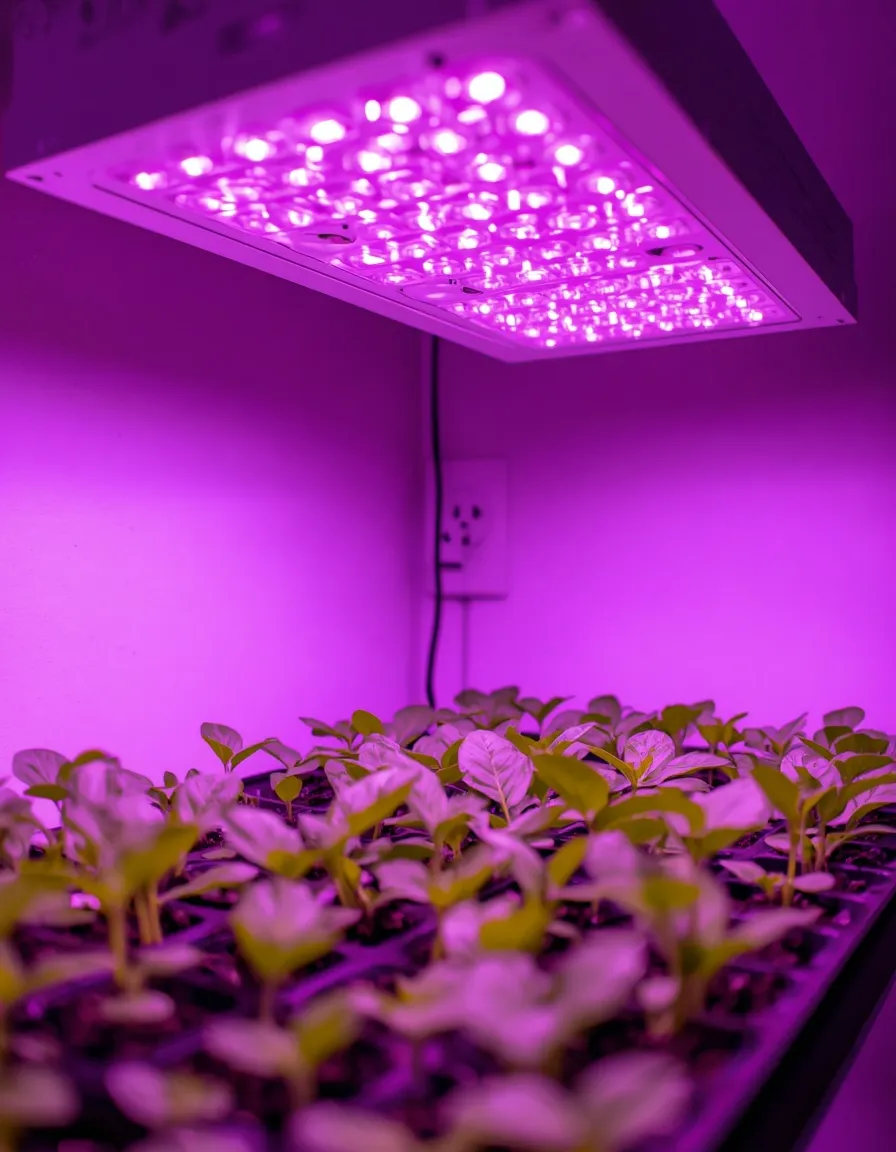
No indoor survival garden succeeds without proper grow lights, and this is the single area where cutting corners costs the most in stunted, leggy growth. A full-spectrum LED grow light, not a standard household bulb or a single-spectrum seedling light, is what actually supports a plant from germination through to a harvestable vegetable.
Budget roughly 30 to 50 watts of LED grow light per square foot (about 0.09 sq m) of growing space for vegetables and fruiting crops, and run lights for 14 to 16 hours a day for leafy greens and herbs, dropping closer to 12 to 14 hours for fruiting crops like compact peppers, which need a shorter dark period to trigger flowering. Mount lights 12 to 18 inches (30 to 45 cm) above the canopy and raise them as plants grow, since light intensity drops sharply with distance. A common mistake is relying on a single small clip light for an entire shelf; uneven coverage produces plants that stretch toward the light source and topple over. A simple mechanical timer removes the guesswork and keeps the photoperiod consistent even when nobody is home to flip a switch.
- Full-spectrum LED grow lights are the single most important investment in the setup
- Consistent 14 to 16 hour photoperiods, controlled by a timer, keep growth steady
- Uneven or insufficient light is the most common cause of leggy, weak seedlings
Building a DIY Grow Tent
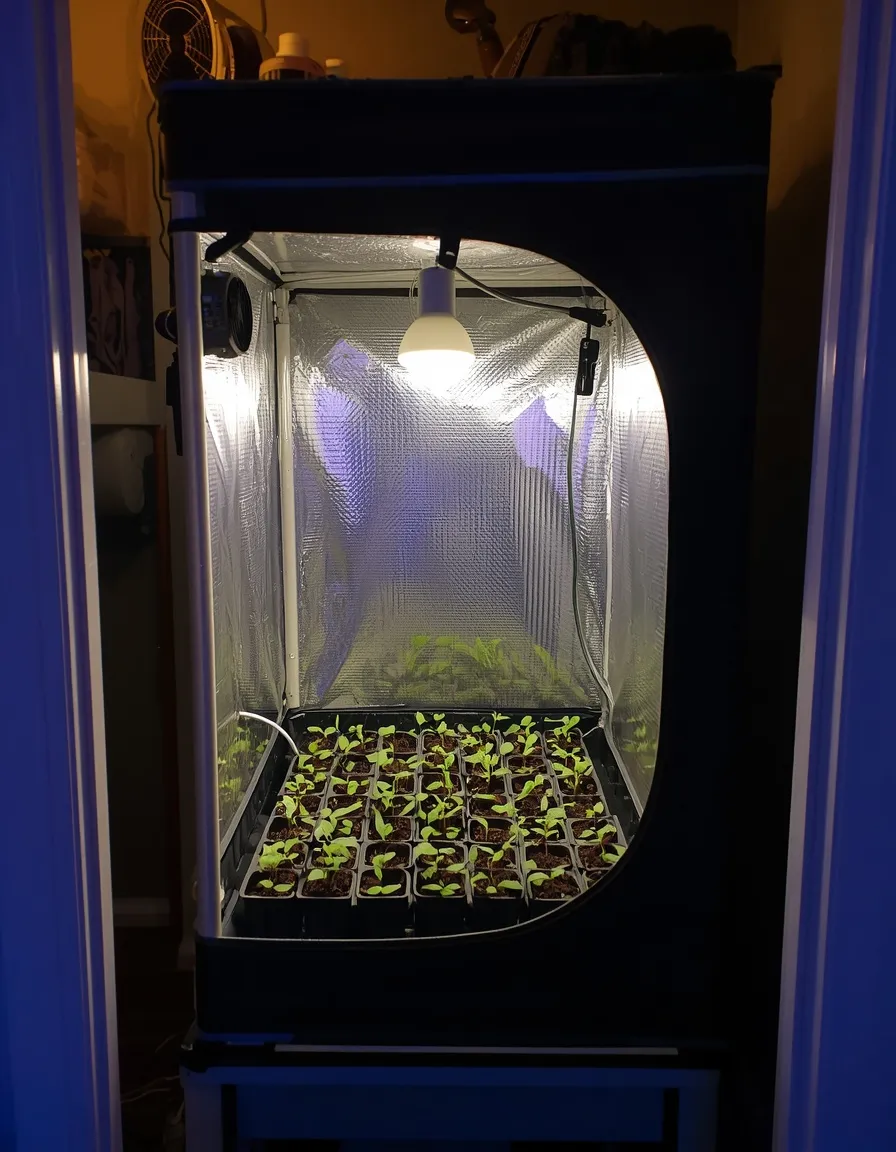
A DIY grow tent contains light, humidity, and temperature in one controllable zone, which matters more indoors than most people expect; leaking light disturbs sleep in nearby rooms, and uncontained humidity can creep into walls and closets over time. A simple frame built from half-inch PVC pipe, covered in reflective mylar sheeting or heavy-duty white plastic sheeting, does the job for under $50 in most Tier 1 markets.
Size the frame to the growing space rather than buying a pre-made tent that may not fit an odd closet or alcove; PVC cuts easily with a hand saw and connects with basic T and elbow fittings without glue, so the whole structure can be disassembled if the space is needed for something else. Cut a small slit near the base for cables and a second flap near the top for a clip fan to vent warm, humid air, since a fully sealed tent without airflow builds up moisture fast enough to encourage mold within days. Reflective mylar interior walls also bounce stray light back onto the plants, improving light efficiency by a noticeable margin over plain white sheeting.
- Contains light spill and humidity so the setup doesn’t affect the rest of the home
- Costs under $50 to build from PVC pipe and reflective sheeting in most markets
- Fully collapsible, making it renter-friendly and easy to relocate or store
Containers, Soil, and Setup Basics
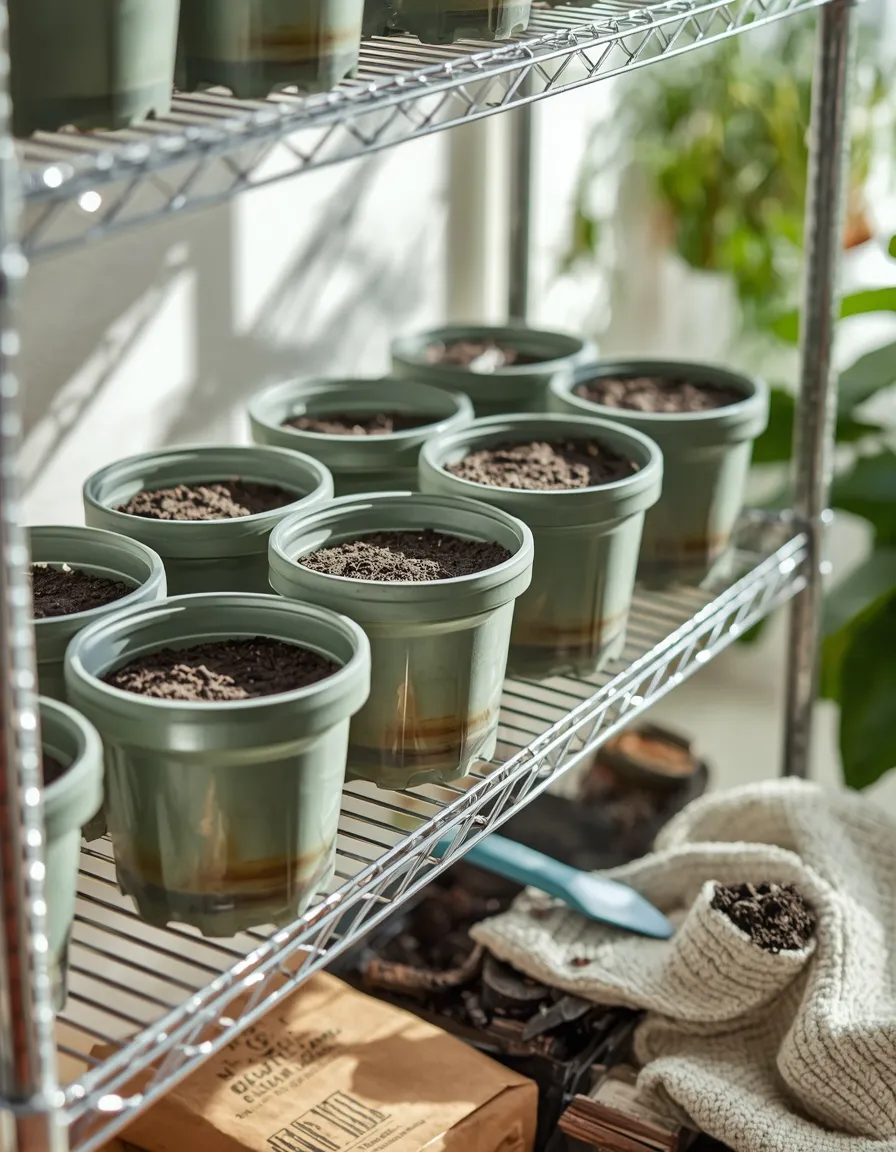
The containers and growing medium matter almost as much as the light itself, and this is where many first attempts at an indoor grow garden go wrong. Standard garden soil is too dense for containers and often carries pests or pathogens that thrive in the warm, still air indoors, so a bagged, sterile potting mix formulated for containers is worth the extra cost.
Choose containers with drainage holes and a catch tray underneath every one; indoor spaces don’t forgive the overflow the way outdoor beds do. Self-watering containers with a built-in reservoir are especially useful for anyone who travels or tends to forget watering days, since they wick moisture up to the roots as needed rather than requiring a daily check. Arrange containers on tiered wire shelving to maximize the growing area under a single light fixture, and leave at least 2 inches (5 cm) of clearance between the tallest plants and the light to avoid leaf scorch.
- A sterile bagged potting mix avoids the pest and disease risk of garden soil
- Self-watering containers reduce the daily maintenance load significantly
- Tiered shelving multiplies growing space under a single grow light fixture
The Best Crops for an Indoor Survival Garden
Crop selection is what separates a genuine indoor survival garden from a decorative herb pot on the counter. The strongest choices share three traits: a short time from seed to harvest, the ability to be harvested repeatedly rather than once, and real nutritional or caloric value. The five categories below cover the most practical, reliably productive options for growing indoors.
Leafy Greens and Microgreens
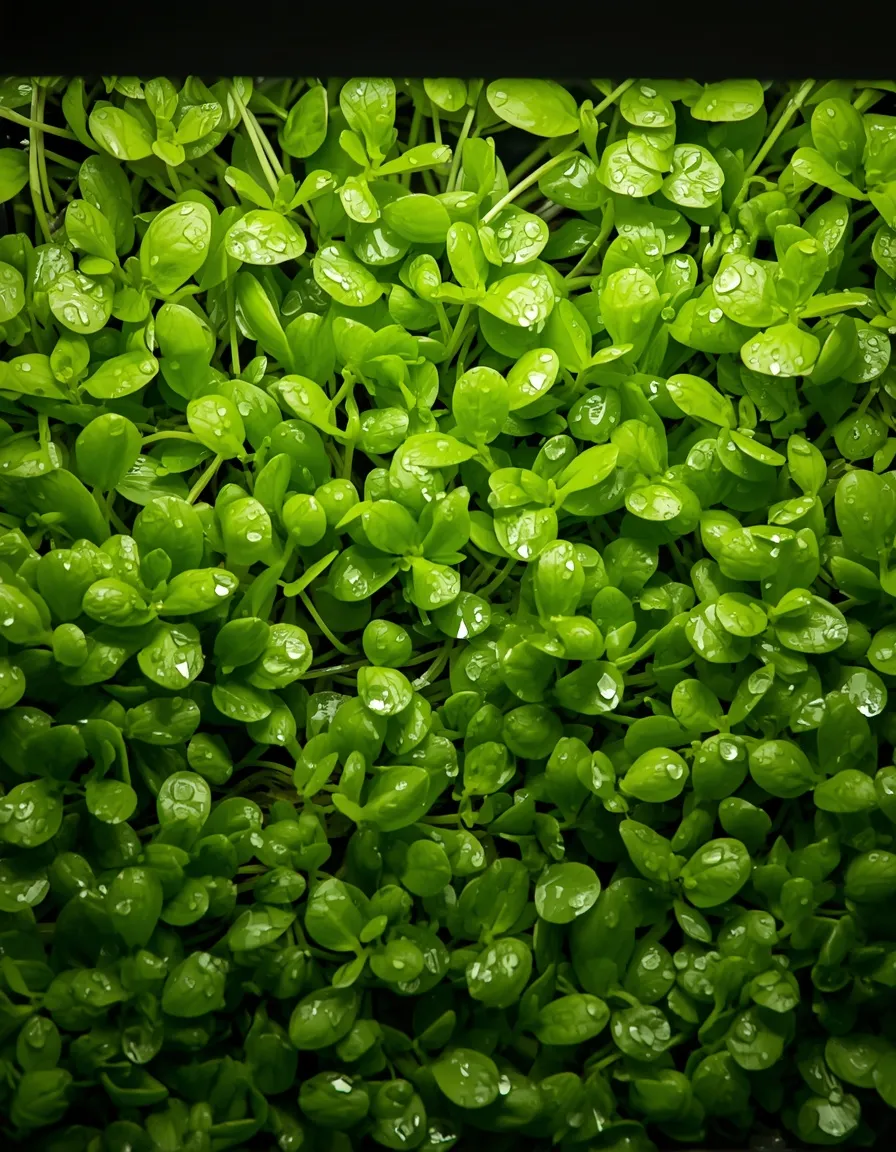
A tray of microgreens sitting under a grow light can go from seed to harvest in as little as 7 to 14 days, making it the fastest return on effort in the entire setup and a genuine confidence-builder for anyone new to growing food indoors.
Sunflower, pea shoot, and radish microgreens are the most forgiving starting points, germinating reliably in a shallow tray of moistened potting mix without needing supplemental fertilizer for such a short growing cycle. For a longer-term leafy green supply, loose-leaf lettuce and spinach can be harvested using the cut-and-come-again method, snipping outer leaves and leaving the center to keep producing for several weeks rather than pulling the whole plant. A common mistake is overcrowding microgreen trays, which restricts airflow at the base and invites damping-off, a fungal issue that kills seedlings at the soil line; sow seeds so they’re touching but not layered on top of each other.
- Fastest crop category, with microgreens ready in one to two weeks
- Cut-and-come-again harvesting extends lettuce and spinach production for weeks
- Requires minimal equipment: a shallow tray, potting mix, and consistent light
How to Grow an Indoor Herb Garden with a Grow Light
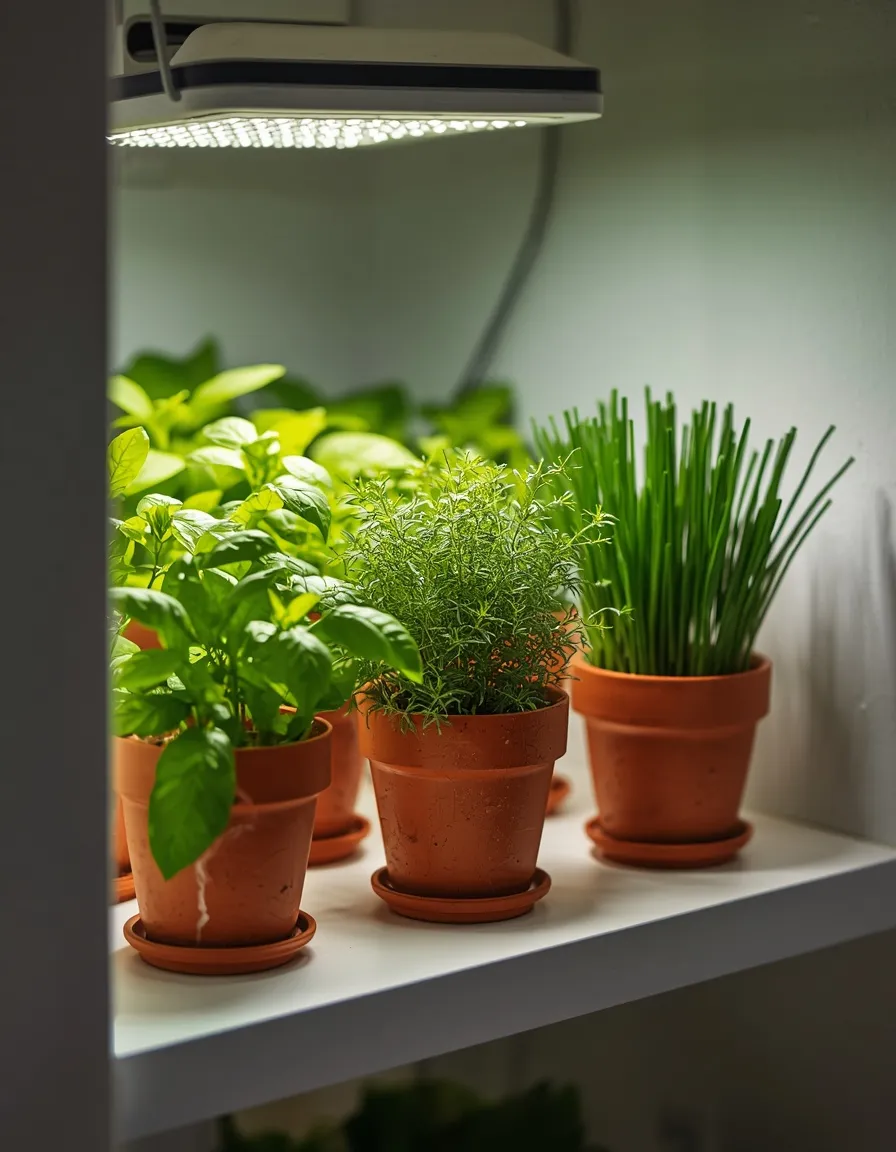
An indoor herb garden with a grow light is one of the most space-efficient additions to a survival setup, since a single small pot of basil, chives, or thyme produces enough for regular cooking use without needing much footprint at all.
Most culinary herbs need at least 12 to 14 hours of light daily to stay compact and flavorful rather than stretched and pale, so position herb pots on the brightest shelf tier, closest to the light source. Pinch growing tips regularly, roughly every two weeks once established, to encourage bushier growth rather than a single tall stem that flops over. Basil, oregano, and thyme are particularly well suited to indoor grow light setups because they tolerate the drier air common near LED fixtures, while mint should be kept in its own container since it spreads aggressively and will crowd out neighboring herbs given the chance.
- Highest culinary return for the smallest amount of growing space
- Regular pinching produces bushier, more productive plants than letting herbs grow tall
- Basil, oregano, chives, and thyme tolerate indoor grow light conditions especially well
Legumes and Sprouts
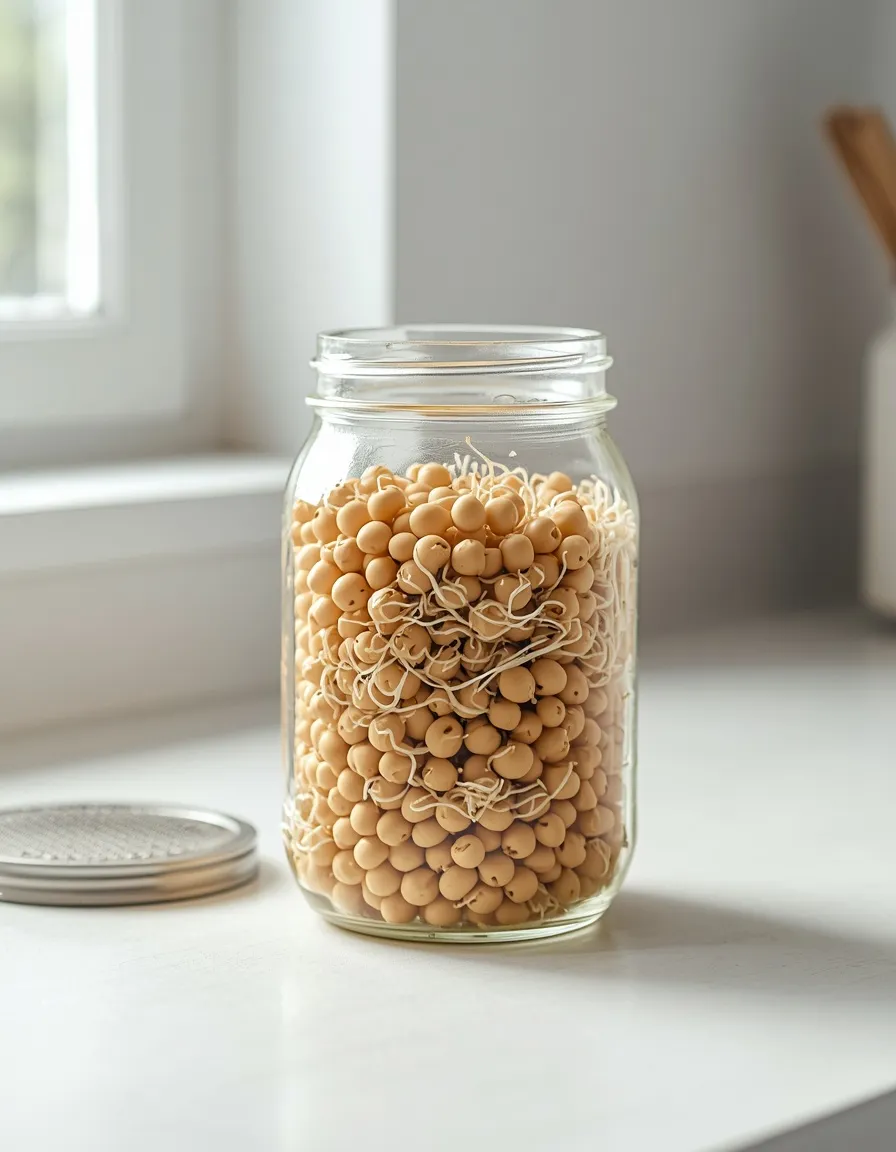
A jar of sprouting lentils or mung beans on the counter, ready in three to five days without any soil or light at all, is one of the fastest and most space-free ways to add real protein to an indoor survival garden.
Rinse sprouting seeds two to three times daily in a mason jar fitted with a mesh lid, draining thoroughly each time so no standing water sits at the bottom, which is the single biggest cause of spoilage. For a longer-cycle protein source, bush bean varieties bred for containers can produce a genuine harvest indoors under grow lights within 50 to 60 days, though they need a larger, deeper container than sprouts or microgreens. It’s worth noting that raw sprouts carry a real, documented food safety risk: the warm, humid conditions that make seeds sprout quickly are the same conditions that can allow harmful bacteria to multiply.
The FDA advises cooking sprouts thoroughly for anyone in a higher-risk group, including young children, older adults, and pregnant women.
- Fastest protein source in the entire setup, ready in three to five days
- Requires no soil, container, or grow light, just a jar and consistent rinsing
- Higher-risk individuals should cook sprouts rather than eating them raw
Root Vegetables and Tubers
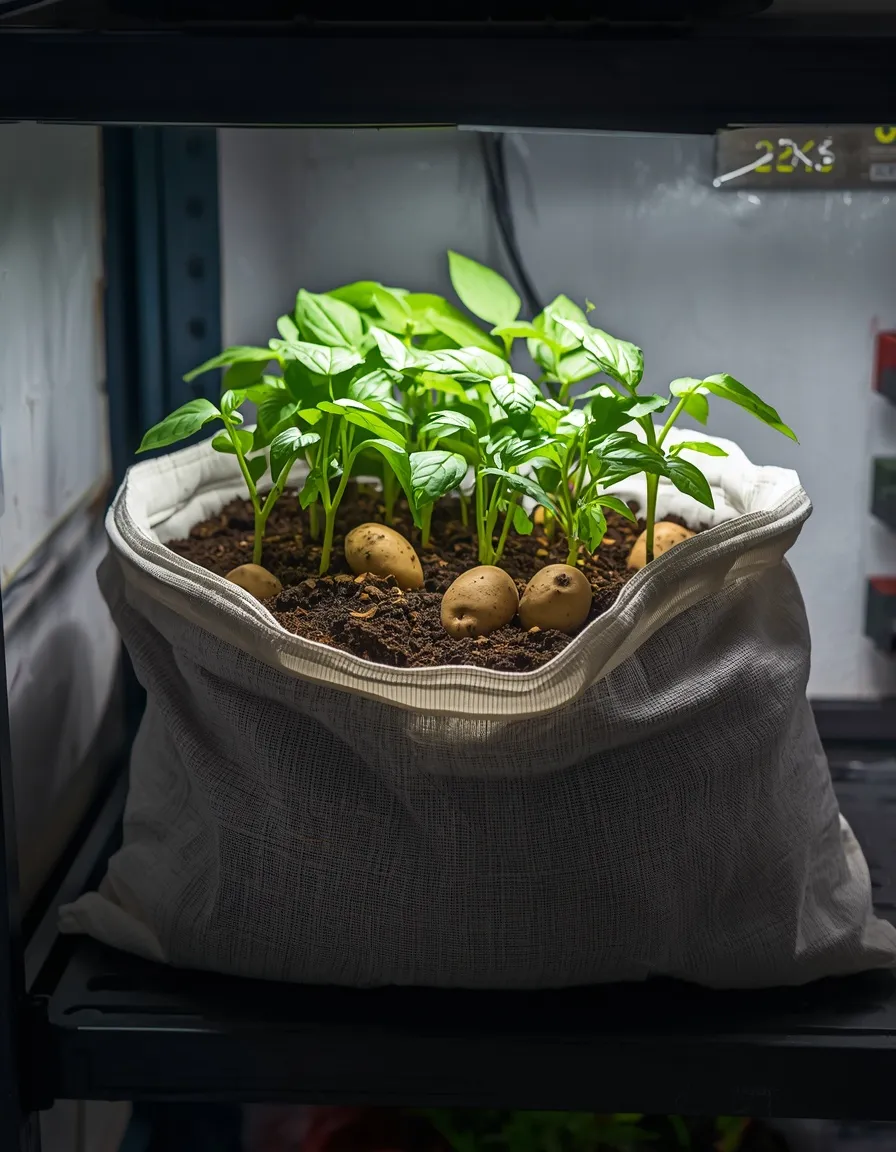
A 5-gallon (19 L) fabric grow bag of potatoes tucked into the corner of a grow tent looks unassuming, but it represents one of the highest-calorie crops that can realistically be grown indoors, a genuine staple rather than a garnish.
Small or seed potatoes work best in containers at least 12 inches (30 cm) deep, planted with 3 to 4 inches (7 to 10 cm) of soil covering them initially and topped up as green growth emerges, a technique called hilling that encourages more tubers to form along the buried stem. Radishes are the faster alternative in this category, maturing in as little as 25 to 30 days in a much shallower container, making them a useful crop to rotate through while potatoes take their slower three to four months. A common mistake is harvesting potatoes too early out of impatience; wait until the foliage yellows and dies back before digging, which signals the tubers have finished bulking up.
- Potatoes deliver more calories per square foot than almost any other indoor crop
- Radishes offer a much faster harvest for rotating through the same growing space
- Deep containers and proper hilling significantly increase total yield per plant
Compact Fruiting Vegetables
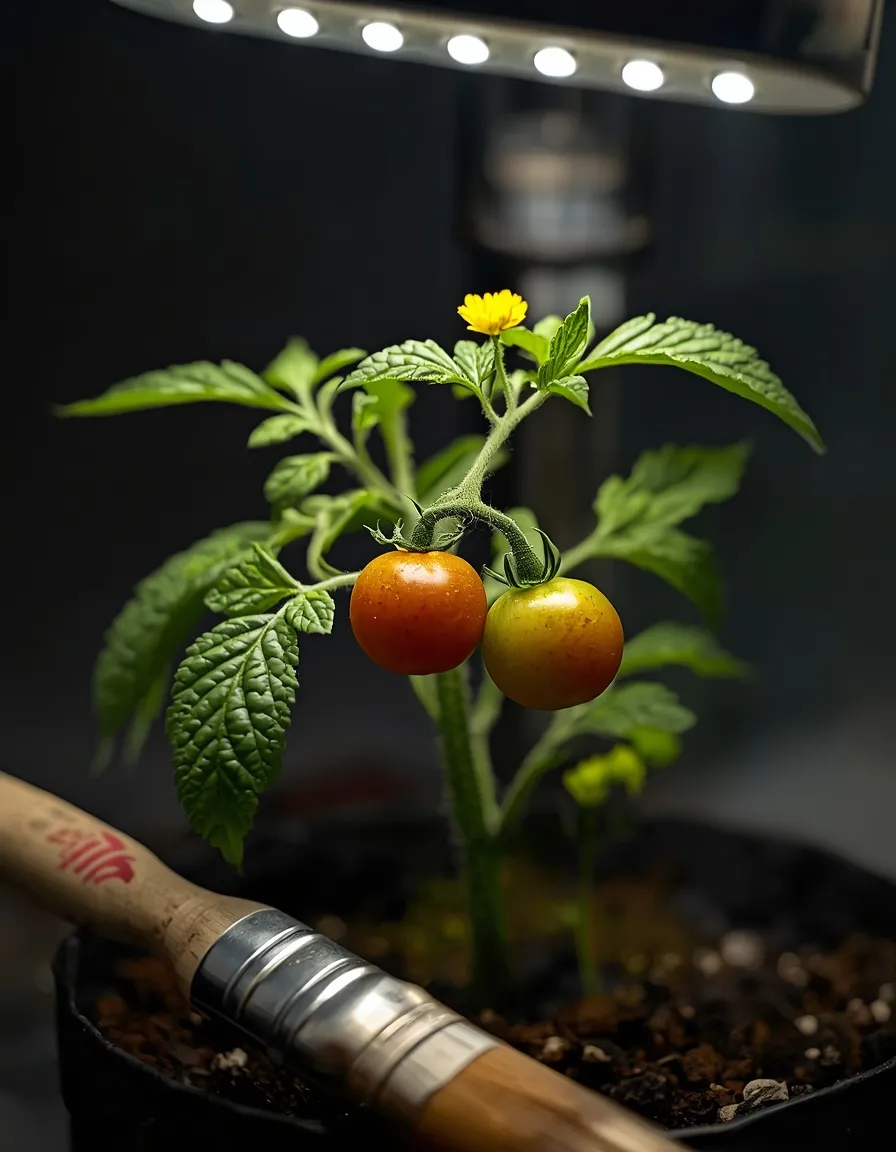
Dwarf and patio varieties of tomatoes and peppers, bred specifically for containers, bring real fruiting vegetables into an indoor setup that most guides assume only works for greens and herbs.
Look for varieties explicitly labeled dwarf, patio, or micro, since standard tomato and pepper varieties quickly outgrow indoor grow light setups and demand far more light intensity than a typical home fixture provides. These crops need the full 30 to 50 watt per square foot lighting range mentioned earlier and benefit from gently shaking the flowers or brushing them with a small paintbrush every couple of days to hand-pollinate, since there’s no wind or bees indoors to move pollen between blooms. Expect a longer timeline than greens or legumes, generally 60 to 90 days from transplant to first harvest, so treat this category as a long-term addition once the faster-cycling crops are already established and producing.
- Adds genuine fruiting vegetables to a growing system many assume can’t support them
- Hand-pollination with a small brush is required since indoor spaces have no natural pollinators
- Best treated as a longer-term addition after faster crops are already up and running
Watering and Feeding an Indoor Survival Garden
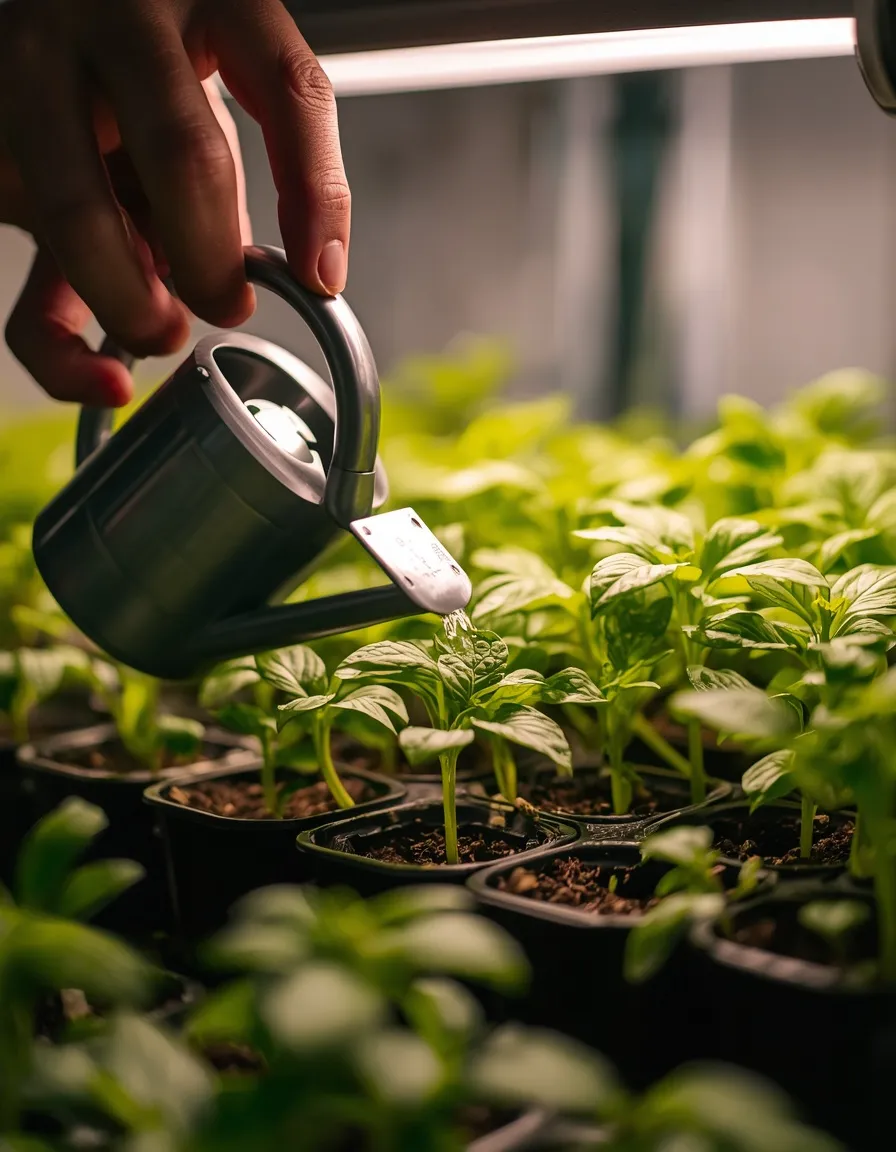
Overwatering, not underwatering, is the most common way an indoor grow garden fails, since containers without proper drainage or airflow stay wet far longer than the same soil would outdoors.
Check soil moisture with a finger inserted an inch (2.5 cm) deep rather than watering on a fixed schedule; water only when that top inch feels dry. Feed actively growing crops every 10 to 14 days with a balanced liquid fertilizer diluted to half the label’s recommended strength, since indoor plants under artificial light generally use nutrients more slowly than the same crops grown outdoors in full sun. Fish emulsion and liquid kelp are widely available organic options that work well for leafy greens and herbs, while fruiting crops like the compact tomatoes above benefit from a fertilizer with a higher phosphorus and potassium ratio once flowering begins.
- Checking soil moisture by touch prevents the overwatering that causes most indoor plant failures
- Diluted liquid fertilizer every 10 to 14 days suits most leafy crops and herbs
- Fruiting vegetables need a different nutrient ratio once flowering starts
Managing Pests, Mold, and Humidity Indoors
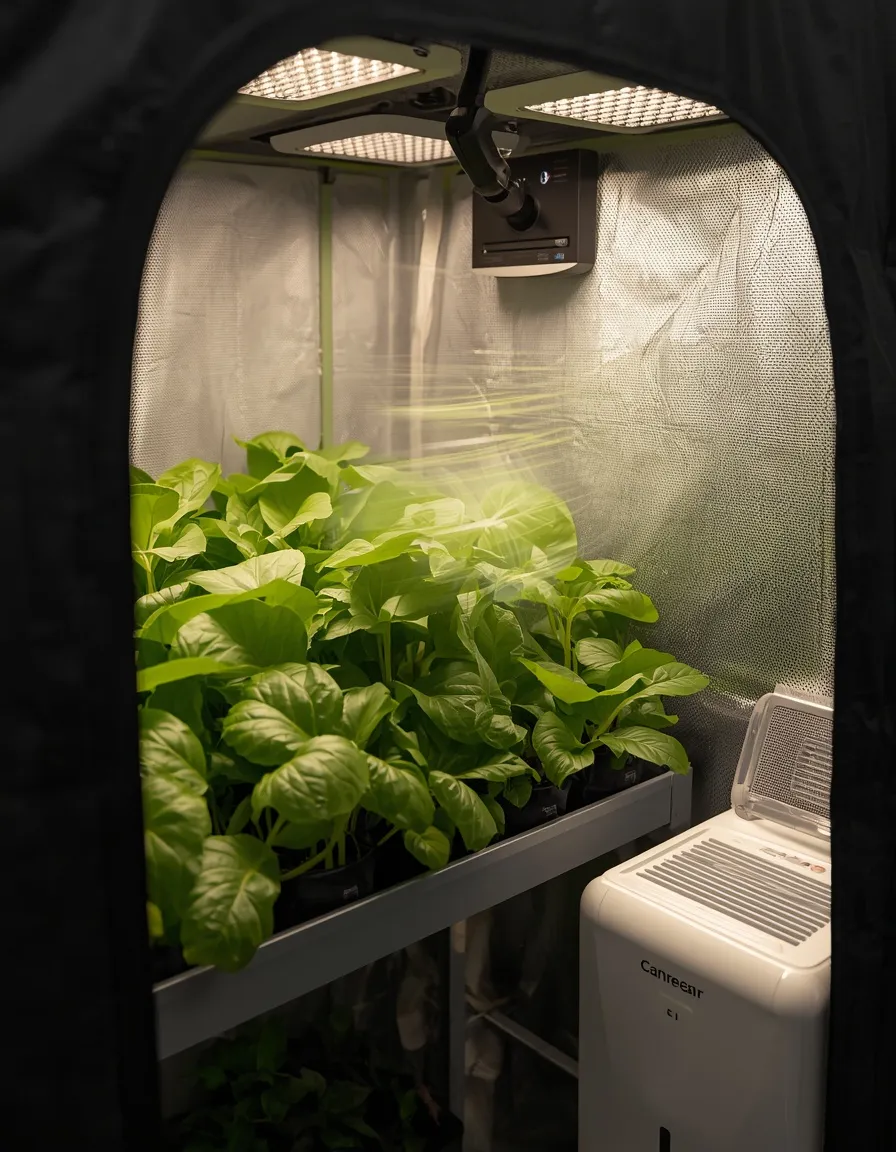
Indoor growing spaces trade outdoor pests like slugs and deer for a different set of problems: fungus gnats, spider mites, and mold, all of which thrive in the still, humid air a sealed grow tent can create if airflow isn’t managed carefully.
Run a small clip fan continuously to keep air moving across the leaves, which does double duty by strengthening stems and discouraging the still conditions mold needs to establish. Inspect new plants closely before adding them to the setup, since a single infested seedling can introduce spider mites or fungus gnats to an entire tent within a couple of weeks. Neem oil, diluted according to the label, handles most soft-bodied pest problems without harsh chemicals in an enclosed indoor space.
Mold is a genuine health concern indoors, not just a plant problem: the EPA notes that mold exposure can trigger respiratory symptoms and allergic reactions in sensitive individuals, so any visible mold on soil, containers, or nearby surfaces should be addressed immediately with improved airflow and, if needed, a small dehumidifier rather than left to spread.
- Continuous airflow from a small fan is the single most effective mold prevention step
- Inspecting new plants before adding them prevents most pest outbreaks before they start
- Visible mold indoors is a health issue as well as a plant issue and needs prompt attention
Succession Planting for a Continuous Harvest
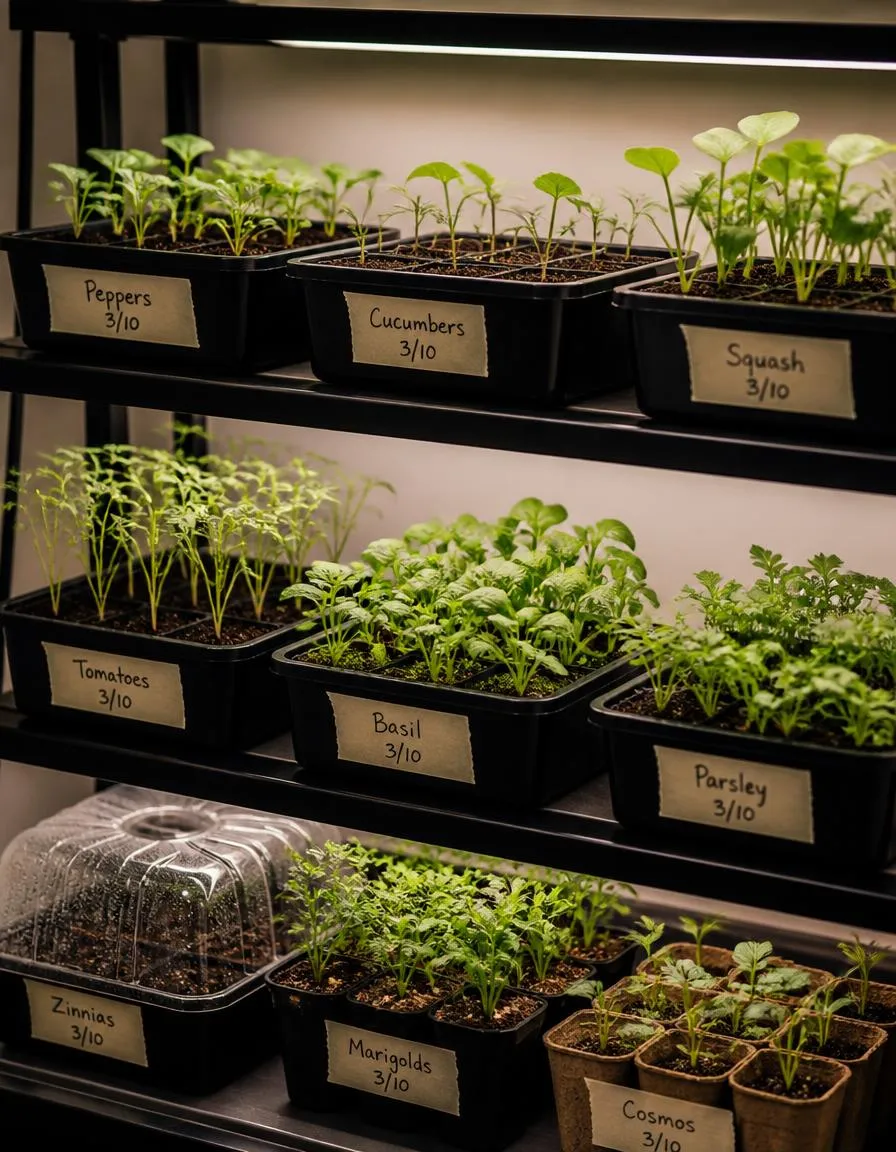
A single planting of lettuce or radishes produces one useful harvest and then an empty tray; succession planting, sowing a new small batch every one to two weeks, is what turns an indoor survival garden into an actual ongoing food source rather than a one-time project.
Keep a simple planting log, even just dates written on masking tape stuck to each container, noting the sow date and expected harvest window for each crop. Stagger fast crops like microgreens and radishes on a tight one-week rotation, since they clear space quickly, while slower crops like potatoes or dwarf tomatoes only need restaggering every couple of months. This rhythm also spreads out the workload; rather than facing one overwhelming harvest followed by weeks of nothing, a steady trickle of fresh greens and herbs becomes available most days of the week.
- Staggered planting every one to two weeks keeps harvests consistent rather than sporadic
- A simple written log prevents losing track of what was planted when
- Spreads out both the workload and the food supply over time
Winter-Specific Considerations for an Indoor Garden with Grow Lights
Winter is when an indoor survival garden earns its keep most, since it’s the season when fresh produce gets both scarcer and more expensive at the store, but cold weather does add a few extra variables to manage.
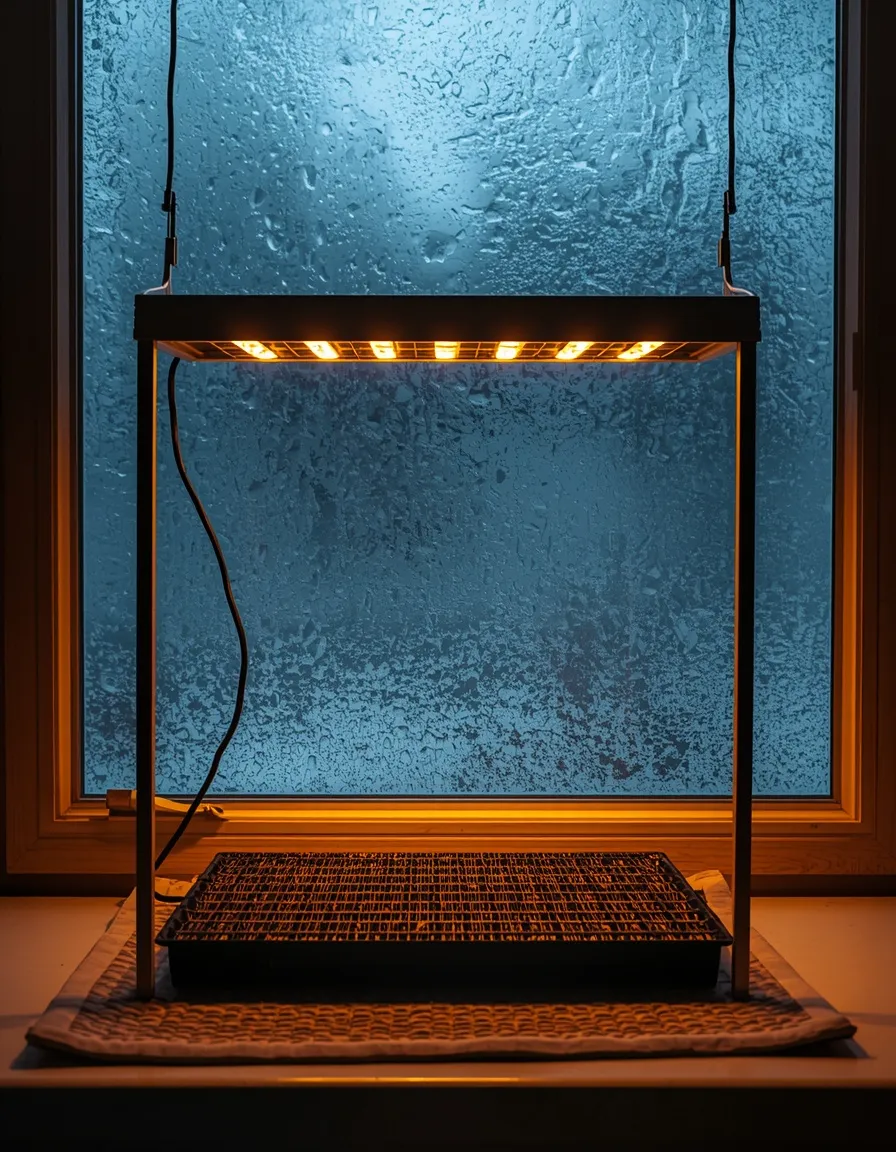
Rooms near exterior walls or single-pane windows can drop several degrees cooler in winter, which slows germination and growth even under a grow light that’s otherwise working correctly; move trays away from cold glass and toward interior walls where the temperature stays steadier. A seedling heat mat set under germination trays keeps the growing medium in the ideal 70 to 75°F (21 to 24°C) range for sprouting, even in a chilly basement or garage corner during the coldest months. It’s also worth extending the winter photoperiod slightly, closer to 16 hours rather than 14, to help compensate for the shorter, weaker natural daylight leaking in around the setup, even though grow lights are doing the primary work.
- Winter is peak value season for an indoor garden, when store produce is priciest
- Cold spots near windows or exterior walls slow growth even under adequate light
- A seedling heat mat solves cold-season germination problems in unheated spaces
Small-Space and Apartment Adaptations
An indoor garden apartment setup faces different constraints than a house with a spare room, shared walls mean noise and humidity matter more, and lease terms usually rule out drilling into walls or ceilings for mounting hardware.
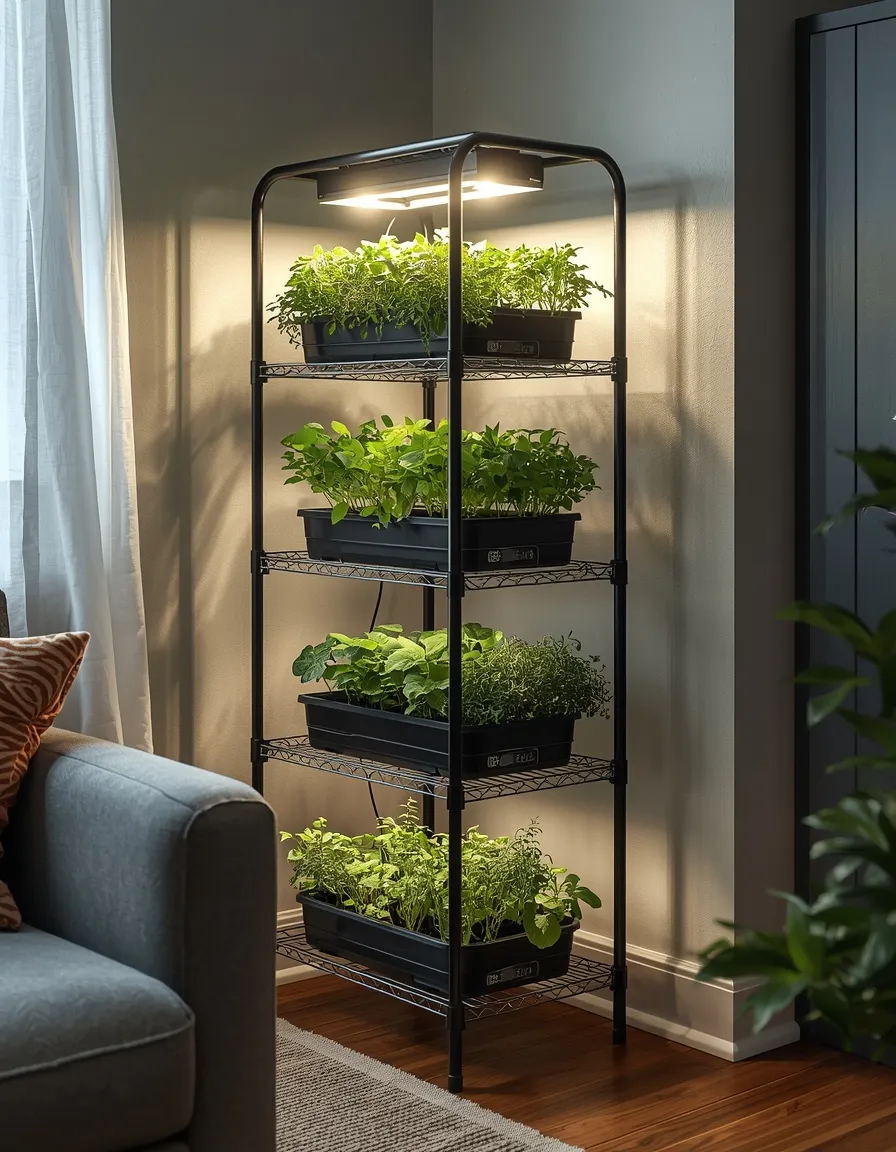
Freestanding wire shelving units with clip-on grow lights avoid any permanent installation entirely, and the whole system can be broken down and moved during a move-out inspection without leaving a mark. Over-the-door organizers fitted with small pots work surprisingly well for compact herbs in apartments with limited floor space, while a single tiered cart tucked into a closet can house a meaningful rotation of greens, herbs, and sprouts without taking over a living area. Anyone with balcony access alongside an indoor setup can extend the growing season further outdoors once the weather cooperates; a whimsical urban balcony garden pairs naturally with an indoor system, giving both a stealthy year-round indoor supply and a productive outdoor season.
- Freestanding, clip-mounted systems require no drilling and satisfy most lease restrictions
- Over-the-door and closet-based setups work well in apartments with little floor space
- Fully portable systems can move with a tenant between apartments without any rebuild
Conclusion
Growing an indoor survival garden isn’t about replacing every grocery trip; it’s about building a reliable, year-round buffer of fresh greens, herbs, and staple crops that doesn’t depend on the weather, the season, or the supply chain staying uninterrupted. Starting small, a single shelf of microgreens and herbs under one grow light, still delivers real, repeatable harvests while the rest of the system grows around it.
For more ways to make the most of a working growing space, Sunday Abode’s herb garden ideas offer plenty of complementary inspiration. Set up the first shelf this week, log the sow dates, and let the rotation build into a system worth relying on.
FAQs
What is an indoor survival garden?
An indoor survival garden is a deliberately food-focused growing setup, built around grow lights, containers, and fast-cycling crops chosen for nutrition rather than looks. Unlike a typical houseplant collection, every plant in the system is selected because it produces a meaningful, repeatable harvest of greens, herbs, or staple vegetables.
Do I need lights to grow an indoor survival garden?
Yes, in nearly all cases. Even a bright south-facing window rarely provides the light intensity or consistent daily duration that vegetables and herbs need to grow into a real harvest rather than pale, leggy seedlings, so a full-spectrum LED grow light is considered essential rather than optional for this kind of setup.
What are the best crops for an indoor survival garden?
Leafy greens and microgreens, culinary herbs, legumes and sprouts, root vegetables like potatoes and radishes, and compact fruiting varieties of tomatoes and peppers cover the most practical, nutrient-dense options. Rotating through these five categories provides a mix of fast turnover and higher-calorie staples.
How much space do I need to start an indoor survival garden?
A single tiered shelving unit covering as little as 10 to 20 square feet (about 1 to 2 square meters) can support a meaningful rotation of greens, herbs, and sprouts. Space can always expand later; starting with one shelf and one grow light is enough to learn the system before scaling up.
Is it safe to eat homegrown sprouts?
Sprouts are genuinely fast and nutritious, but the same warm, humid conditions that make them germinate quickly can also allow bacteria to multiply, which is a documented food safety concern according to the FDA. Cooking sprouts thoroughly is the safer choice for young children, older adults, pregnant women, and anyone with a compromised immune system.
Can I grow an indoor survival garden in an apartment with no outdoor space?
Yes, freestanding wire shelving with clip-on grow lights, over-the-door herb organizers, and closet-based setups all work without any drilling or permanent installation, which suits most lease restrictions. The entire system can also be broken down and moved between apartments.
How long does it take to get a harvest from an indoor survival garden?
It varies significantly by crop: sprouts are ready in three to five days, microgreens in one to two weeks, radishes in about a month, and potatoes or dwarf tomatoes take two to three months. Starting with faster crops builds momentum while slower, higher-calorie crops are still developing.