
Introduction
Backyard concrete patio ideas cover a lot more ground than a single gray slab suggests, from stamped finishes that mimic natural stone to fully covered outdoor rooms tucked beneath an existing deck. The right choice depends on more than looks alone: drainage slope, control joint spacing, cure time, and the surface finish’s slip resistance near a pool all genuinely affect how well a concrete patio performs once it’s actually poured and finished. This guide covers nineteen backyard concrete patio ideas, specific finishes, layouts for steps and multi-level yards, feature additions like fire pits and gazebos, and the climate and safety details most patio inspiration content skips entirely. Whatever the budget or backyard shape, there’s a version of this that fits any abode.
1. Stamped Concrete for a Natural Stone Look
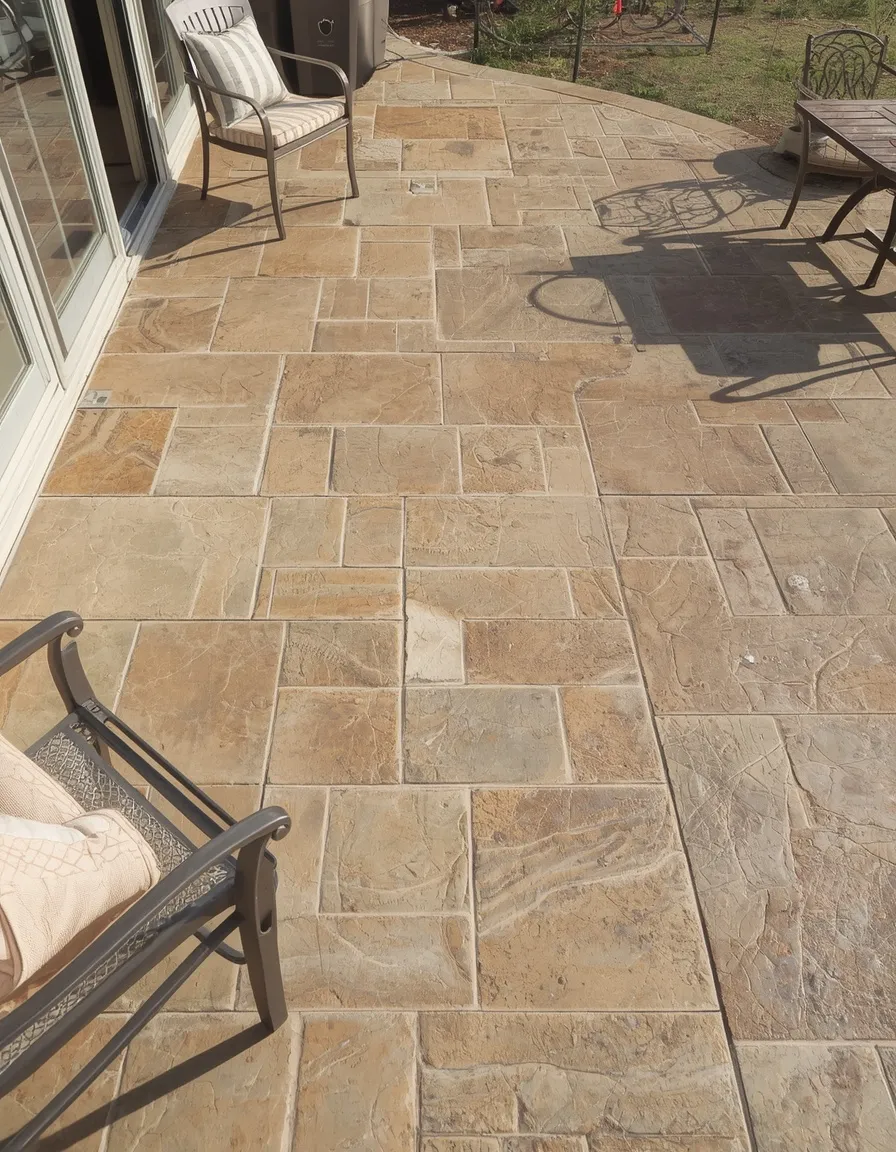
A stamped concrete patio pressed to mimic the texture and pattern of natural flagstone or cobblestone delivers the visual richness of real stone at a meaningfully lower material and labor cost.
Stamping happens while the concrete is still workable, generally within an hour or two of the pour, when a contractor presses textured mats or rollers into the wet surface before it sets, so this technique requires either hiring an experienced concrete contractor or a genuine willingness to work on a tight, unforgiving timeline as a DIY project. Choose a pattern and color that complements the home’s existing exterior materials, a warm ashlar slate pattern reads differently than a cool gray cobblestone texture, and request a sample panel poured on-site before committing, since stamped concrete color and texture can look noticeably different on a small showroom sample than across a full patio’s square footage. Reapply a sealer every 2 to 3 years to protect both the color and the surface texture, since UV exposure and foot traffic gradually wear down unsealed stamped concrete faster than a plain slab.
- Delivers the visual richness of natural stone at a lower cost than real stone pavers
- Requires either professional installation or a tight, time-sensitive DIY timeline
- Needs resealing every 2 to 3 years to protect both color and surface texture
2. Exposed Aggregate for Texture and Grip
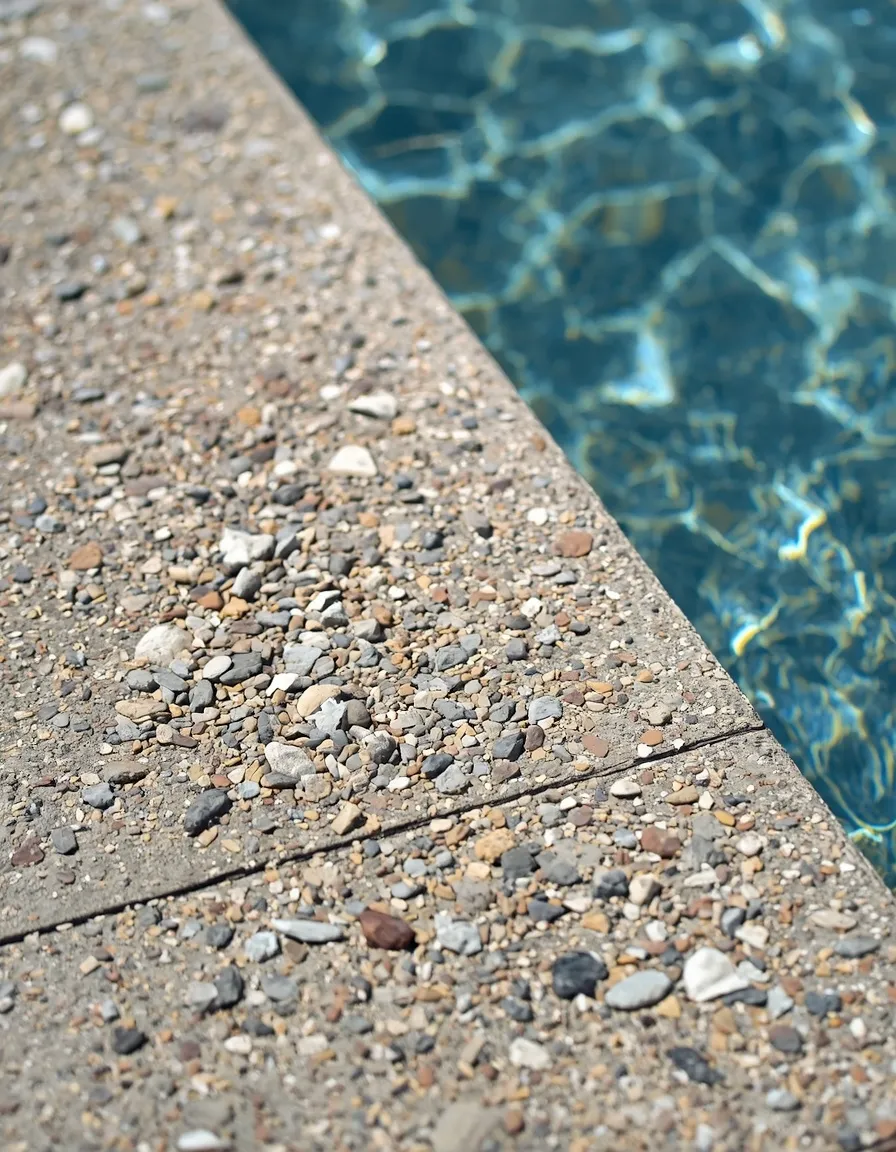
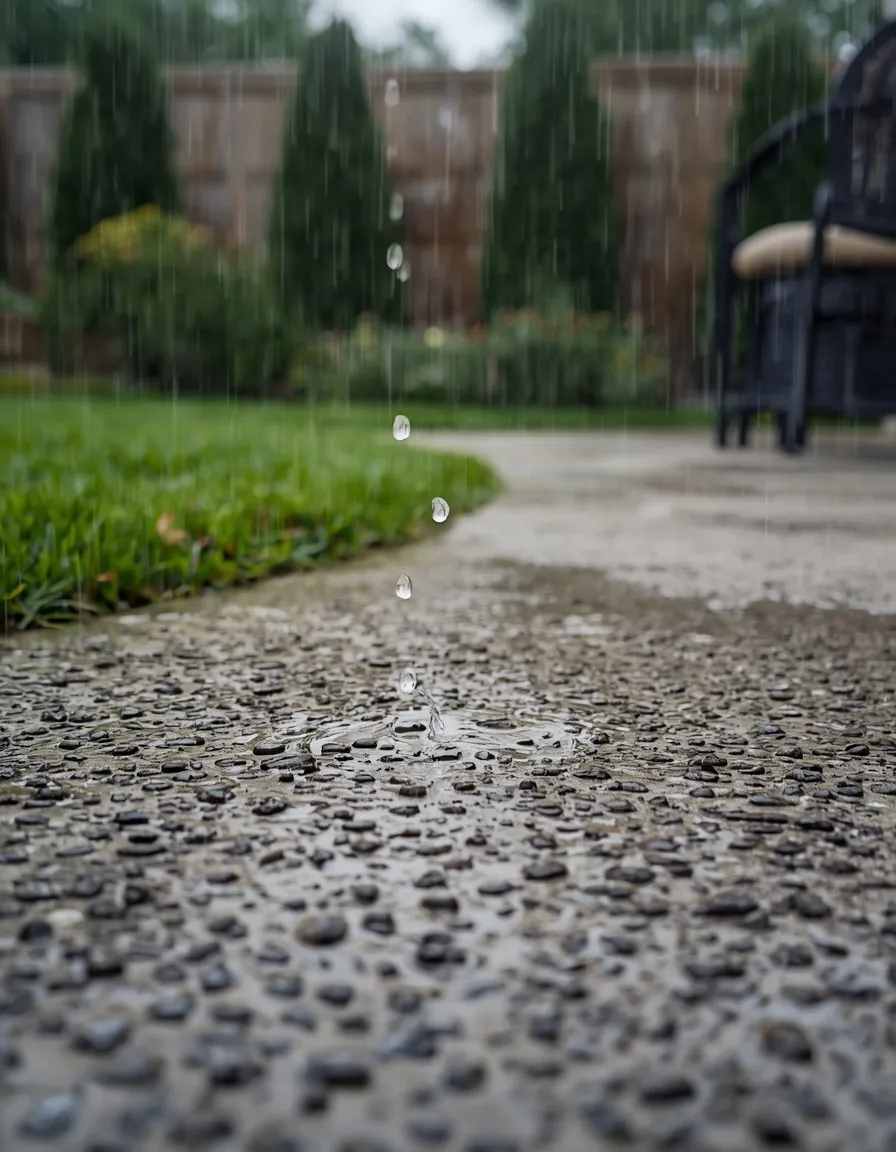
Exposed aggregate concrete, where the top layer is washed away after the pour to reveal the embedded stones beneath, brings genuine visual texture and a naturally slip-resistant surface a smooth slab can’t match.
The aggregate, typically river rock, crushed granite, or a decorative gravel blend, gets mixed directly into the concrete before pouring, then a contractor washes and lightly brushes the surface within hours of the pour to expose the stones without disturbing the surrounding concrete matrix. This finish genuinely improves traction in wet conditions, making it a strong practical choice for patios near a pool, hot tub, or an area that regularly gets hosed down, where a smooth trowel finish would become dangerously slick. Choose aggregate color and size that complements the surrounding landscape, a smaller, more uniform aggregate reads as more refined and modern, while larger, varied stones lean more rustic and natural.
- Naturally slip-resistant, making it a strong practical choice near pools or wet areas
- The washed, exposed stone finish adds genuine texture a smooth slab can’t provide
- Aggregate size and color can be tuned toward either a refined or rustic aesthetic
3. Stained Concrete for Rich Color Without Pavers
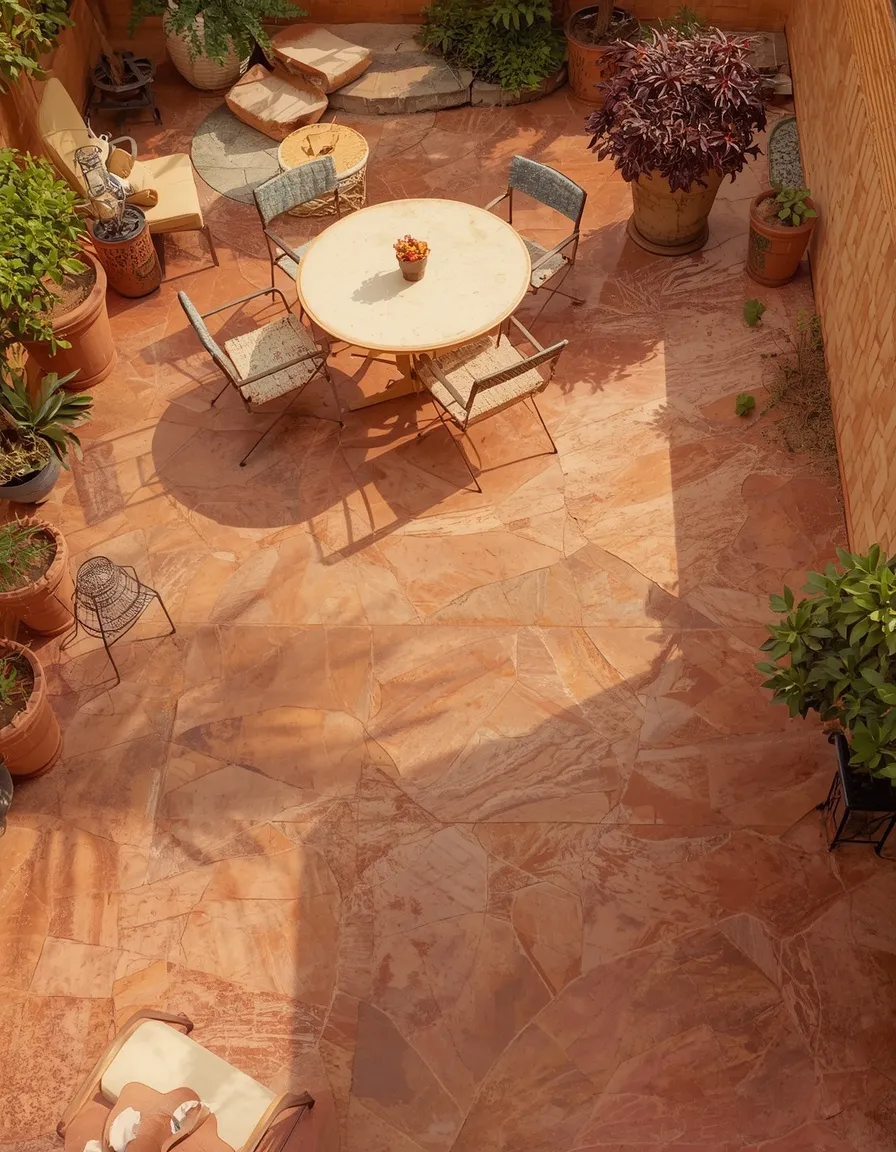
Acid or water-based concrete stain soaking into a plain slab can produce deep, variegated color, from warm terracotta to rich charcoal, that reads as considerably more expensive than the underlying poured concrete actually cost.
Acid stains react chemically with the concrete’s minerals, producing a mottled, variegated color that’s genuinely unique to each application, while water-based stains offer more consistent, predictable color if a uniform look matters more than organic variation. Stain must go onto clean, fully cured concrete, generally at least 28 days after the pour, since staining too early traps moisture and produces uneven, blotchy results. A sealed, stained slab handles regular foot traffic well, but it’s worth avoiding harsh de-icing salts in cold climates, since these can react with and damage both the stain and the sealer over time.
- Produces rich, variegated color at a fraction of the cost of colored pavers or stone
- Acid stain gives organic variation while water-based stain offers more uniform color
- Must be applied to fully cured concrete, generally 28 days after the original pour
4. Simple Broom-Finished Slab for a Budget-Friendly Patio
A plain, broom-finished concrete slab, the most basic and affordable patio option available, still delivers a clean, functional outdoor space that works as a blank canvas for furniture, rugs, and planters to do the visual work instead.
The broom finish, dragging a stiff-bristled broom across the surface while the concrete is still workable, creates fine texture lines that improve grip underfoot considerably more than a smooth trowel finish, without adding the cost of stamping, staining, or aggregate. This is genuinely the most budget-accessible patio option on this list, often costing half or less per square foot compared to stamped or stained alternatives, making it a smart choice for anyone planning to invest their budget in furniture, shade structures, or landscaping instead of the hardscape itself. A control joint pattern, shallow grooves cut into the slab in a grid, roughly every 8 to 10 feet (2.4 to 3 m), needs to be planned before the pour, since these joints control where the concrete cracks as it naturally shrinks while curing, directing cracks into intentional lines rather than random ones across the visible surface.
- The most budget-accessible concrete patio finish, often half the cost of decorative options
- Broom texture improves underfoot grip more than a smooth trowel finish
- Control joints planned before the pour direct natural cracking into clean, intentional lines
5. Multi-Level Concrete Patio with Steps
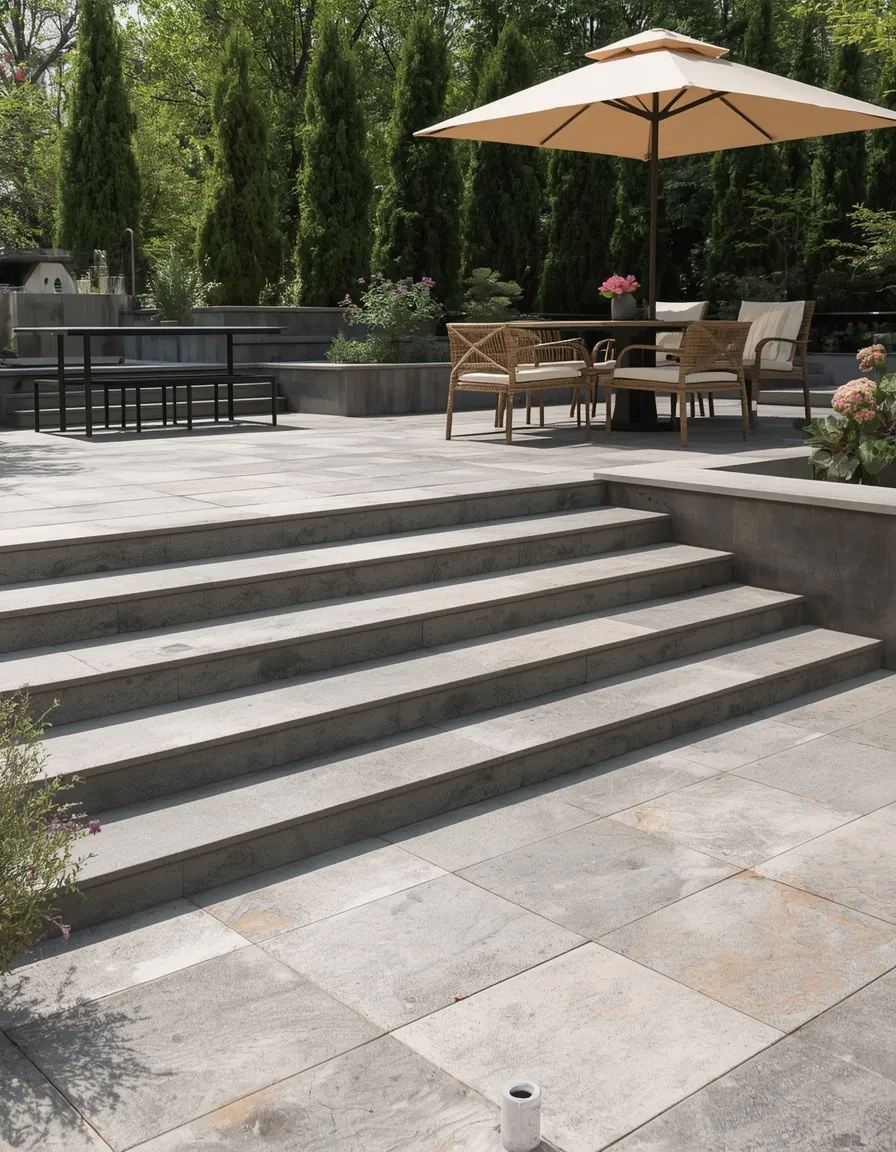
A concrete patio built across two or three levels, connected by broad, shallow steps, turns a sloped backyard from a drainage problem into a genuine design feature with distinct zones for dining, lounging, and a fire pit.
Work with the yard’s existing grade rather than fighting it with extensive excavation, a naturally sloped lot is exactly what makes a multi-level design both practical and cost-effective compared to leveling the entire space to a single elevation. Keep step rise and run consistent throughout, generally a 6 to 7 inch (15 to 18 cm) rise with an 11 to 12 inch (28 to 30 cm) run for comfortable outdoor steps, since uneven steps are a genuine trip hazard that’s easy to overlook until someone actually catches a toe on an inconsistent riser. Each level should still maintain its own proper drainage slope away from the house, roughly a quarter inch of drop per foot (about 2 percent grade), rather than assuming the multi-level design alone handles water runoff.
- Turns a sloped yard into a design asset instead of a drainage or leveling problem
- Consistent step dimensions throughout prevent the trip hazard uneven risers create
- Each level still needs its own proper drainage slope, not just the overall multi-level layout
6. Concrete Patio Poured Off an Existing Deck
A concrete patio poured at grade directly off the base of an existing raised deck extends usable outdoor space downward, connecting an elevated deck to the yard without requiring stairs to reach a second seating or dining area.
Plan the patio’s connection point carefully where it meets the deck’s support posts and footings, since new concrete poured too close to existing footings can interfere with drainage around those footings or, in some cases, require a structural review to confirm the new slab won’t affect the deck’s foundation. This layout works particularly well for decks elevated just a few feet off the ground, where the transition feels like a natural extension rather than two disconnected spaces, and it gives a fire pit or additional seating area genuine at-grade access without navigating stairs while carrying food, drinks, or firewood. A common mistake is pouring the new patio flush with the deck’s height rather than accounting for the natural step down, confirm the finished patio elevation relative to the deck before the pour, not after.
- Extends usable outdoor space at grade without requiring stairs to reach it
- Works especially well with decks elevated just a few feet, where the transition feels natural
- Requires confirming clearance from existing deck footings before pouring the new slab
7. Covered Concrete Patio Under a Deck
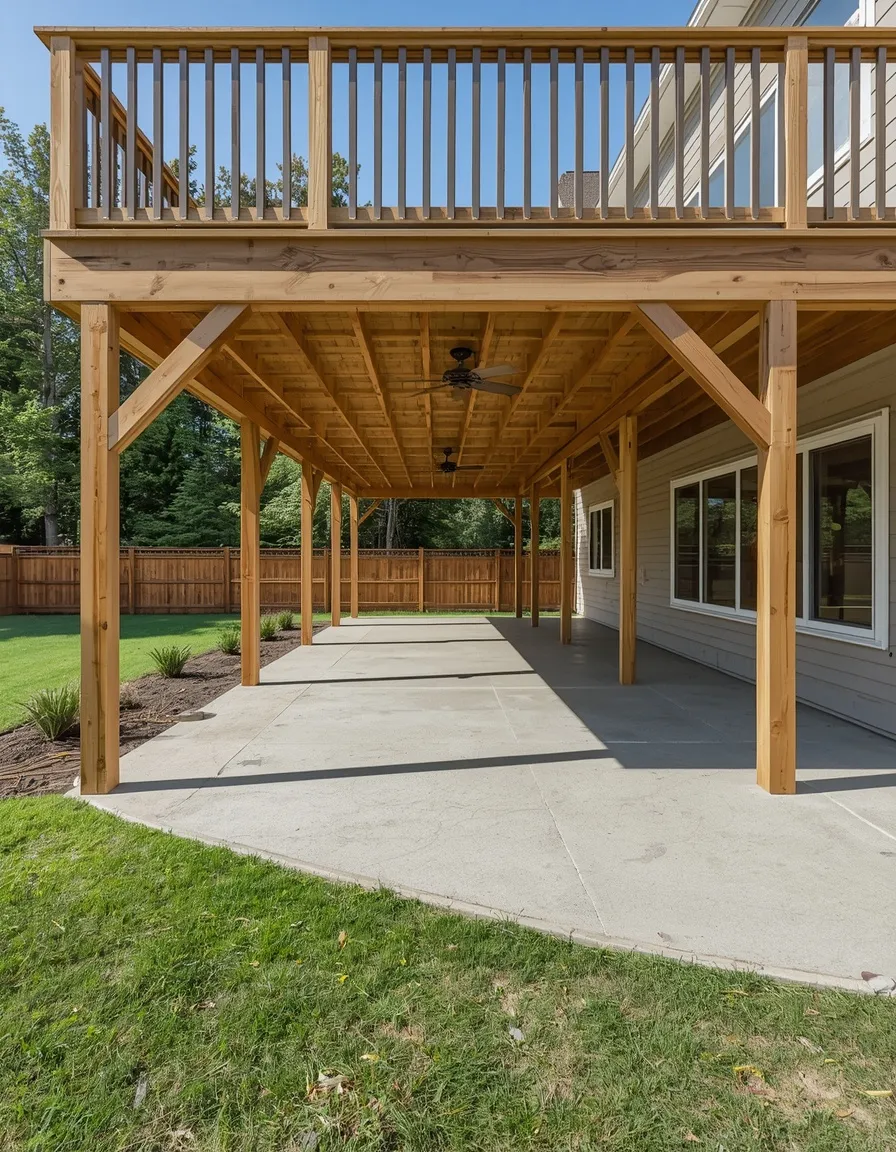
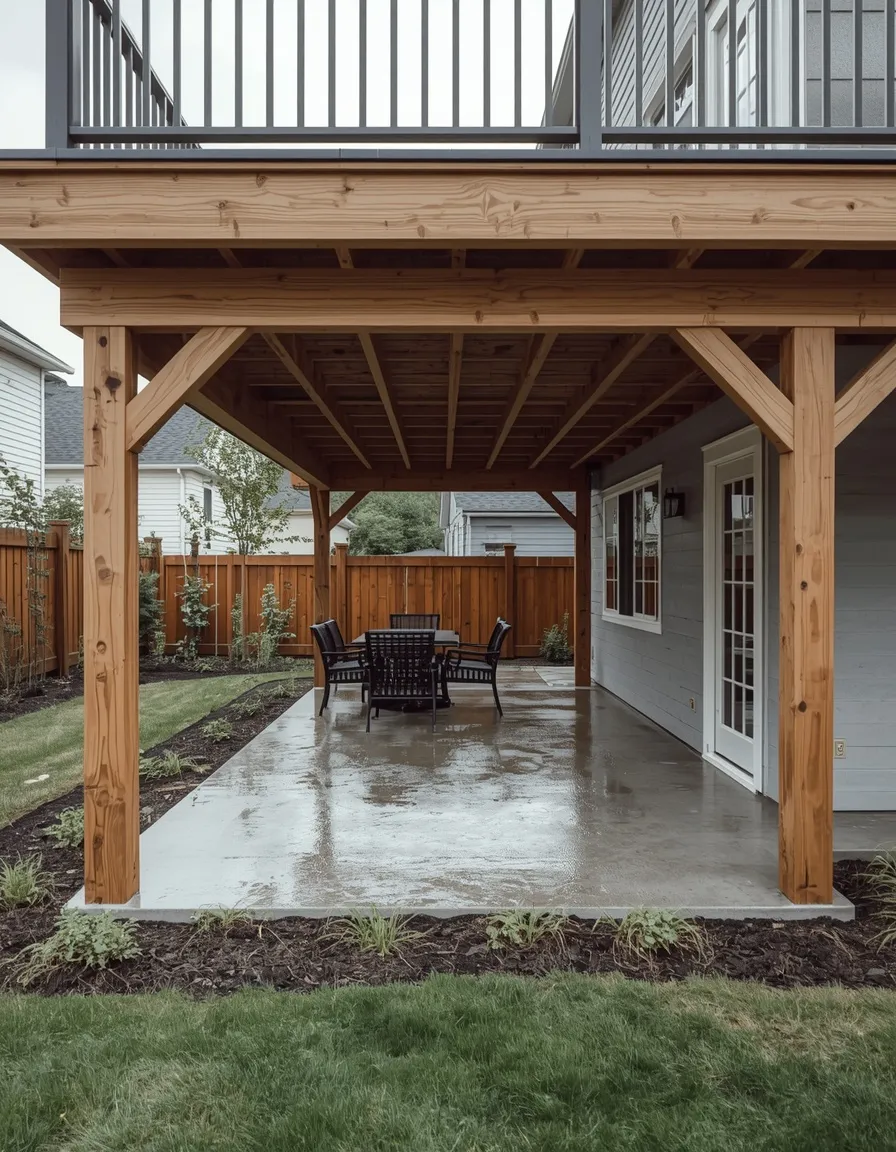
The often-wasted shaded space directly beneath a raised, elevated deck becomes a genuinely usable covered concrete patio once the ground is poured and finished, protected from rain by the deck boards above.
Address drainage from the deck above before pouring the patio below, since an elevated deck without a proper under-deck drainage system lets water drip straight through the boards onto anything below during rain; a dedicated under-deck drainage panel or ceiling system diverts that water away and keeps the covered patio genuinely dry and usable. Slope the concrete slightly away from the house even in a fully covered space, since incidental moisture, condensation, and any drainage system overflow still need somewhere to go. This idea works particularly well for a shaded outdoor living room, a spot for a couch and TV, or a dry storage and grilling area that stays protected from direct sun and rain both.
- Turns previously wasted under-deck shade into genuinely usable, weather-protected space
- Requires an under-deck drainage system to actually stay dry during rain
- Well suited to a shaded outdoor living area or a protected grilling and storage zone
8. Concrete Patio with a Built-In Fire Pit
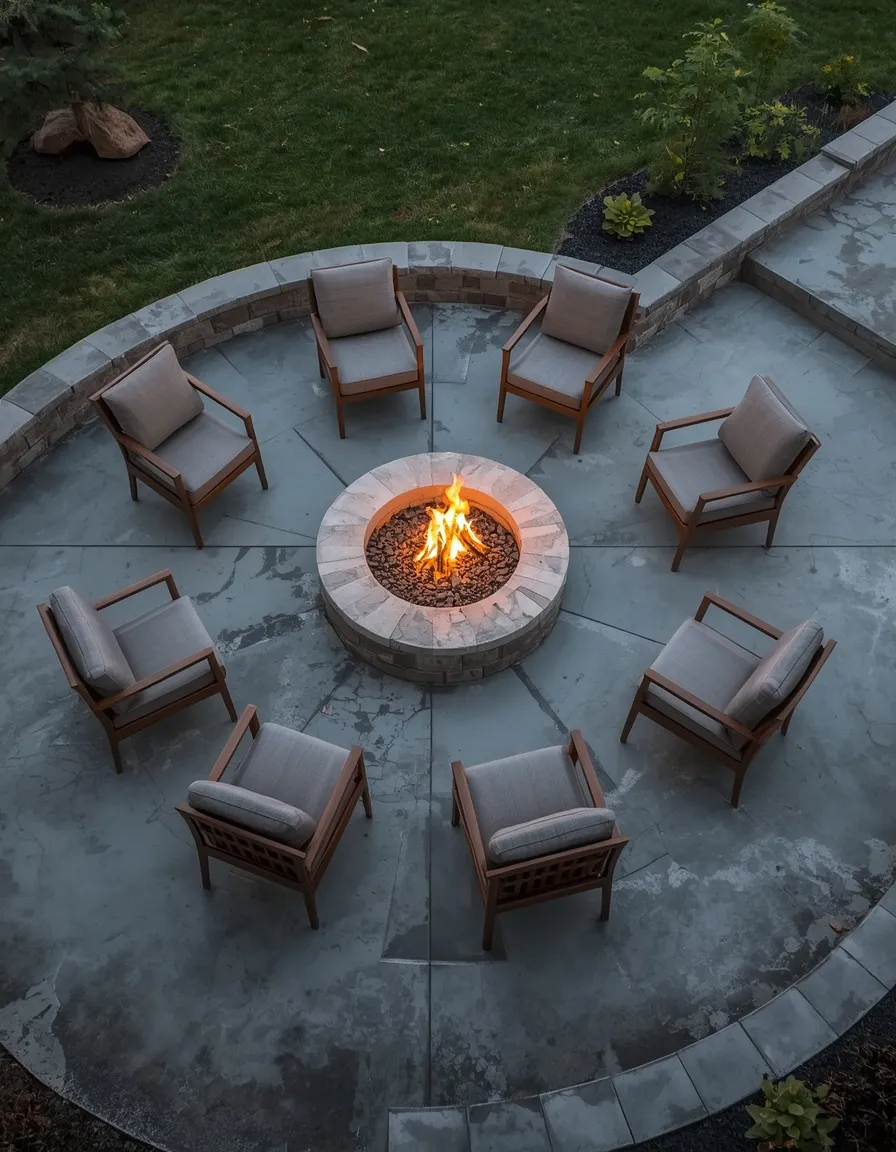
A built-in fire pit set into or beside a concrete patio, ringed with matching stone or block, creates a genuine gathering point that a portable fire bowl on bare concrete can’t quite replicate.
Position the fire pit at least 10 feet (3 m) from the house, fences, overhanging trees, and any other combustible structure, a widely used general clearance guideline, though it’s worth checking local fire codes and burn ordinances directly, since specific requirements vary considerably by municipality and some regions restrict open wood-burning fire pits entirely in favor of gas. Use a non-combustible base directly beneath and around the fire pit itself, plain concrete, pavers, or gravel, rather than assuming the patio surface alone provides adequate protection from radiant heat and stray embers. A propane or natural gas fire pit insert offers more consistent heat and eliminates the smoke and ember concerns of a wood-burning pit, a genuinely practical trade-off worth considering for anyone in a fire-restricted region or simply wanting lower-maintenance ambiance.
- Creates a genuine gathering point that anchors patio furniture and seating layout
- Clearance from structures and combustibles should follow local fire code, generally 10 feet (3 m) or more
- A gas insert offers more consistent heat with fewer smoke and ember concerns than wood
9. Concrete Patio Paired with a Gazebo or Pergola
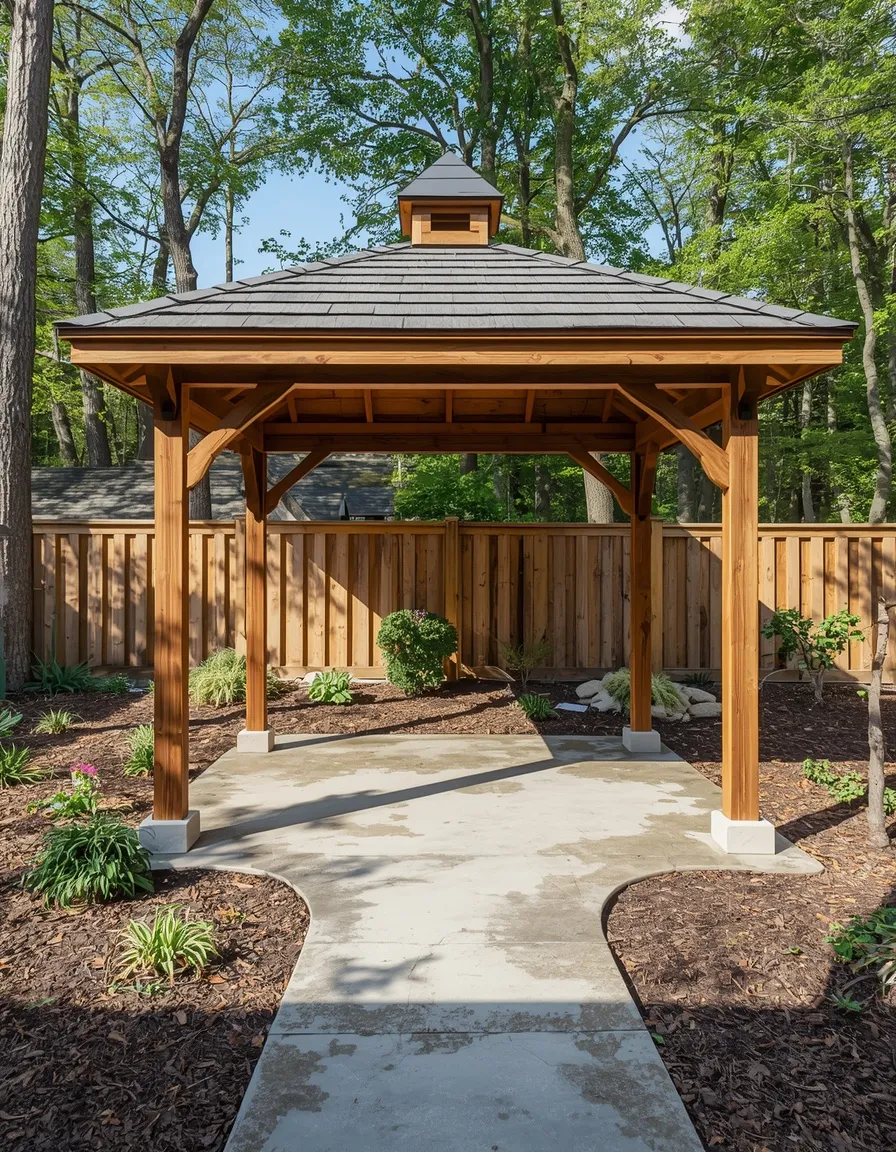
A concrete patio poured to the exact footprint of a gazebo or pergola gives the shade structure a stable, level, weed-free foundation that a patio built afterward around an existing structure often struggles to match precisely.
Plan the patio and shade structure together from the start rather than adding one after the other, since retrofitting a concrete pad around an already-installed gazebo’s posts is considerably more difficult than pouring around embedded post anchors from the beginning. Set post anchors or embedded post bases into the concrete during the pour itself, using a template to confirm exact post spacing before the concrete sets, since correcting post position after the concrete cures means breaking and re-pouring sections of the slab. Extend the concrete slightly beyond the gazebo or pergola’s footprint on at least one side, creating a small transition zone between the covered structure and the open patio, rather than having the hardscape end in an abrupt line exactly at the structure’s edge.
- Provides a stable, level, weed-free foundation matched precisely to the shade structure
- Post anchors embedded during the pour avoid the difficulty of retrofitting them later
- A small transition zone beyond the structure’s footprint softens an otherwise abrupt edge
10. Poolside Concrete Patio with Slip-Resistant Finish
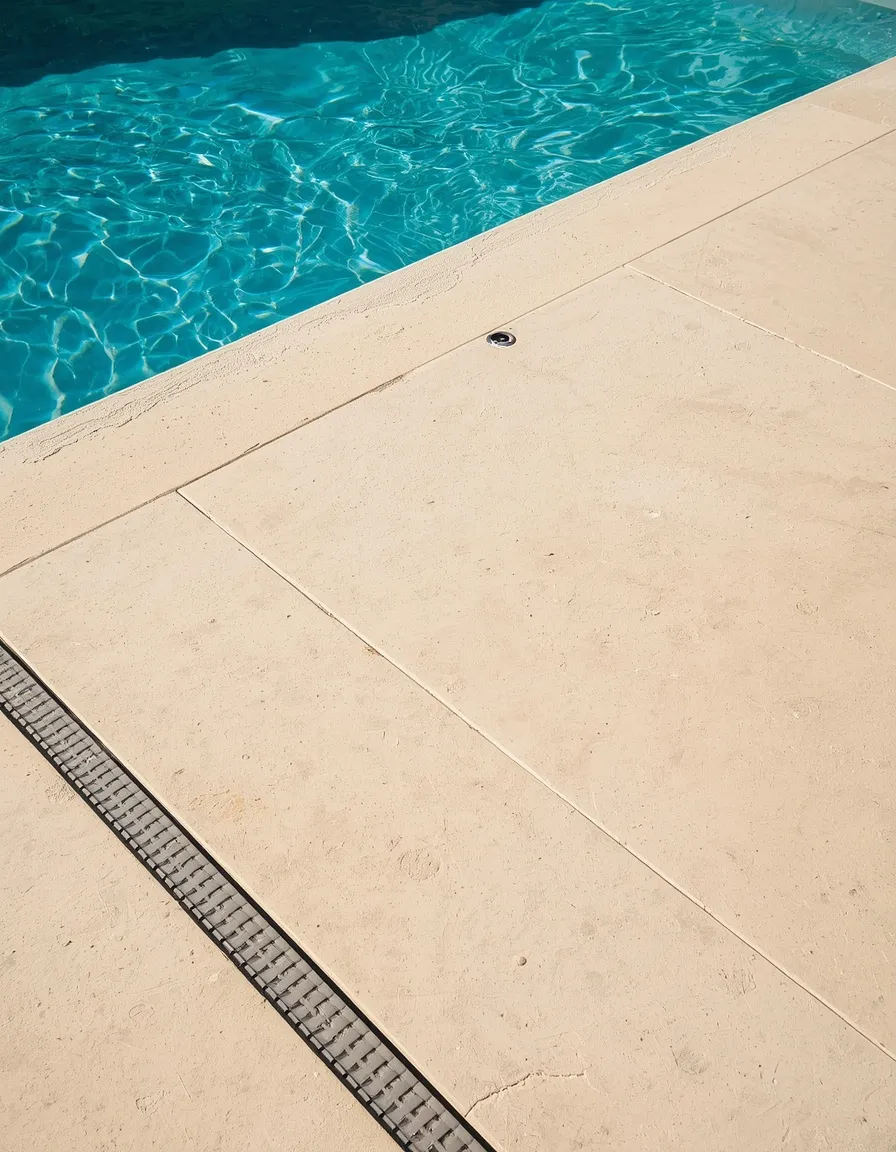
A concrete patio surrounding a pool needs a genuinely different surface finish than one anywhere else in the yard, since a smooth, decorative trowel finish that looks elegant dry becomes a real slipping hazard the moment it’s wet.
A broom finish, exposed aggregate, or a specifically formulated slip-resistant sealer additive are all considerably safer choices for pool decking than a smooth stamped or heavily sealed glossy finish, which can become dangerously slick with wet feet and pool water splashed across the surface. Light-colored concrete also matters more here than in other patio areas, since pool decking sits in direct, often reflected sunlight for hours at a time, and a dark stained or dark-aggregate finish can get genuinely too hot to walk on barefoot during peak summer sun. Slope the pool deck slightly away from the pool itself, not toward it, so that splashed water and rain drain away from the pool edge rather than running back in and diluting pool chemicals or creating standing puddles.
- Slip-resistant finishes are a genuine safety requirement near pools, not just a style choice
- Light-colored concrete stays considerably cooler underfoot than dark finishes in direct sun
- Deck should slope away from the pool, not toward it, to manage splash and rain runoff
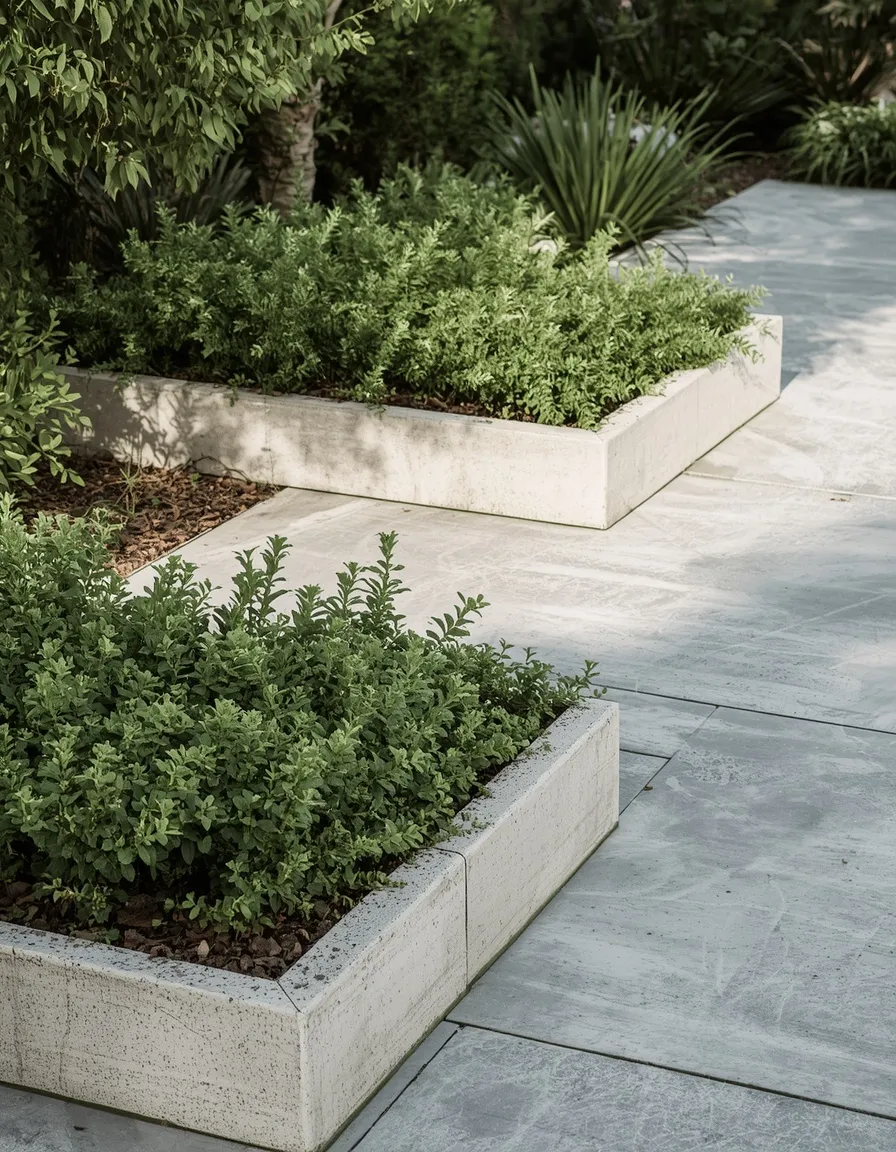
11. Concrete Patio with Integrated Planters
Concrete planter boxes poured as part of the same patio slab, rather than added afterward as separate containers, create a genuinely built-in, permanent green element that reads as intentional architecture rather than an afterthought.
Plan planter locations and drainage before the pour, since a built-in concrete planter still needs drainage holes or a gravel-filled drainage layer at its base, without which water pools and eventually damages both the plants and the surrounding concrete through prolonged saturation. Size planters generously, at least 18 to 24 inches (45 to 60 cm) deep and wide, since built-in concrete planters are permanent and can’t be swapped for a larger container the way a freestanding pot can if the initial planting quickly outgrows a too-small space. For anyone who prefers the flexibility of freestanding containers instead of permanent built-in planters, Sunday Abode’s tall outdoor planters ideas cover plenty of alternative options that deliver similar vertical greenery without committing to the concrete pour.
- Creates a permanent, architectural green element rather than an afterthought addition
- Requires planning drainage before the pour, since built-in planters can’t easily be modified later
- Generous sizing matters more here than with freestanding pots, since the planter can’t be upsized later
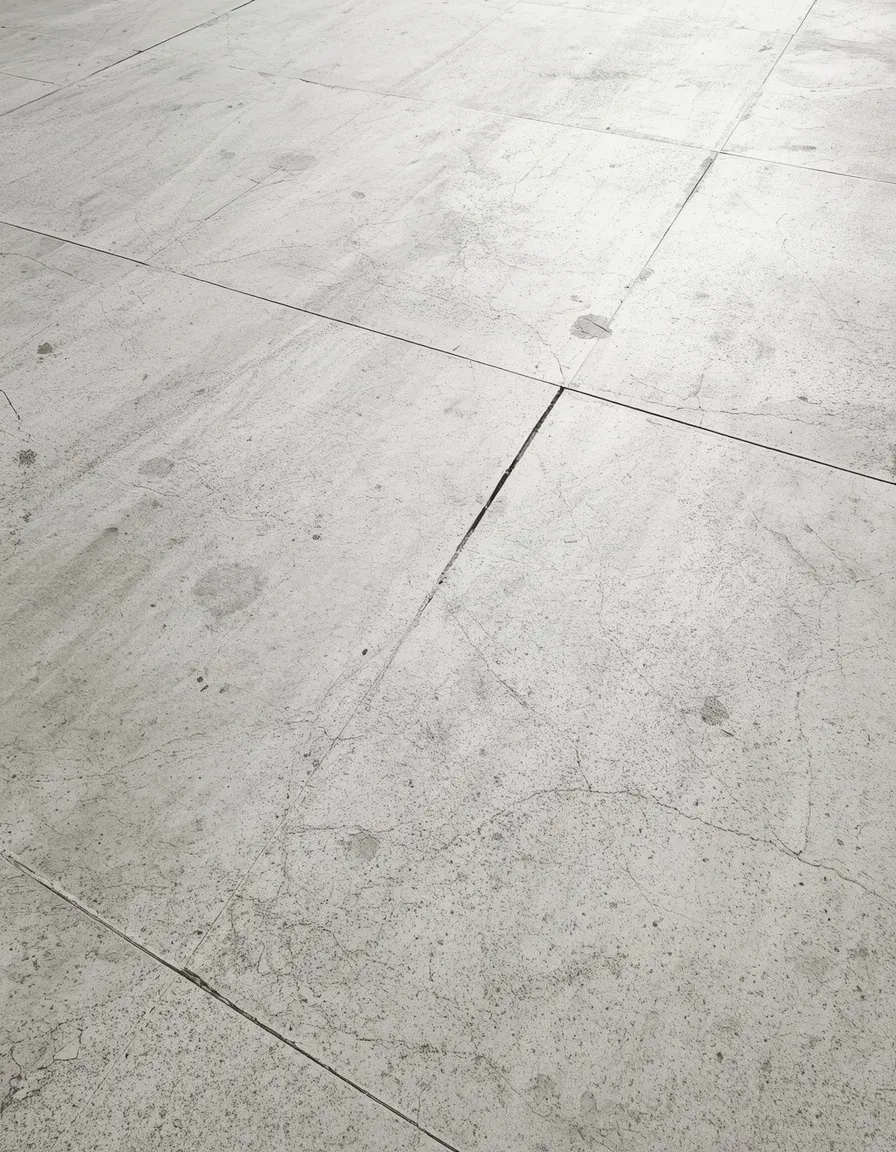
12. Geometric Scored Patterns for a Modern Look
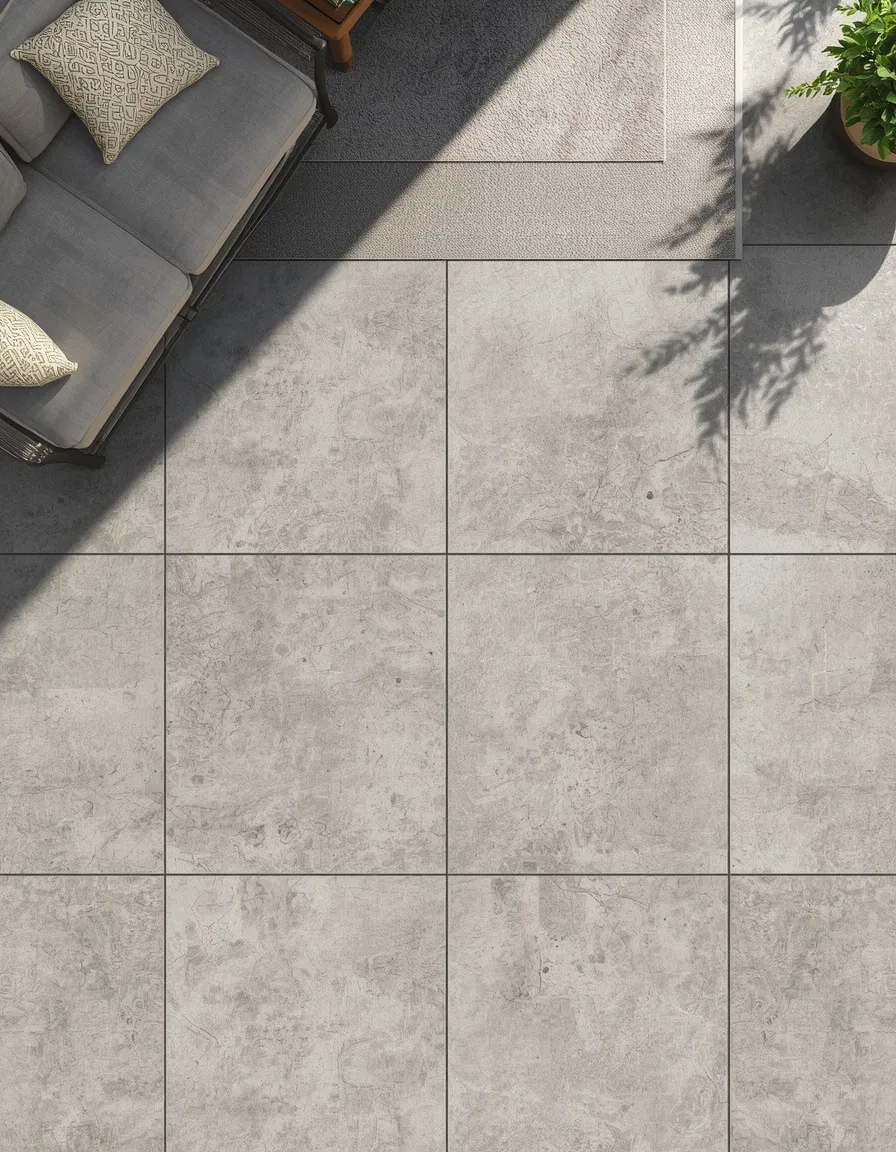
Shallow grooves scored into a concrete patio in a deliberate geometric grid, large squares, diagonal lines, or a herringbone pattern, mimic the look of individually laid tile or pavers using a single continuous pour.
Scoring happens either while the concrete is still green, cut freehand or with a guide within the first day or so, or later with a diamond saw blade once the slab has cured, each approach giving a slightly different line quality, softer and hand-tooled versus crisp and precise. This technique doubles usefully as control joint placement, since scored lines can be positioned to also serve as the crack-control joints a plain slab needs anyway, combining a functional requirement with a deliberate design pattern rather than treating them as separate concerns. Keep the scoring pattern proportional to the patio’s actual size, an oversized grid on a small patio reads as busy and cramped, while an overly fine grid on a large patio can visually shrink the space.
- Mimics individually laid tile or pavers from a single continuous concrete pour
- Can double as the patio’s required control joints, combining function with deliberate design
- Pattern scale should stay proportional to the patio’s actual size for the best visual effect
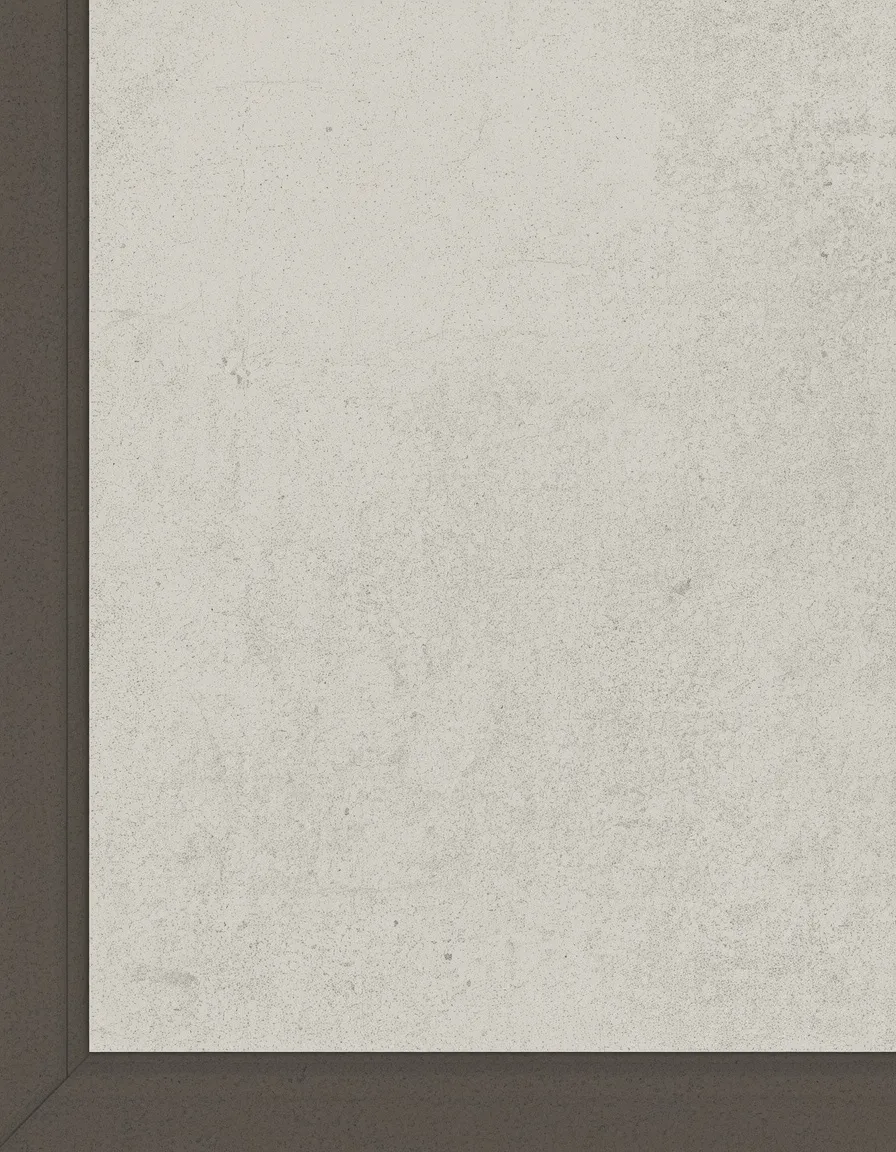
13. Two-Tone Concrete Design with Border Accents
A contrasting border band of darker or lighter concrete framing the main patio field creates a deliberate, finished-looking edge that a single uniform color slab doesn’t achieve on its own.
Pour the border and field as separate sections using a temporary form to keep the two colors from bleeding into each other while wet, then remove the divider form once both sections have set enough to hold their shape independently. A border roughly 12 to 18 inches (30 to 45 cm) wide reads as a clear, intentional accent without overwhelming the main field, while anything narrower can look more like an installation seam than a deliberate design choice. This technique also works well combined with a contrasting finish rather than just color, a smooth stained border around an exposed aggregate field, for instance, adds textural contrast alongside the color difference.
- Creates a deliberate, finished edge that a single uniform color slab lacks
- A 12 to 18 inch (30 to 45 cm) border width reads as intentional rather than accidental
- Pairing contrasting texture with contrasting color adds even more visual depth
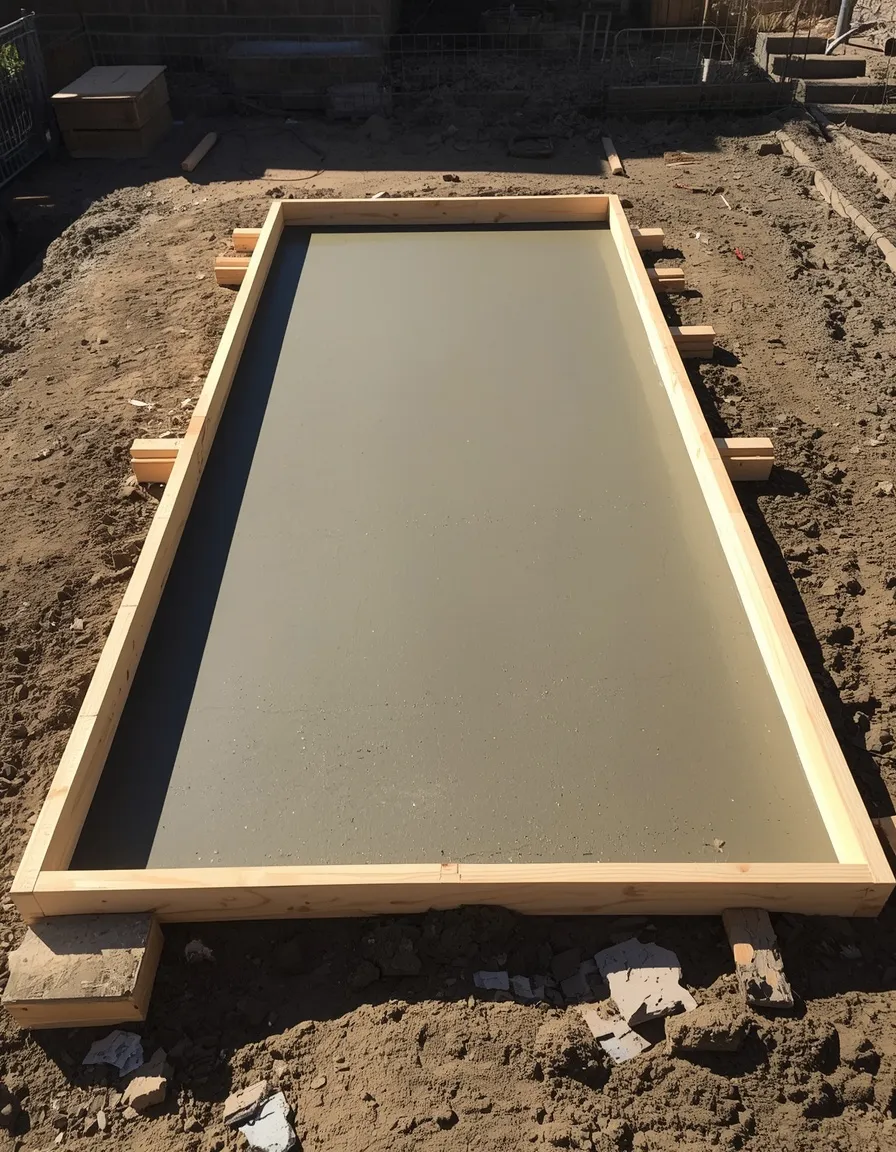
14. DIY Concrete Patio for a Small Budget Project
A modest, rectangular concrete patio poured and finished by hand over a weekend is a genuinely achievable DIY project for a small backyard space, without needing to hire a contractor for a straightforward, unglamorous slab.
Excavate and compact a gravel base, generally 4 inches (10 cm) of compacted crushed stone, before building wooden forms and pouring the concrete, since skipping proper base compaction is the single most common cause of a DIY slab cracking or settling unevenly within its first year. Rent a concrete mixer rather than hand-mixing large batches in a wheelbarrow for anything beyond a very small patio, since concrete begins setting within 30 to 60 minutes of mixing and a slow hand-mixed pour risks the earlier sections curing before later ones are placed, creating weak seams. Keep the project to a simple rectangular shape without curves or complex angles for a first DIY attempt, and plan for a helper or two, since screeding and finishing a slab is considerably harder to do well solo against the clock than most first-timers expect.
- A genuinely achievable weekend DIY project for a small, straightforward rectangular patio
- Proper gravel base compaction is the single most important step for preventing future cracking
- Working with a helper matters more than most DIYers expect, given concrete’s fast setting window
15. Curved Concrete Patio for Softer Lines
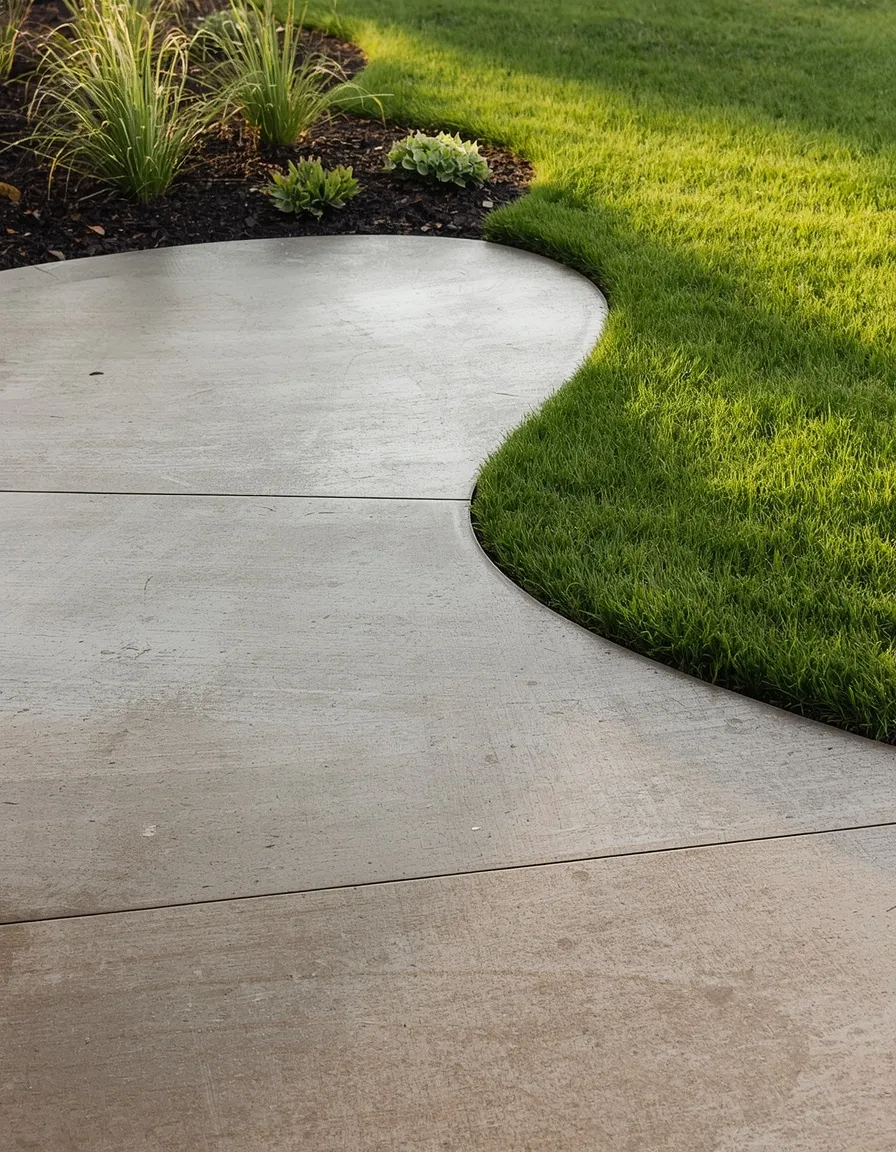
A concrete patio poured with sweeping curved edges, rather than sharp rectangular corners, softens the transition between hardscape and garden bed and often follows a yard’s natural contours more comfortably than a rigid rectangle.
Curved forms require flexible bender board or a specially cut plywood form to hold the concrete’s edge shape while it cures, considerably more labor-intensive to build than a straight wooden form, which is part of why curved patios generally cost more per square foot than an equivalent rectangular design. This layout works especially well transitioning into a curved garden bed or a meandering path, where the softened line continues a design language already present elsewhere in the yard rather than introducing an abrupt straight edge into an otherwise organic landscape. Keep curves gentle and sweeping rather than tight and angular, since concrete forms hold broad curves considerably more easily and durably than sharp, small-radius bends.
- Softens the transition between hardscape and surrounding garden beds
- Costs more per square foot than a rectangular patio due to more labor-intensive forming
- Works best with gentle, sweeping curves rather than tight, small-radius bends
16. Concrete Patio with Radiant Heating for Cold Climates
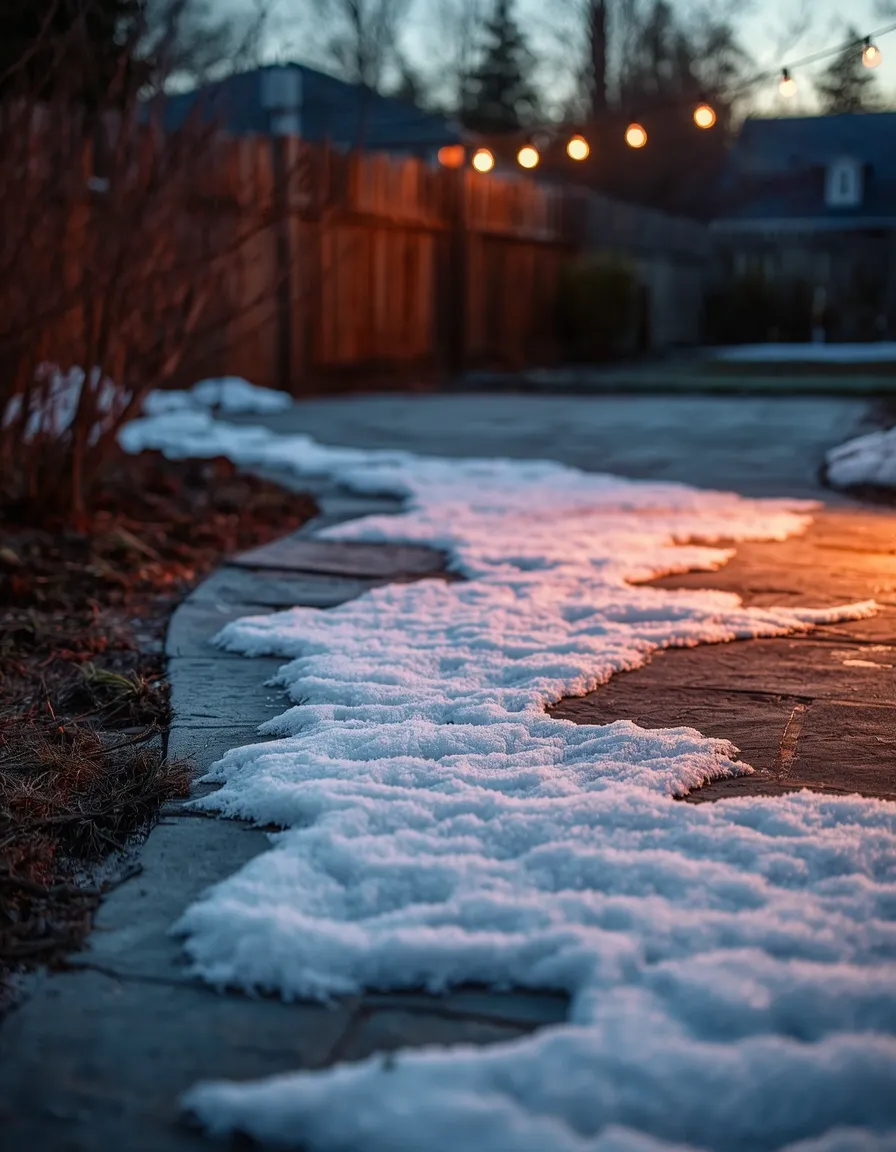
Hydronic or electric radiant heating elements embedded beneath a concrete patio’s surface extend a cold-climate outdoor season by keeping the slab itself warm enough to melt light snow and take the chill off cool evenings.
Heating elements need to go in before the pour, either electric heating cables or hydronic tubing carrying heated fluid, laid out on the compacted base and secured in place before concrete is poured over and around them, making this an idea that has to be planned from the very start of a project rather than retrofitted into an existing slab. This is a genuinely significant investment beyond the cost of the concrete itself, both in equipment and the ongoing energy cost of running it, so it makes the most sense for a climate with real, extended cold rather than a mild region with only occasional frost. Air-entrained concrete, a mix with intentionally introduced microscopic air bubbles, should be used regardless of whether radiant heating is included, since standard concrete without air entrainment is considerably more prone to freeze-thaw cracking in any climate with hard winters.
- Extends outdoor patio use into cold months by keeping the slab surface warmer
- Must be planned and installed before the pour, not added to an existing slab
- Air-entrained concrete mix matters for freeze-thaw durability regardless of added heating
17. Cool-Toned Concrete for Hot Climate Comfort
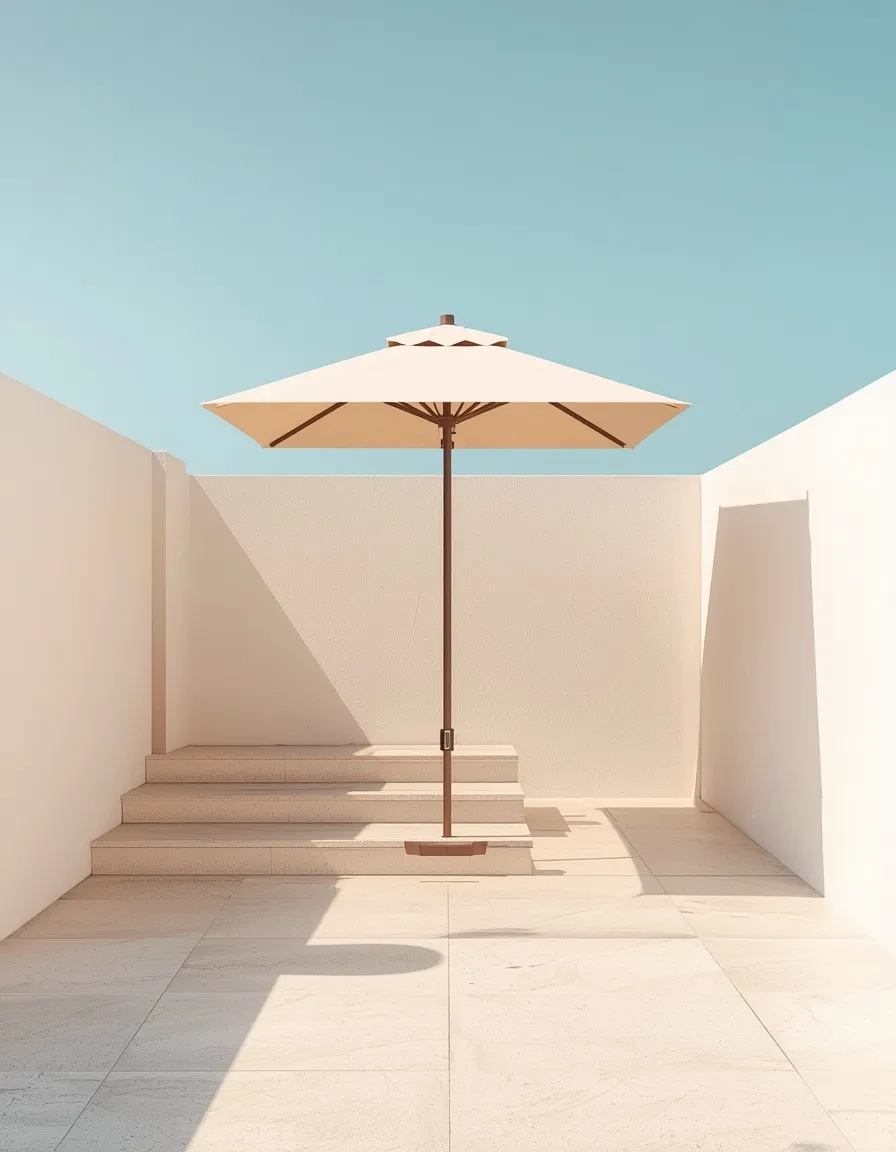
Light-colored or specially formulated heat-reflective concrete stays noticeably cooler underfoot through a long, sunny afternoon than a standard dark gray or heavily stained dark slab in the same direct sun.
Standard dark-pigmented concrete can reach surface temperatures uncomfortable or even painful for bare feet in peak summer sun, while lighter colors and specialized infrared-reflective pigment formulations reduce heat absorption meaningfully, a genuinely practical consideration for a patio that sees direct afternoon sun rather than shade for most of the day. Pair a light-colored slab with a shade structure, pergola, umbrella, or covered porch extension, over at least part of the patio, since even a cooler-toned concrete still gets warm in direct sun and shade remains the single most effective heat-management strategy available. This idea matters considerably more in genuinely hot, sun-intense climates than in milder regions, where the color-related temperature difference is far less noticeable underfoot.
- Meaningfully reduces surface temperature compared to dark-colored concrete in direct sun
- Works best paired with at least partial shade rather than as a standalone heat solution
- Matters considerably more in genuinely hot, high-sun climates than milder regions
18. Concrete Patio Extension for Outdoor Dining
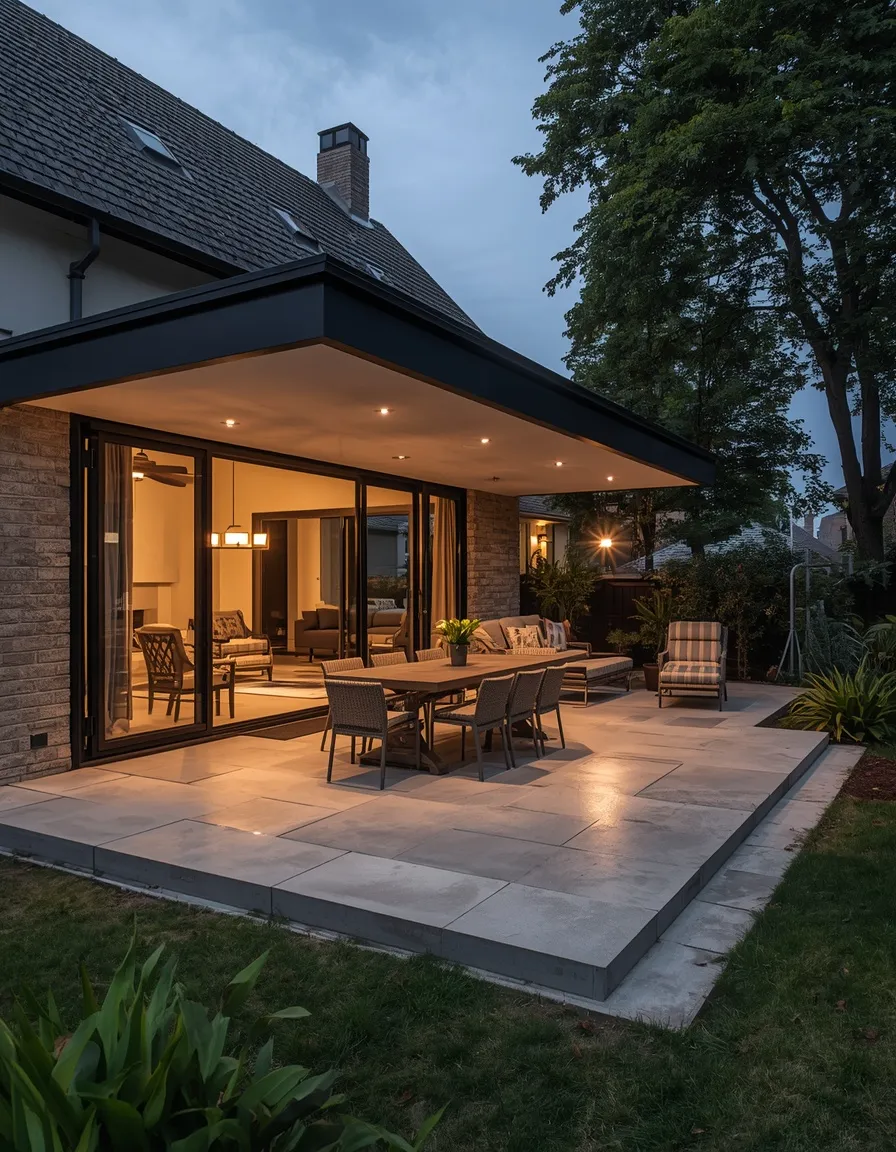
Extending an existing concrete patio specifically to accommodate a dedicated outdoor dining area, sized and positioned for a table and chairs rather than general-purpose lounging, turns an occasional cookout spot into a genuine outdoor room.
Size the dining extension generously enough for chairs to pull out fully without anyone sitting at the table’s edge tipping backward off the slab, generally at least 3 feet (90 cm) of clearance on all sides of the table and chair footprint, considerably more space than most people initially estimate before actually setting furniture in place. Position the dining extension with practical traffic flow in mind, close enough to the kitchen or grill for realistic serving distance, but not directly in the main walking path between the house and the rest of the yard. A dedicated dining slab also creates a natural opportunity for one of the finish or pattern ideas covered elsewhere in this guide, since a distinctly finished dining area, a two-tone border or a different texture than the main patio, visually signals its function without needing a physical step or level change to separate it.
- Sized specifically for table and chair clearance rather than general lounging space
- At least 3 feet (90 cm) of clearance around furniture avoids a cramped, awkward dining setup
- A distinct finish or pattern can visually separate the dining zone without a physical level change
19. Permeable Concrete for Better Drainage
Permeable concrete, formulated with a porous mix that lets water pass directly through the slab into the ground below, addresses drainage and runoff at the material level rather than relying entirely on surface slope.
This mix uses less fine aggregate than standard concrete, leaving intentional void spaces throughout that allow water to filter through rather than running off the surface, which meaningfully reduces puddling and runoff toward the house or neighboring properties compared to standard solid concrete. It requires a specifically designed gravel base beneath the slab, deeper and more porous than a standard compacted base, to actually accept and disperse the water that filters through rather than simply relocating the drainage problem to just beneath the surface. Permeable concrete needs periodic maintenance to stay functional, vacuuming or pressure washing every year or so to clear debris and fine sediment that gradually clog the surface pores, since a neglected permeable slab eventually performs no better than standard concrete once the pores fill in.
- Addresses drainage at the material level rather than relying entirely on surface slope
- Requires a specifically designed, deeper gravel base to actually disperse filtered water
- Needs periodic cleaning to prevent pore-clogging that would otherwise negate its drainage benefit
Conclusion
The best backyard concrete patio ideas succeed on execution as much as style, a proper gravel base, correctly placed control joints, and the right surface finish for how the space actually gets used matter as much as the color or pattern chosen. Start with the finish and layout that genuinely fit the yard’s grade, climate, and budget rather than the most elaborate option in the lineup, a well-built simple slab outlasts a stamped patio poured over an inadequate base every time.
For more layout and design inspiration, Sunday Abode’s garden design ideas cover plenty of complementary approaches. Plan the drainage and base work properly, choose a finish suited to how the space will be used, and build outward from there.
FAQs
How much does a backyard concrete patio cost?
Cost varies significantly by finish: a simple broom-finished slab is typically the most budget-accessible option, often half the cost per square foot of stamped or stained alternatives, while decorative finishes like stamped concrete or two-tone borders add both material and labor cost. Features like a built-in fire pit, integrated planters, or radiant heating add further cost on top of the base slab.
Can I pour a concrete patio myself as a DIY project?
Yes, a modest, rectangular patio is a genuinely achievable weekend DIY project, though proper gravel base compaction, generally 4 inches (10 cm) of compacted crushed stone, is the single most important step for preventing future cracking or settling. Renting a concrete mixer and having a helper on hand matters more than most first-timers expect, since concrete begins setting within 30 to 60 minutes of mixing.
What’s the best concrete finish for a patio near a pool?
A broom finish or exposed aggregate is considerably safer than a smooth, decorative trowel finish near a pool, since smooth concrete becomes genuinely slippery when wet. Light-colored concrete is also worth prioritizing for pool decking specifically, since it stays noticeably cooler underfoot in direct sun than a dark stained or dark-aggregate finish.
How do I prevent my concrete patio from cracking?
Control joints, shallow grooves cut into the slab in a grid pattern roughly every 8 to 10 feet (2.4 to 3 m), direct the natural cracking that occurs as concrete shrinks while curing into clean, intentional lines rather than random cracks across the visible surface. A properly compacted gravel base beneath the slab is equally important, since inadequate base preparation is one of the most common causes of uneven settling and cracking within the first year.
Can I add a fire pit to an existing concrete patio?
Yes, though it needs to be positioned with real clearance from the house, fences, and any overhanging trees, a commonly used general guideline is at least 10 feet (3 m) from structures and combustibles, and it’s worth checking local fire codes directly since requirements vary by municipality. A non-combustible base directly around the fire pit itself is also important, rather than assuming the surrounding patio surface alone provides adequate protection.
What should I plant in planters built into a concrete patio?
Built-in concrete planters need drainage planned before the pour, either drainage holes or a gravel layer at the base, since standing water damages both plants and the surrounding concrete over time. Sizing planters generously, at least 18 to 24 inches (45 to 60 cm) deep and wide, matters more here than with freestanding pots, since a built-in planter can’t be swapped for a larger one later.
How long do I need to wait before using a new concrete patio?
Fresh concrete generally needs 24 to 48 hours before light foot traffic and closer to 28 days to reach full cure strength, which is also the point at which the surface is ready for staining or sealing. Rushing furniture or heavy use onto a patio before it’s properly cured risks surface damage that won’t show up until well after the mistake is made.