
Introduction
Low cost DIY patio ideas prove a genuinely usable outdoor sitting area doesn’t require a contractor or a big budget, a weekend, a few bags of gravel or a stack of free pallets, and the right base underneath gets most of the way there. The real difference between a DIY patio that lasts and one that sinks or washes out within a year comes down to details most budget guides skip entirely, base depth, drainage slope, and material safety chief among them. This list moves through loose-fill surfaces, paver and reclaimed-material techniques, concrete options both poured and refreshed, solutions for slopes, rentals, and balconies, and the budget finishing touches that make a DIY patio feel genuinely done. Consider it the reference for building that first real outdoor space in your own Sunday Abode without spending more than the space is worth.
Low Cost DIY Patio Ideas Using Loose Fill Materials
Loose fill surfaces are consistently the cheapest and most beginner-friendly way to build a patio, no cutting, no mortar, and genuinely forgiving of an amateur’s first attempt.
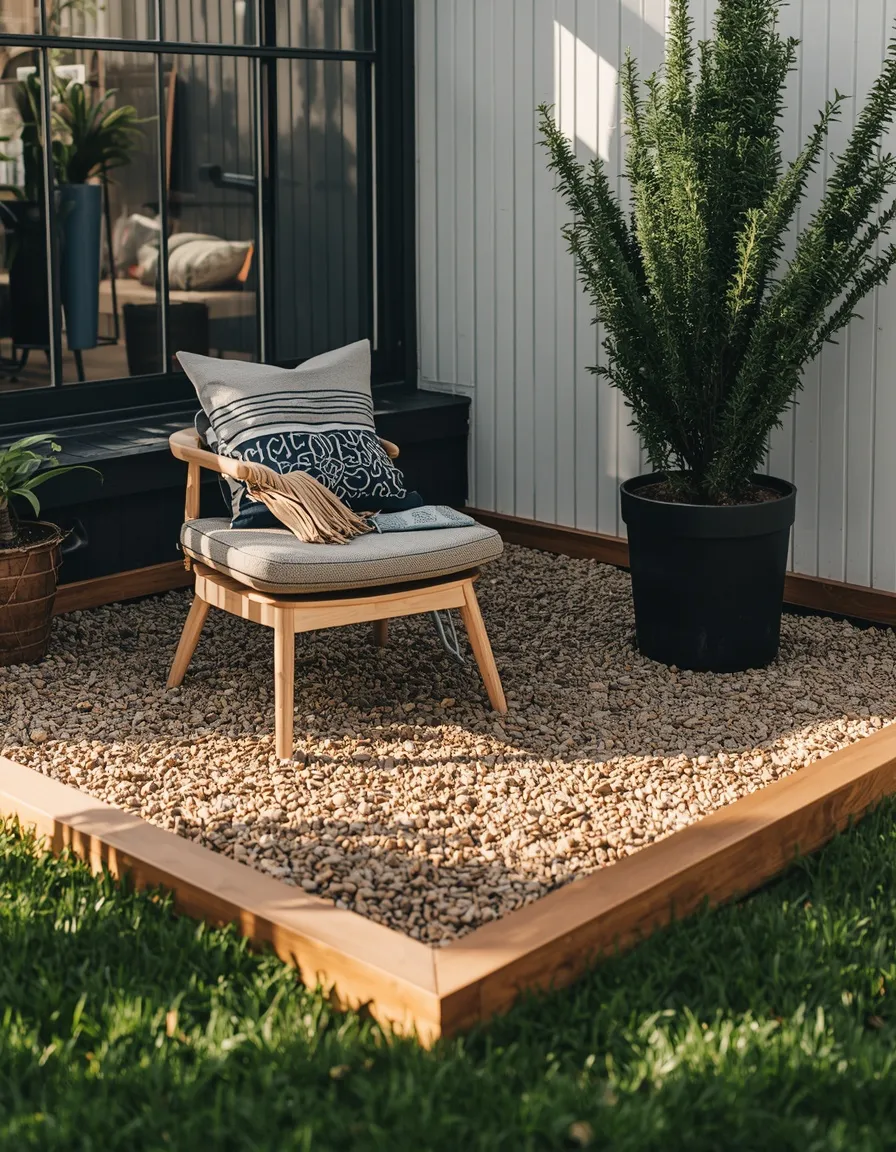
1. Pea Gravel Patio
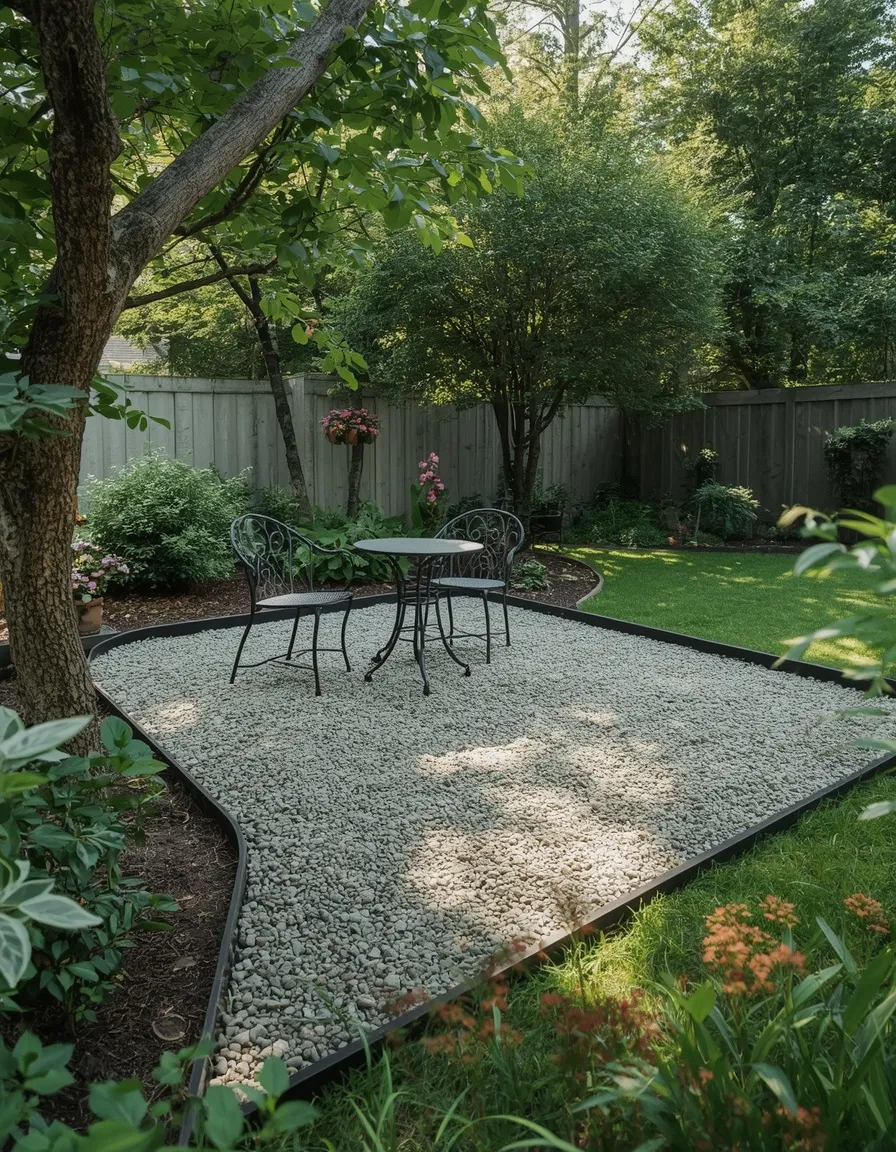
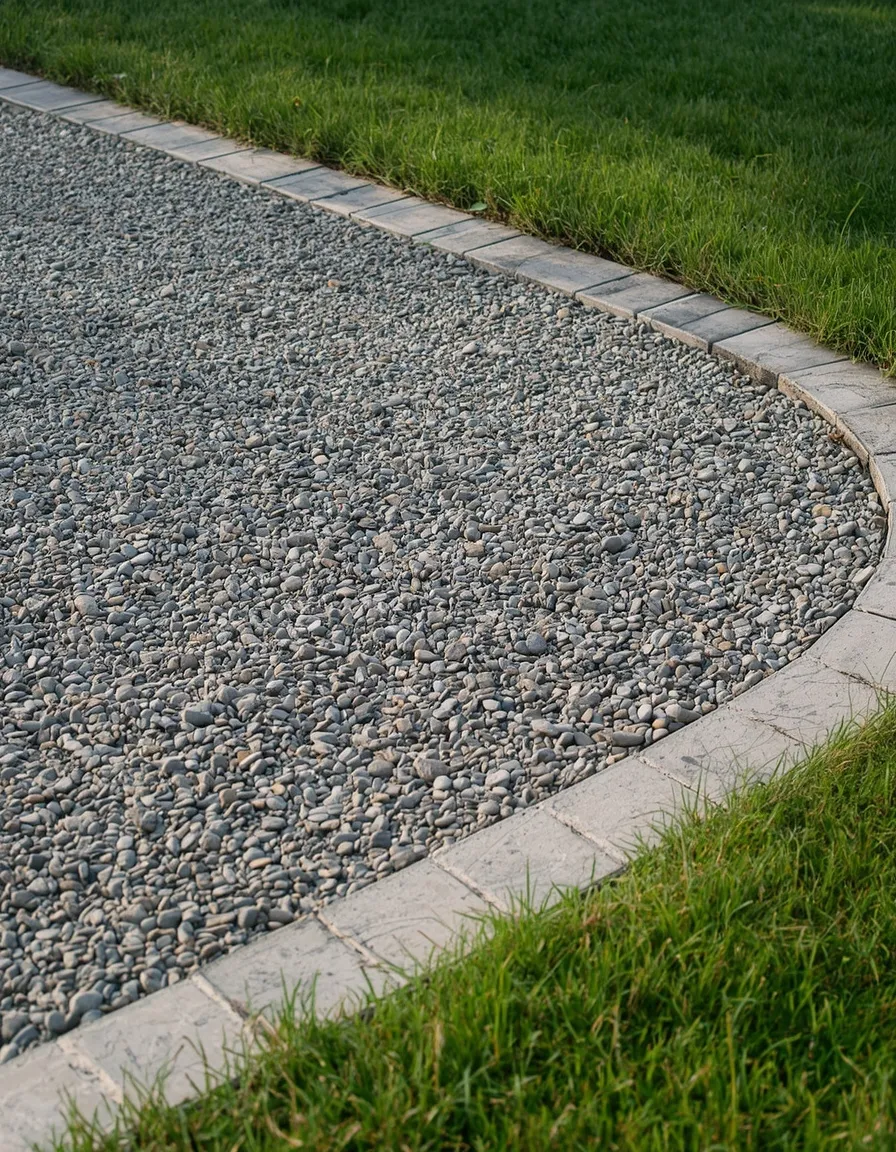
A patio surface of smooth, rounded pea gravel contained within a simple edging border is consistently the cheapest genuine patio option available, often costing a fraction of pavers or poured concrete for the same footprint.
Excavate the area to a depth of about 10 to 15cm (4 to 6in), lay a woven landscape fabric across the entire base to block weeds from below, then fill with pea gravel in 5cm (2in) layers, compacting each layer with a hand tamper before adding the next rather than dumping it all at once and compacting once. Install edging, steel, plastic, or brick-on-edge, around the full perimeter before filling, this is what keeps loose gravel from migrating into surrounding lawn or beds and is genuinely the single most common step skipped by first-time DIYers. Slope the finished surface slightly away from the house, roughly a 1 to 2 percent grade, so water drains rather than pooling against the foundation. In climates with real winter freezing, extend the gravel depth toward the higher end of that range, a thinner base is more prone to frost heave shifting the surface unevenly over repeated freeze-thaw cycles.
- Delivers the lowest material cost of any genuine patio surface on this list
- Works as a highly approachable first DIY hardscaping project with forgiving installation
- Solves the “want a real patio but have almost no tool experience” problem directly
2. Mulch or Wood Chip Patio
A patio surfaced in compacted wood mulch or chips, contained by simple edging, delivers an even softer, lower-cost surface than gravel, genuinely suited to a casual seating nook rather than a formal entertaining space.
Use a coarser, larger-chip mulch rather than fine, decorative bark mulch, coarse chips compact into a firmer, more walkable surface and break down considerably slower than fine mulch, which turns to mush and needs replacing within a single season. Install the same edging and slight drainage slope used for a gravel patio, and add a 5 to 7cm (2 to 3in) layer over well-compacted bare soil rather than landscape fabric underneath, mulch actually benefits from some soil contact as it breaks down and feeds the ground beneath it over time. This surface needs top-up refreshing every one to two years as the material breaks down and compacts, a genuine ongoing cost worth factoring against gravel’s near-zero maintenance. This works especially well as a genuinely temporary or transitional patio, testing whether a specific spot in the yard actually gets used before committing to a more permanent, costlier surface there.
- Delivers the softest, most casual surface texture of any idea on this list
- Works well as a low-commitment test of a spot before a permanent investment
- Solves the “want to try a patio location before committing” problem cheaply
3. Decomposed Granite Patio
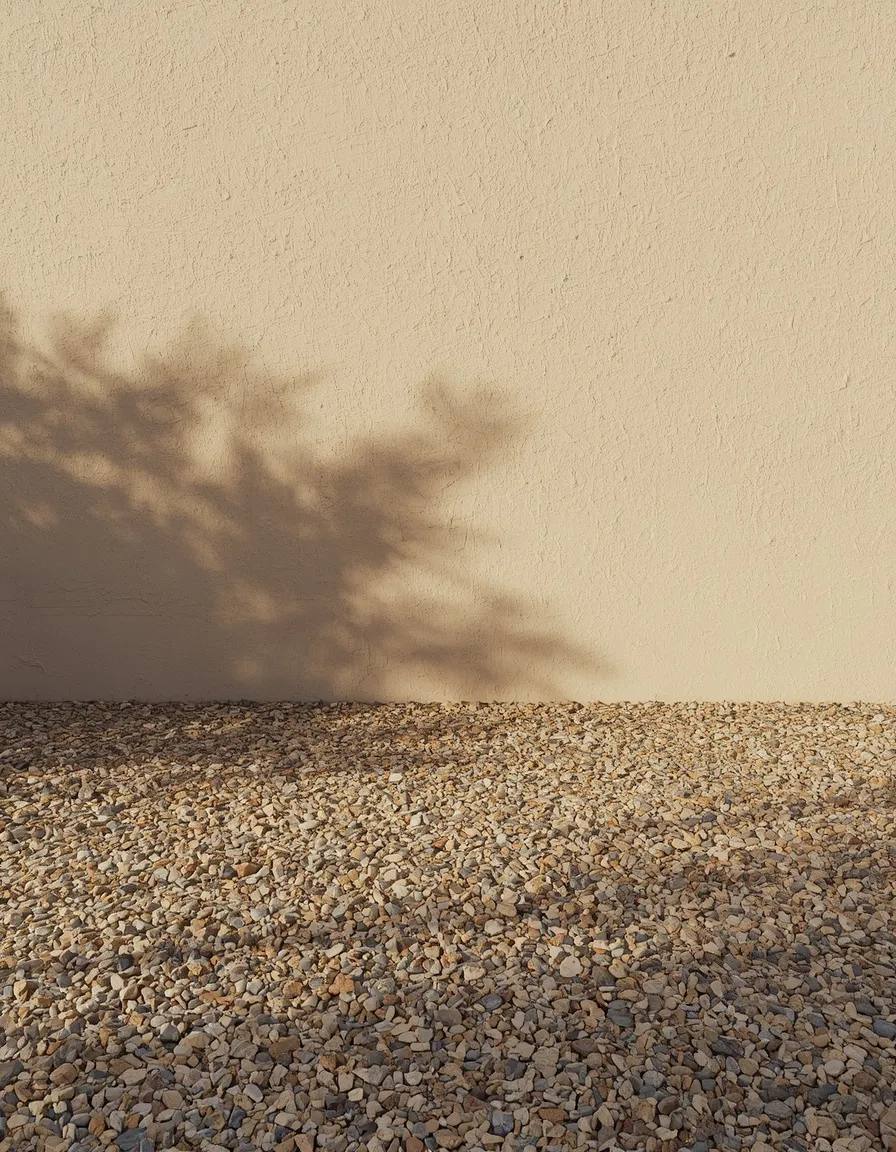
Decomposed granite, a fine, sand-like crushed stone that compacts into a genuinely firm, almost solid-feeling surface, splits the difference between loose gravel and a hard paved patio at a comparable low cost.
Apply the material in thin layers, no more than 2.5cm (1in) at a time, and compact each layer thoroughly with a plate compactor or hand tamper before adding the next, this layering is what allows decomposed granite to bind into a walkable, non-shifting surface rather than staying loose like gravel. Lightly mist the material with water before each compaction pass, moisture helps the fine particles bind together considerably more effectively than compacting it fully dry. Choose a stabilized decomposed granite product with a binding resin mixed in for anywhere that sees regular foot traffic or furniture weight, unstabilized material eventually loosens and tracks considerably more than the stabilized version, especially in wetter climates. This surface works particularly well in warm, dry climates where it was originally popularized, and needs a genuinely solid edging border to hold its compacted shape at the perimeter.
- Delivers a firmer, more finished feel than loose gravel at a comparably low cost
- Works especially well in warm, dry climates where the material was originally developed
- Solves the “want gravel’s low cost but pavers’ firmer feel” problem in one material
4. Stepping Stone and Groundcover Patio
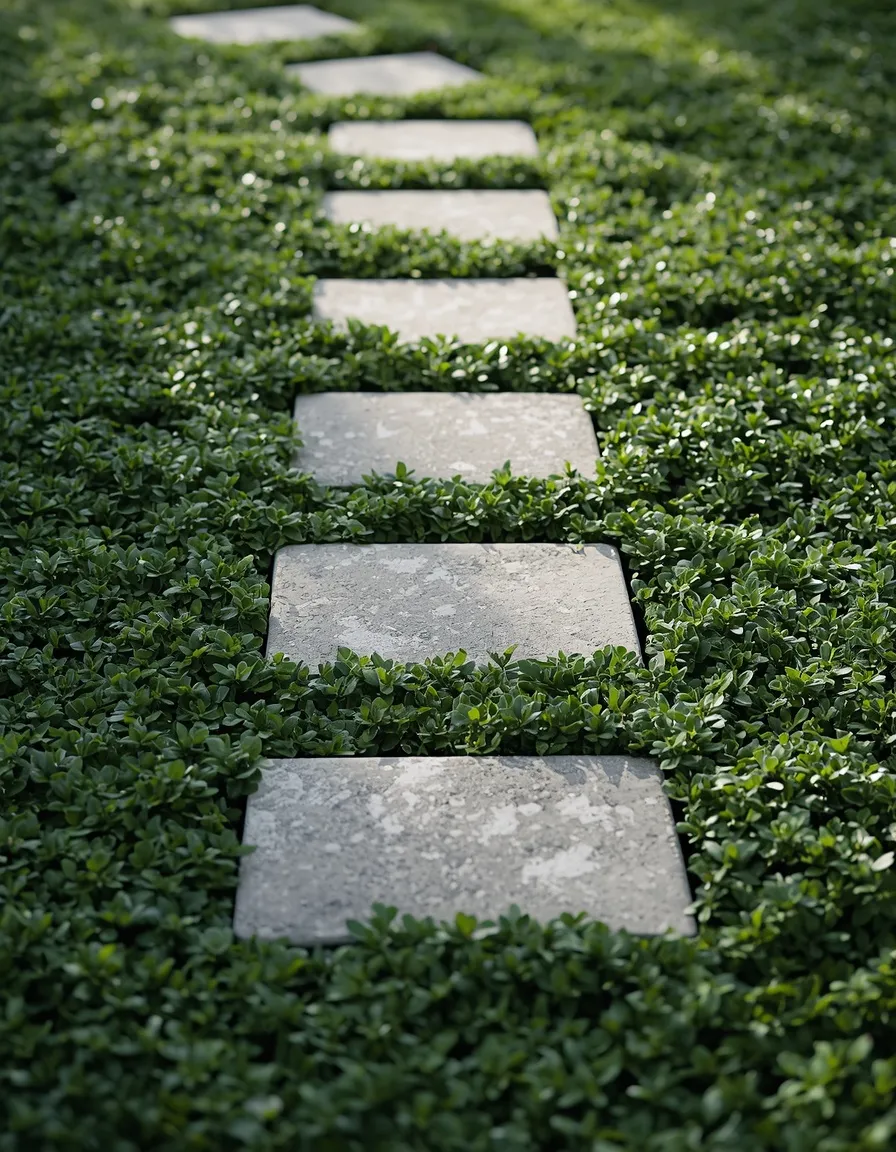
Flat stone or concrete stepping pavers set directly into a bed of creeping thyme, moss, or a similar low groundcover creates a genuinely garden-integrated patio surface that reads as planted rather than built.
Space stones roughly 5 to 8cm (2 to 3in) apart for a groundcover-filled joint, tight enough that the planting fills in within a season or two but wide enough to actually plant into, rather than butting stones edge to edge with no room for anything to grow between them. Choose a groundcover genuinely suited to foot traffic, creeping thyme and Irish moss both tolerate regular walking considerably better than a taller, more delicate groundcover would, and match the species to the site’s actual sun exposure, thyme wants full sun while moss prefers shade. Set each stone on a small bed of compacted sand or fine gravel so it sits stable and doesn’t rock or sink unevenly into the soil beneath it. This surface needs more patience than any other idea on this list, the groundcover typically takes one to two full growing seasons to fill in completely, but it delivers a genuinely unique, softened look no hardscape-only surface can match.
- Creates a genuinely garden-integrated look unlike any hardscape-only surface
- Works best with patience, since groundcover fill-in takes one to two seasons
- Solves the desire for a patio that reads as planted rather than purely built
Low-Cost DIY Patio Ideas With Pavers and Reclaimed Materials
Pavers cost more per square meter than loose fill, but the right technique and material sourcing keep the total well within a genuine budget while delivering a more finished, walkable surface.
5. Sand-Set Concrete Paver Patio
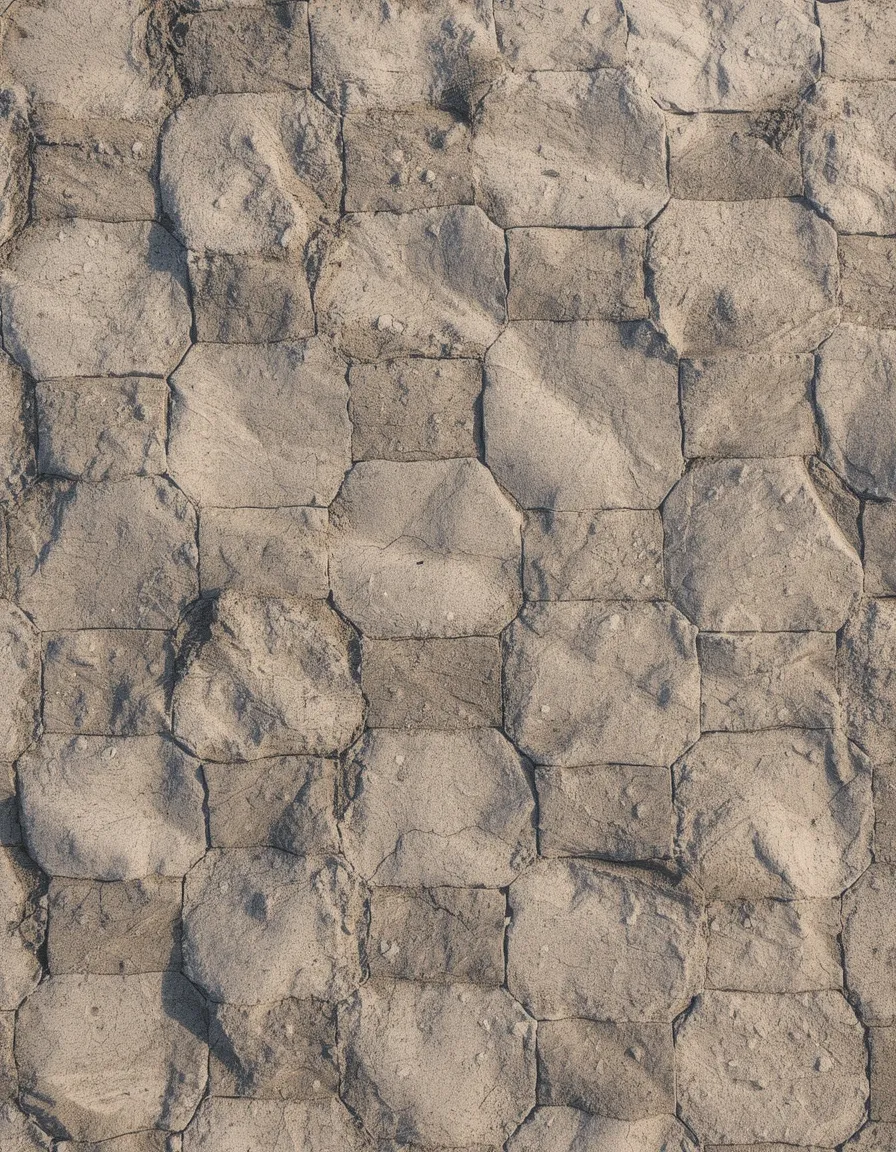
Basic square or rectangular concrete pavers, set into a bed of compacted sand rather than mortar, deliver the classic finished paver look at the lowest realistic cost and skill level within the entire paver category.
Choose the plainest, most basic concrete paver style available, decorative shapes, tumbled finishes, and multi-tone blends all cost meaningfully more per square meter than a standard gray square or rectangular unit with essentially identical performance. Excavate to about 15 to 20cm (6 to 8in) total depth, compact a gravel base layer of 10 to 15cm (4 to 6in), then add a 2.5cm (1in) leveling layer of coarse sand, screeding it flat with a straight board before setting pavers directly into it, this sand-set method is what makes the whole project realistically DIY-achievable, mortar-set paving genuinely requires more skill and working time than most first attempts can manage well. Sweep polymeric sand into the joints once all pavers are set and tap them level with a rubber mallet, this locks pavers in place and resists weed growth considerably better than plain sand alone. This is one of the more physically demanding ideas on this list given the excavation and base work involved, but it delivers the most conventionally finished result for the money.
- Delivers the classic finished paver look at the lowest cost within that material category
- Works as a realistic weekend DIY project once the base is properly prepared
- Solves the “want pavers but can’t afford or don’t want mortar-set installation” problem
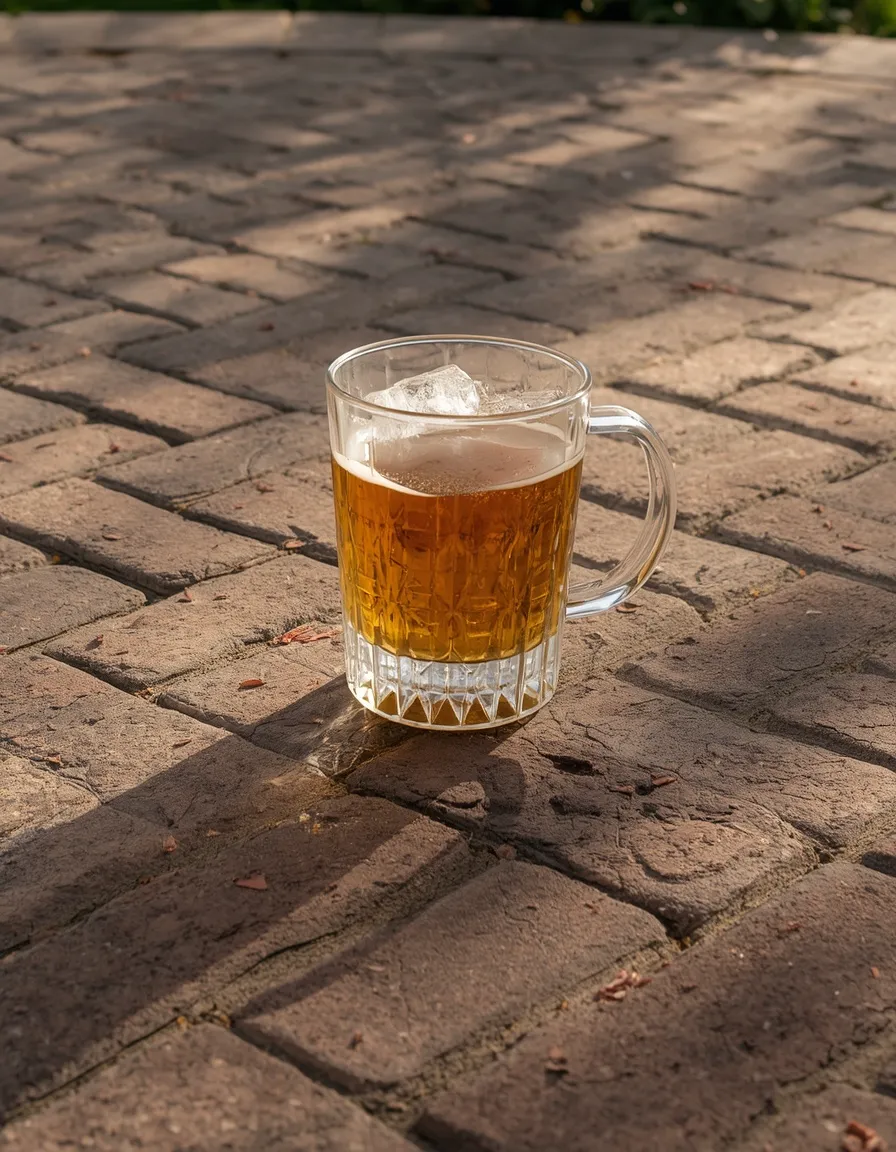
6. Reclaimed or Salvaged Brick Patio
Brick pulled from a demolition site, a salvage yard, or a classified listing, cleaned up and laid in a simple pattern, brings genuine character and often costs next to nothing beyond the labor of sourcing and hauling it.
Check salvage yards, demolition contractors, and local online marketplaces specifically, demolition projects frequently need to offload brick quickly and will sometimes give it away free just to clear a site. Inspect each brick before use for structural soundness, reject anything significantly crumbling, cracked through, or spalling, since brick that’s already failing won’t hold up to weather exposure as a walking surface. Lay reclaimed brick using the same sand-set base and technique as the concrete paver idea covered earlier in this list, the installation method is essentially identical regardless of whether the material is new or salvaged. Expect somewhat more waste and irregular sizing with reclaimed material than with new pavers, budget for roughly 10 to 15 percent extra brick beyond the calculated square footage to account for pieces that break or don’t fit cleanly.
- Delivers genuine reclaimed character and history at often near-zero material cost
- Works especially well for anyone willing to spend time sourcing rather than buying new
- Solves the “want real material character” desire without paying a premium for it
7. Paver-and-Gravel Combo Patio
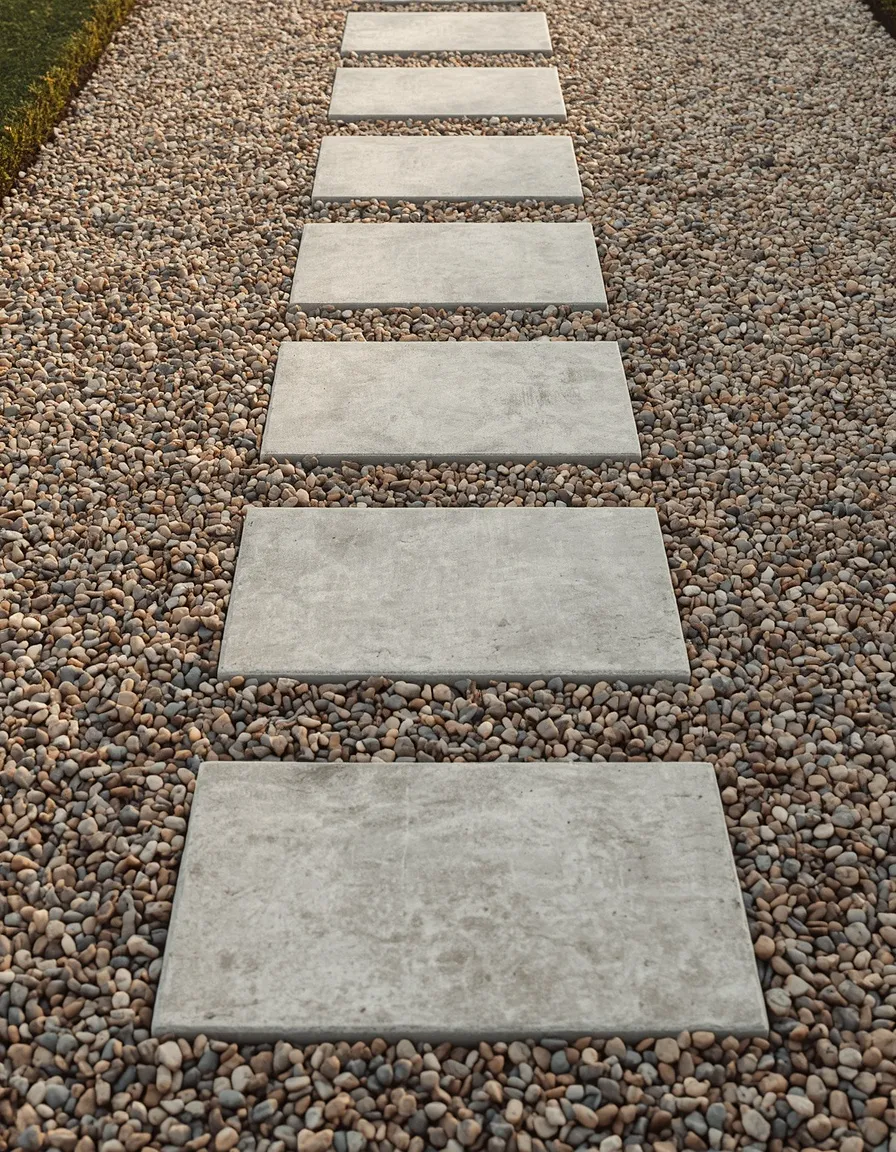
Pavers set as stepping points within a field of gravel, rather than covering the entire surface edge to edge, cuts the total number of pavers needed by more than half while still delivering a genuinely walkable, defined patio.
Space pavers according to a natural walking stride and the specific zones they need to serve, tighter spacing, roughly 30 to 40cm (12 to 16in) gaps, works for a path-like walking surface, while wider spacing suits a seating area where the gravel itself does more of the visual work. Install the same gravel base and edging as the standalone pea gravel patio covered earlier in this list, then set pavers directly into the compacted base at the planned intervals before adding the final gravel layer around them. This technique specifically solves the budget math problem of a full paver patio, since pavers are consistently the most expensive material per square meter on this list, using them only where structurally or visually needed rather than across the entire footprint meaningfully cuts total cost. This works especially well for a larger footprint where a full paver surface would be genuinely cost-prohibitive but bare gravel alone feels underbuilt.
- Cuts total paver cost significantly while keeping a genuinely defined, walkable surface
- Works especially well on larger footprints where full paver coverage isn’t affordable
- Solves the “want pavers but the full-coverage cost doesn’t work” problem directly
8. Interlocking Deck Tile Patio
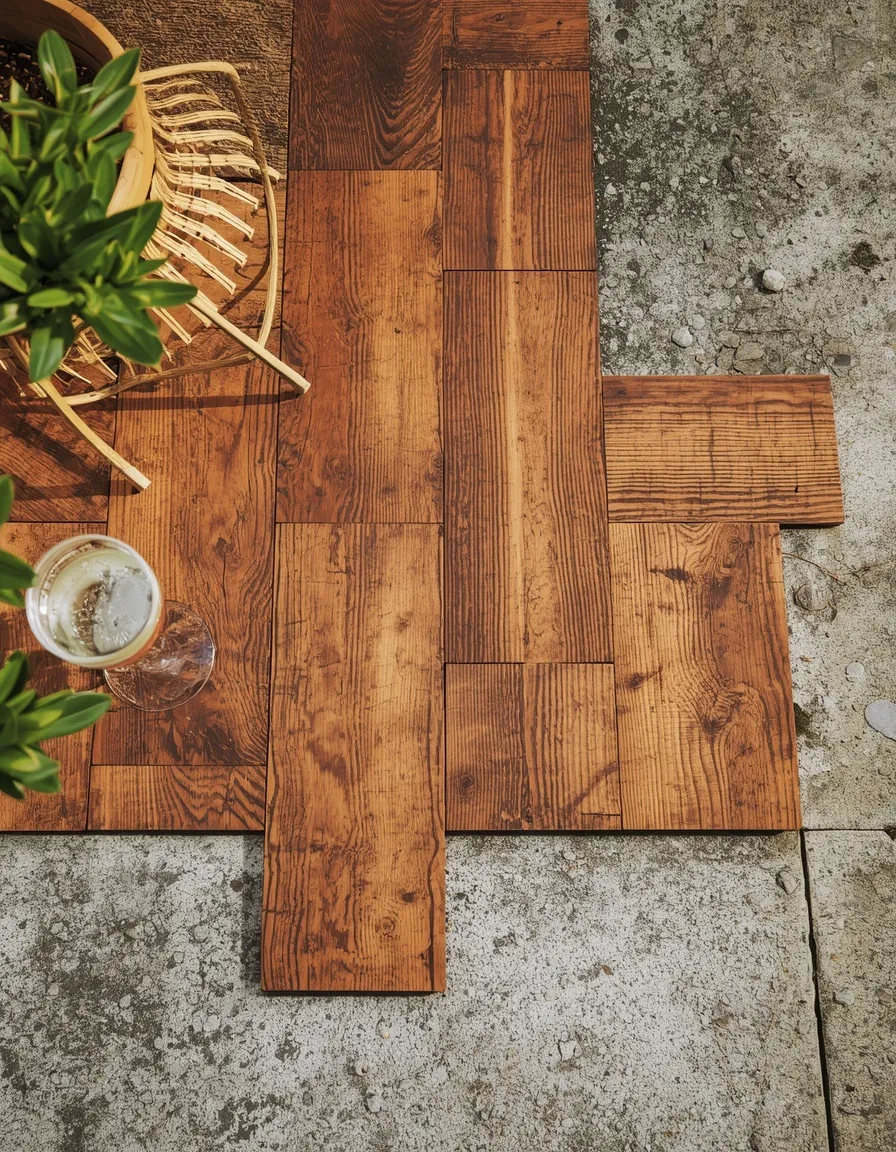
Modular interlocking deck tiles, wood, composite, or plastic squares that snap together without tools, lay directly over an existing hard surface or a leveled gravel base for one of the fastest, most reversible patios on this list.
Lay tiles over any existing flat, stable surface, old cracked concrete, packed dirt leveled with a thin sand layer, or a simple gravel bed, since the tiles’ interlocking grid distributes weight without needing the deep excavation a standalone gravel or paver patio requires. Check that the base beneath is genuinely level before laying tiles, even a modular system telegraphs an uneven base through visible dips and gaps in the finished surface. This is one of the only ideas on this list that requires zero digging and can be fully removed and relaid elsewhere within an afternoon, which makes it a genuinely strong option for anyone uncertain about a spot’s long-term use or working within rental restrictions. Choose composite or plastic tiles over real wood for anywhere with regular moisture exposure, real wood tiles need considerably more maintenance and replacement over time than a composite equivalent.
- Delivers the fastest, most fully reversible installation of any idea on this list
- Works directly over existing concrete, packed dirt, or a simple gravel bed
- Solves the “need something temporary or removable” problem more completely than any other technique
9. Artificial Turf and Paver Combo Patio
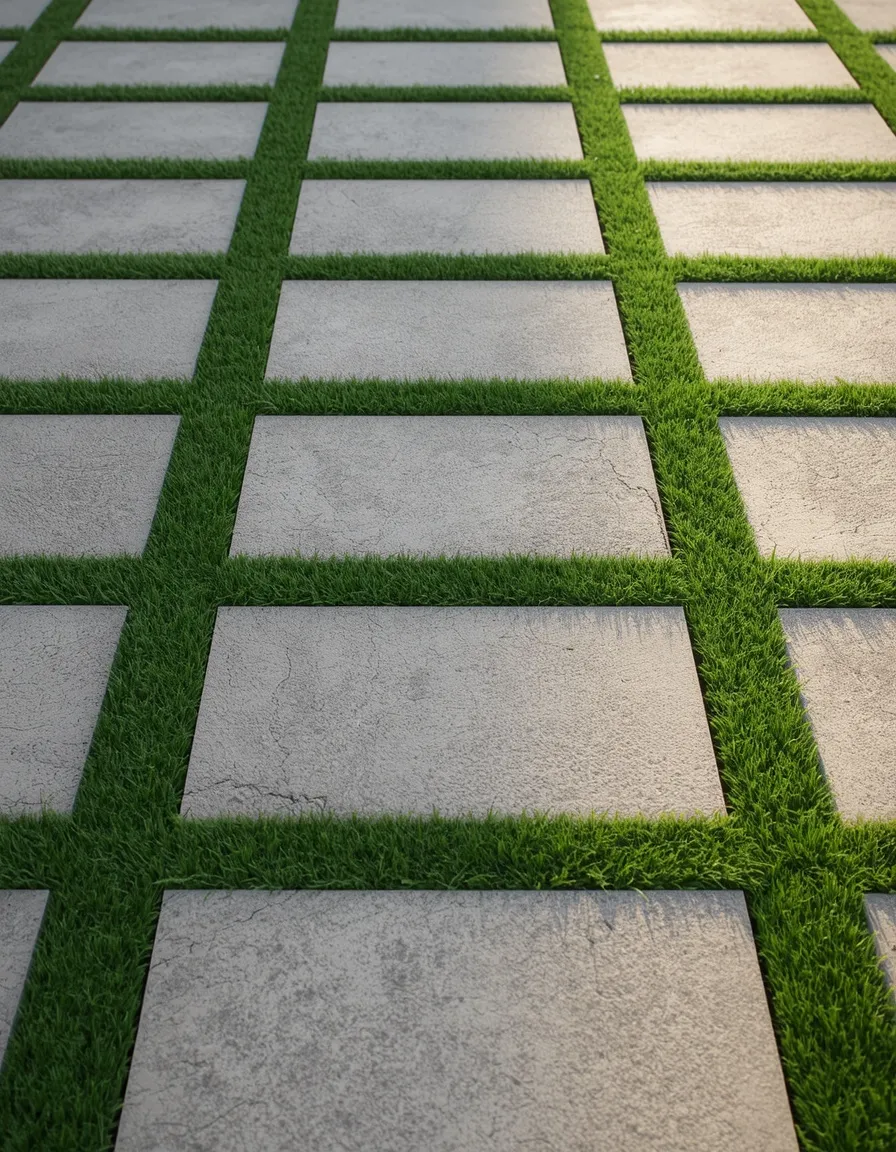
Strips or squares of artificial turf laid between paver rows, rather than gravel or grout joints, brings a genuinely green, low-maintenance texture to a hardscape patio without the water and mowing a real lawn would need.
Install pavers using the same sand-set base method covered earlier in this list, but leave wider joints, roughly 5 to 10cm (2 to 4in), specifically where turf strips will go rather than the narrow joints a standard paver patio uses. Cut turf pieces slightly oversized and trim them in place with a utility knife for a clean, tight fit against each paver edge, cutting undersized pieces first almost always leaves a visible gap once everything settles. Choose a turf product with genuine drainage backing rather than a solid-backed indoor-style product, water needs somewhere to go through the turf and into the base beneath it rather than pooling on the surface. This combination works especially well for anyone who wants greenery in the patio itself without the ongoing water and mowing costs of an actual lawn, and it holds up considerably better underfoot than grass would in a high-traffic seating area.
- Adds genuine green texture and softness without a real lawn’s water or mowing needs
- Works especially well as a low-maintenance middle ground between hardscape and living lawn
- Solves the “want some green in the patio without a maintenance commitment” problem
Low-Cost DIY Concrete and Pallet Patio Ideas
Concrete and reclaimed pallet wood sit at opposite ends of the DIY skill spectrum, but both deliver a genuinely solid, low-cost surface when the real technique and safety details are followed.
10. DIY Poured Concrete Slab Patio
A genuinely poured concrete slab, formed, reinforced, and finished by hand, delivers the most durable, weather-resistant patio surface on this list once the real technique and safety steps are followed correctly.
Build wood form boards around the perimeter staked firmly into the ground, and excavate to allow for a compacted gravel base of at least 10cm (4in) beneath the slab itself, skipping this base layer is the single most common reason a DIY concrete patio cracks and shifts within its first year or two. Add remesh or rebar within the form before pouring for any slab larger than a small stepping pad, reinforcement meaningfully reduces cracking as the concrete cures and settles over time. Wet concrete is genuinely caustic, it’s strongly alkaline and can cause real chemical burns with prolonged skin contact, so wear waterproof gloves, eye protection, and boots throughout the entire pour and finishing process rather than treating it as an optional precaution. In climates with hard winter freezes, extend the gravel base toward the deeper end of the range and ensure a control joint is cut every 2.5 to 3m (8 to 10ft) across the slab, un-jointed concrete cracks unpredictably as it expands and contracts with temperature swings.
- Delivers the most durable, weather-resistant surface of any idea on this list
- Works best with genuine base preparation and reinforcement, not a thin, unsupported pour
- Solves the desire for a truly permanent patio surface at a DIY-achievable cost
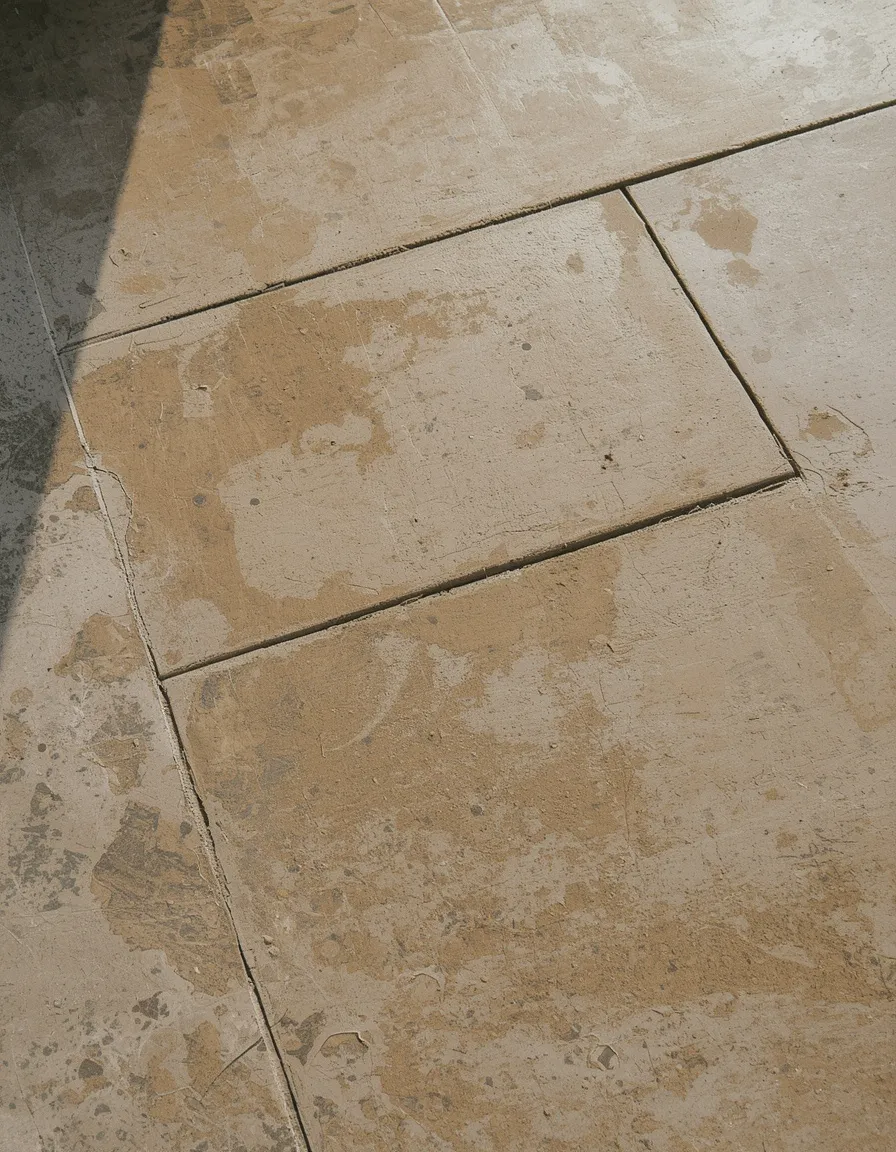
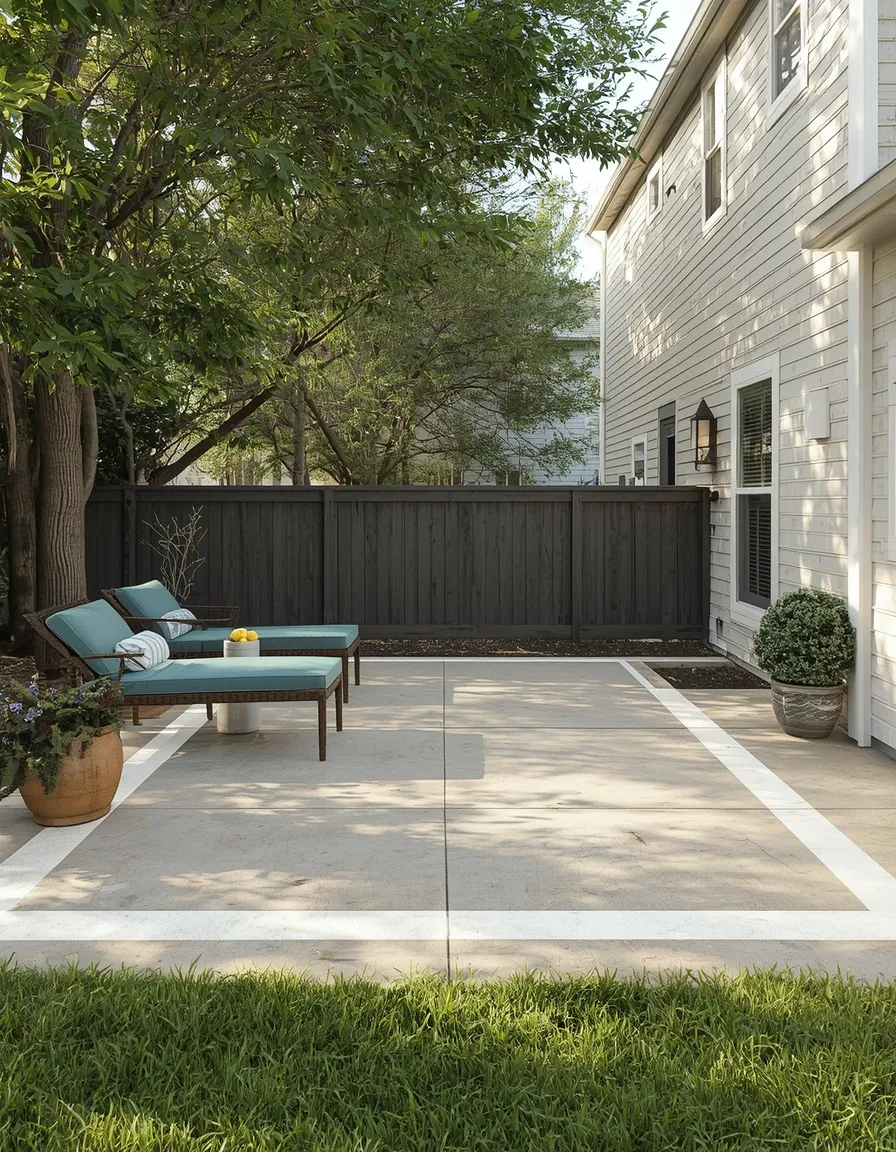
11. Painted or Stained Concrete Refresh
An existing cracked, stained, or simply outdated concrete patio gets a genuinely dramatic, low-cost transformation from a coat of concrete stain or specialized outdoor paint rather than a full demolition and rebuild.
Clean and etch the existing surface thoroughly before applying anything, a concrete cleaner and an acid or etching solution opens the surface’s pores so stain or paint actually bonds rather than peeling within a season, this prep step matters more to the finished result than the stain or paint product itself. Choose a genuine concrete stain over surface paint for a more durable, weather-resistant finish that won’t chip or peel the way a painted surface eventually does, though paint offers considerably more color and pattern flexibility, including simple painted or stenciled geometric patterns, for a fraction of the cost of new decorative concrete work. Repair any significant cracks with a concrete patching compound before staining or painting, since both treatments highlight surface texture rather than hiding structural damage underneath. For more ideas on finishing and styling a concrete surface once it’s down, our guide to backyard concrete patio ideas covers additional techniques beyond paint and stain specifically.
- Delivers a dramatic visual transformation without the cost or labor of a full rebuild
- Works especially well on an existing patio that’s structurally sound but visually outdated
- Solves the “have ugly existing concrete but can’t afford to replace it” problem directly
12. Pallet Wood Ground-Level Patio
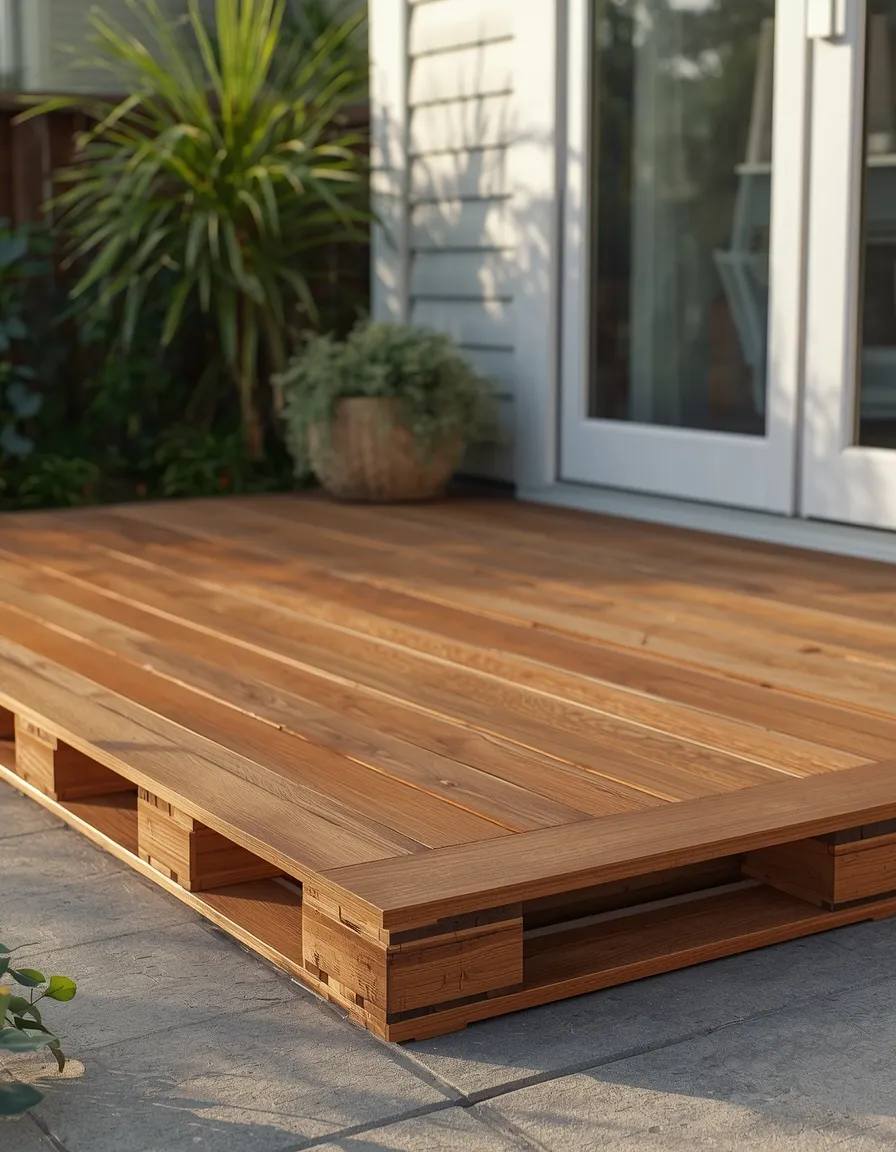
Wooden shipping pallets, disassembled and reassembled into flat platform sections or simply laid whole and leveled, bring a genuinely free or near-free wood surface to a small patio footprint.
Source pallets specifically stamped HT for heat-treated rather than MB for methyl bromide fumigation, this distinction genuinely matters, heat treatment uses no chemicals at all and leaves no residue, while methyl bromide is a hazardous fumigant that shouldn’t end up in a surface people will sit and walk on regularly. Avoid unstamped pallets picked up from an unknown source entirely if their history can’t be confirmed, a pallet used to ship unknown chemicals or industrial materials carries genuine contamination risk regardless of its wood treatment. Level the ground beneath with compacted gravel or sand before setting pallets, and either use them whole, spaced with gaps for drainage, or disassemble and reassemble the boards into a tighter platform depending on the finish desired. Seal the finished wood with an exterior-grade sealant or stain rated for ground contact, untreated pallet wood in direct soil contact rots considerably faster than the same wood raised even slightly off the ground.
- Delivers a genuinely free or near-free wood surface using otherwise discarded material
- Works best sourced specifically from HT-stamped pallets with a confirmed, trustworthy origin
- Solves the “want a wood patio surface with almost no material budget” problem
Low-Cost DIY Patio Ideas for Slopes, Rentals, and Balconies
Not every yard is flat, owned, or even a yard at all, these three ideas address the site conditions that make a standard patio build genuinely impossible without adjustment.
13. Sloped Yard Terraced Patio
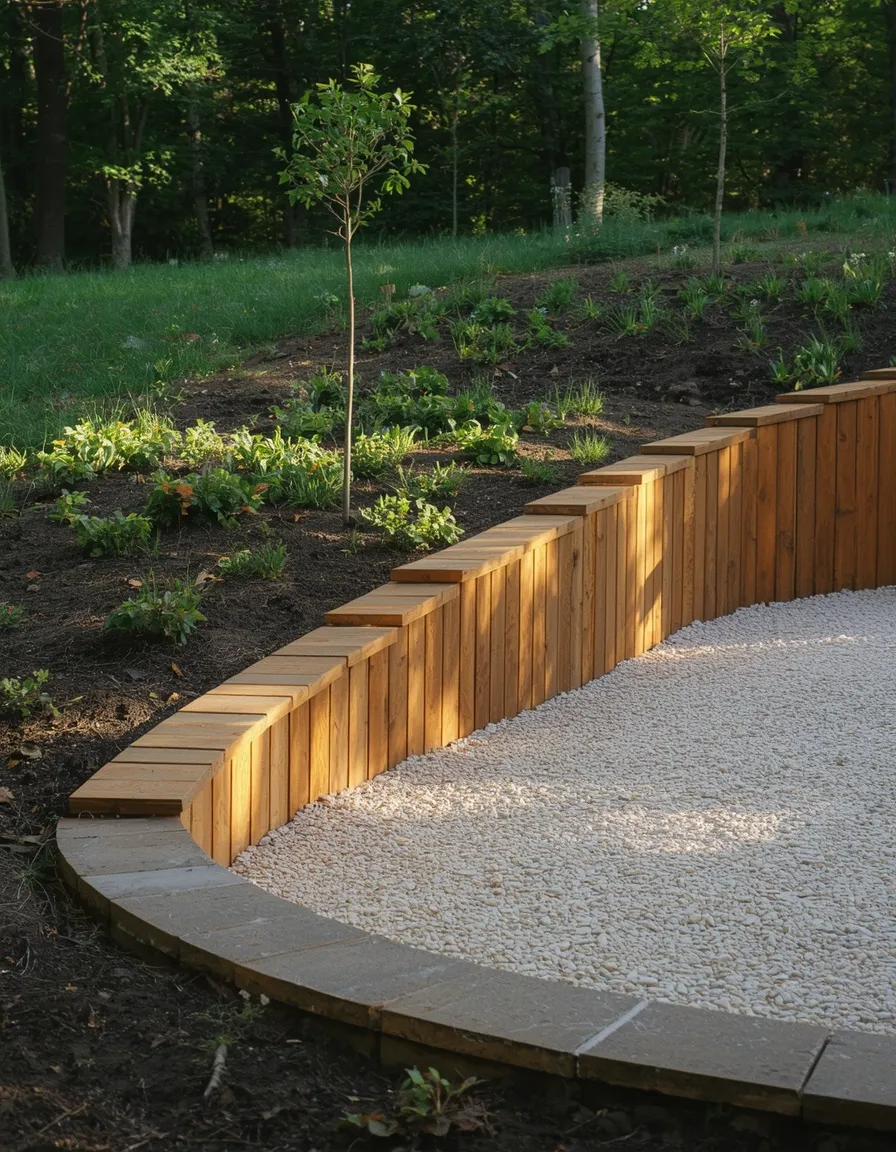
A sloped yard that seems to rule out a flat patio entirely actually just needs one straightforward adjustment: terracing the slope into a level shelf, rather than trying to build directly on uneven ground.
Cut into the slope to create a level bench for the patio footprint, using the excavated soil to build up the downhill retaining edge if a low retaining wall is needed, for anything under about 60cm (24in) of height difference, a simple timber or interlocking block retaining wall is a realistic DIY project, while a taller cut typically needs engineered drainage and, depending on local codes, a permit. Include a gravel drainage layer behind any retaining structure regardless of height, water pressure buildup behind an undrained wall is the most common reason a DIY retaining wall eventually bulges or fails. Choose one of the loose-fill or sand-set paver techniques covered earlier in this list for the terraced surface itself rather than a poured concrete slab, a loose-fill or sand-set surface tolerates minor settling on a cut-and-fill site considerably better than rigid poured concrete would. This is a genuinely more involved project than a flat-yard patio and worth scaling the footprint down if the slope is steep, a smaller terraced patio well executed beats a larger one that’s structurally unstable.
- Turns a slope that seems to rule out a patio into a genuine, level usable space
- Works with a simple retaining structure for moderate grade changes without needing engineering
- Solves the “yard isn’t flat enough for a patio” problem most guides don’t address at all
14. Renter-Friendly No-Dig Patio Base
A patio built entirely on top of existing lawn or bare soil, with zero excavation and no permanent anchoring, delivers a genuine outdoor sitting area a renter can remove completely at move-out without any landlord dispute.
Lay a woven landscape fabric barrier directly over mowed-short grass or leveled bare soil, then build up loose-fill material, pea gravel or decomposed granite both work well, directly on top rather than digging down into the ground beneath. Use a freestanding edging option, stacked pavers or a simple wood frame resting on the surface rather than staked or mortared in place, so the entire boundary lifts away cleanly when the patio is eventually removed. Choose interlocking deck tiles, covered earlier in this list, as an even faster no-dig alternative specifically when the existing ground is already reasonably flat, since tiles need no loose-fill base at all. Always confirm with a landlord or property manager before starting, even a fully reversible project benefits from that conversation upfront, and photograph the original condition of the space before beginning any work as a simple, low-effort record.
- Delivers a genuine outdoor space with zero permanent modification to the property
- Works well combined with loose-fill materials or interlocking tiles covered elsewhere on this list
- Solves the “want a real patio but can’t dig into rented land” problem completely
15. Apartment Balcony Patio Setup
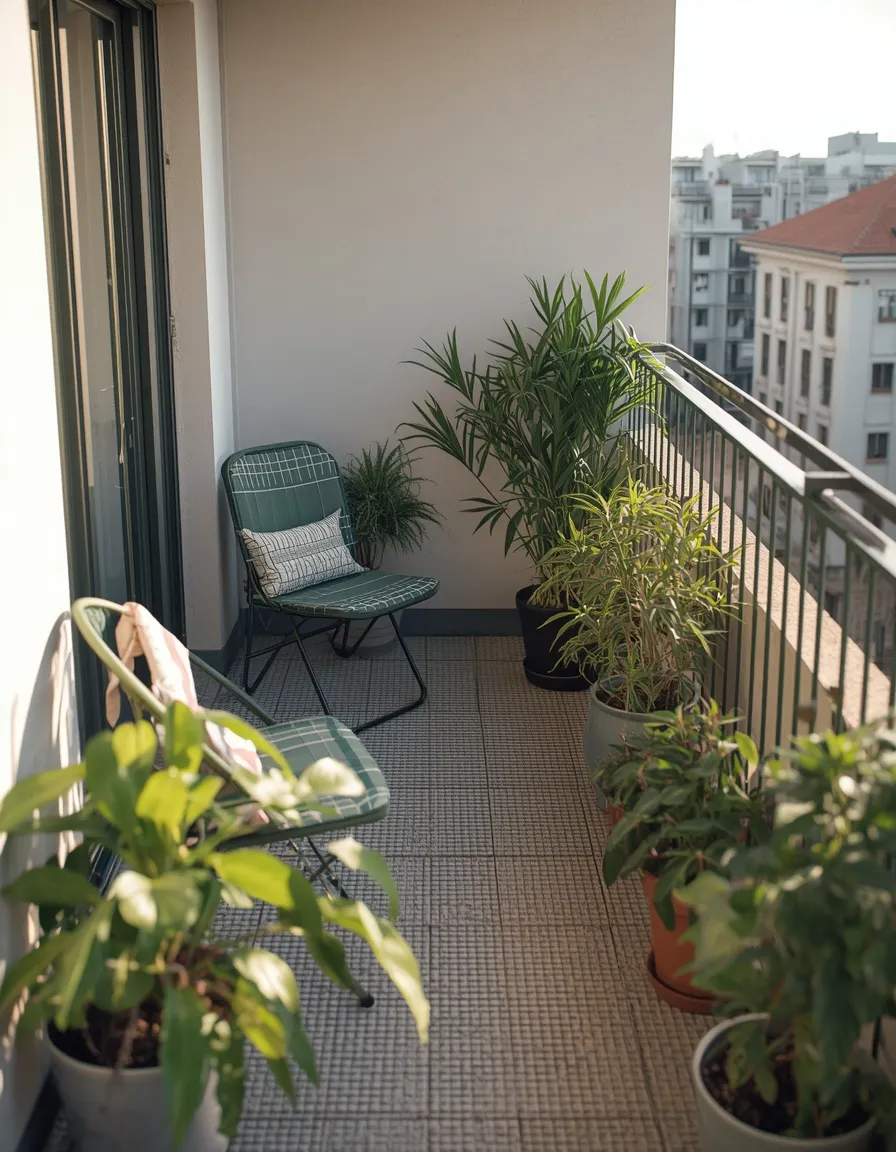
A small apartment balcony, floored in lightweight interlocking tiles or a durable outdoor rug and furnished with genuinely balcony-scaled pieces, brings the low-cost DIY patio concept to a space with no ground contact at all.
Check the balcony’s actual weight load limit before adding tile flooring, furniture, and containers together, this matters considerably more on an upper-floor balcony than a ground-level yard, building codes typically specify a maximum load per square meter for exactly this reason, and it’s worth confirming rather than assuming. Choose lightweight interlocking tiles specifically, plastic or thin composite rather than dense stone-look composite, both for the weight savings and for how easily the whole floor lifts up for cleaning or moving. Secure any freestanding furniture or tall planters against wind, upper-floor balconies see considerably more consistent wind than a ground-level patio, and an unsecured lightweight chair or planter is a genuine fall hazard to anyone below. Ensure the balcony’s drain, most have one built into a corner or edge, stays completely clear of any flooring or furniture placed over it, blocking it causes water to pool and can lead to leaking into the unit below.
- Brings the DIY patio concept to a space with zero ground contact or excavation possible
- Works within a genuinely small footprint using lightweight, weight-conscious materials
- Solves the “no yard at all, just a balcony” version of the low-cost patio problem
Low-Cost Ways to Finish and Style a DIY Patio
The surface is only half the job, these finishing touches are what turn a freshly built patio into a space that actually gets used.
16. Budget Fire Pit Ring Add-On
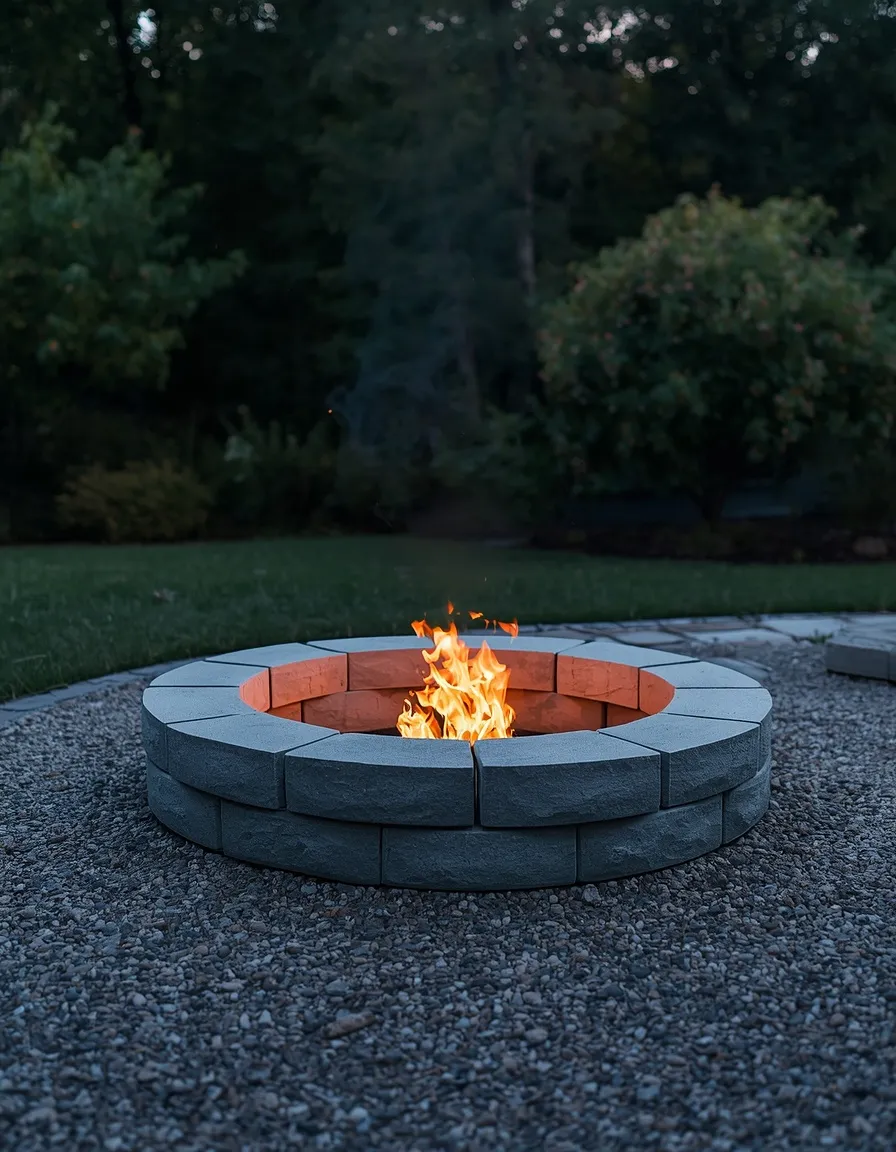
A simple ring of stacked concrete blocks or reclaimed brick, set directly into the edge of a gravel or paver patio, extends the space’s usable hours into the evening for a genuinely small material cost beyond the surface itself.
Keep the fire pit at least 3m (10ft) from the house, fence, or any overhanging branches regardless of how small the footprint is, and check local fire codes before building one, some areas restrict or ban open wood fires and require propane or a specific enclosed design instead. Build directly on the same non-combustible base used for the surrounding patio, gravel or pavers extending at least 60cm (2ft) beyond the ring’s edge, rather than placing it on grass or mulch nearby, sparks and radiant heat both pose a genuine risk to anything combustible within that radius. Stack blocks or brick without mortar for the simplest, cheapest version, dry-stacked rings are genuinely stable enough for a basic wood fire and can be disassembled if the patio’s layout changes later. This works as a natural extension of the gravel or paver-and-gravel techniques covered earlier in this list, since the fire pit ring uses essentially the same base and edging logic as the surrounding surface.
- Extends the patio’s usable hours into cooler evenings for minimal added material cost
- Works as a natural extension of the gravel or paver base already built for the patio
- Solves the “patio is only used during the day” problem cheaply
17. Thrifted and Upcycled Patio Furniture
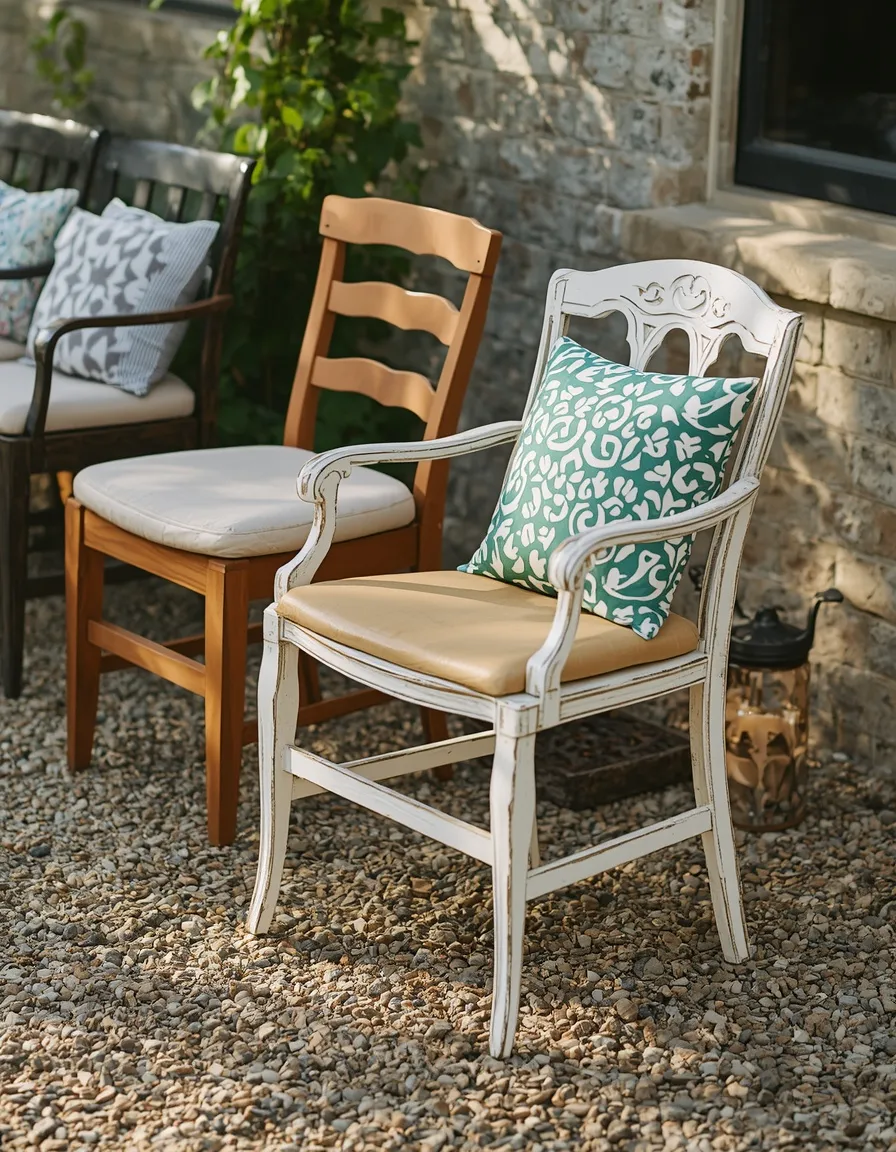
A mismatched but cohesive set of secondhand chairs, a repainted side table, and a cushion refresh delivers genuine seating for a fraction of new outdoor furniture’s cost, and often with more character than a matched patio set.
Shop secondhand sources specifically for structurally sound pieces regardless of finish, a wobbly frame or rusted-through metal joint isn’t worth the discount, while faded paint, worn cushions, or an outdated color are all easily and cheaply fixed. Unify a genuinely mismatched collection with one consistent element, the same paint color across different chair styles, or matching new cushion fabric across different frame types, rather than leaving pieces looking randomly gathered. Check any wood furniture for rot at contact points with the ground specifically before investing time in a refresh, surface refinishing won’t fix structural rot at a leg base. This works especially well paired with any of the loose-fill or paver surfaces covered earlier in this list, since the patio’s overall low-cost, DIY-built character suits genuinely thrifted furniture considerably better than it would a brand-new matched showroom set.
- Delivers real seating capacity for a fraction of new outdoor furniture’s cost
- Works especially well unified with one consistent paint color or cushion fabric across mismatched pieces
- Solves the “patio is built but has nowhere to actually sit” problem affordably
18. Budget String Light and Lantern Ambiance
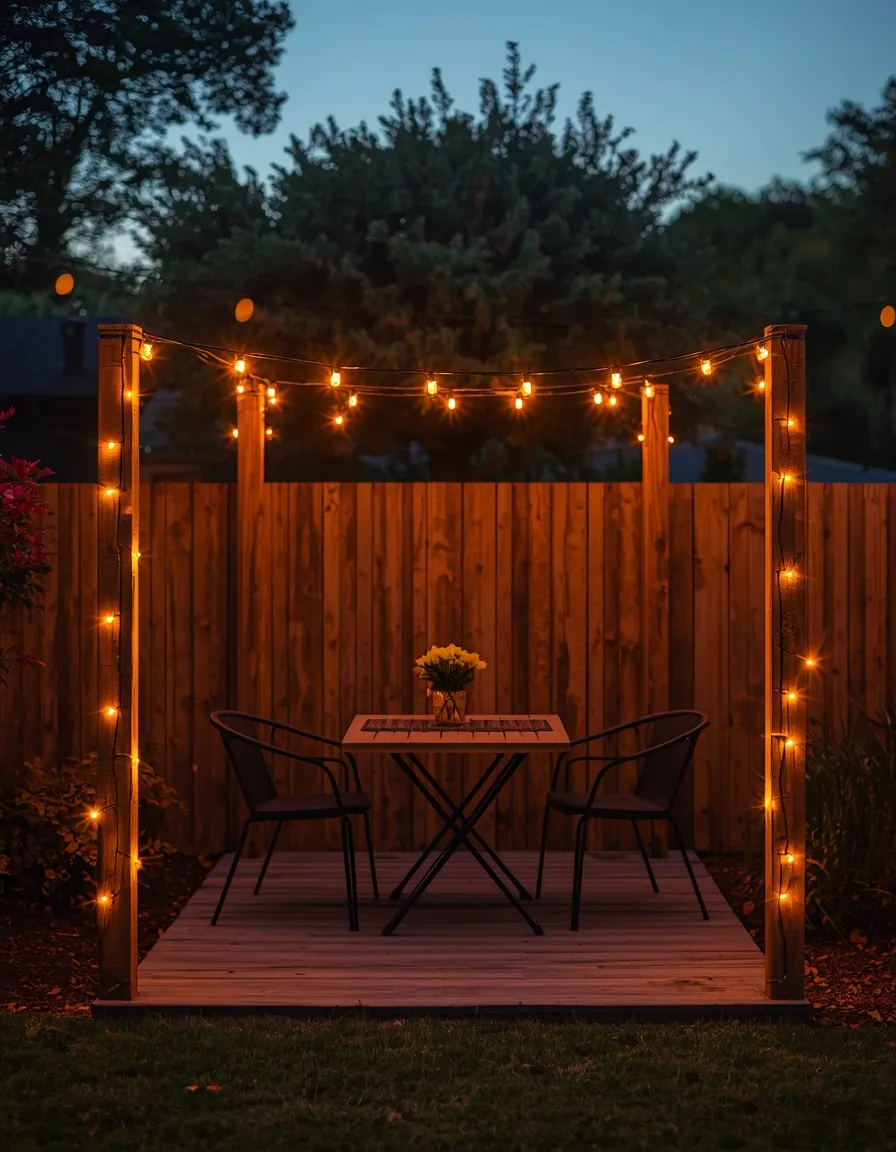
A simple run of warm-toned string lights across the patio, paired with a few inexpensive lanterns at ground level, extends a freshly built DIY patio’s usable hours into the evening for one of the lowest costs on this entire list.
Use genuinely outdoor-rated, weatherproof string lights specifically, indoor-only strands aren’t sealed against moisture and pose a real electrical hazard left outside through rain or humidity. Run strands between two secure anchor points, a house eave and a post, or two posts set specifically for this purpose, rather than relying on unsupported lightweight stakes that sag or blow over in wind. Choose flameless LED lanterns for anywhere near the patio’s edging or any wood furniture, real flame in an unattended outdoor lantern carries genuine fire risk that a flameless option removes entirely while keeping the same warm glow. This is one of the lowest-cost, highest-impact finishing touches on this entire list, a single string light strand and a handful of lanterns meaningfully change how usable and inviting a bare new patio feels after sunset.
- Extends the patio’s usable hours into the evening for one of the lowest costs here
- Works with any surface covered earlier in this list, from gravel to poured concrete
- Solves the “patio looks great by day but disappears after dark” problem cheaply
19. Outdoor Rug and Container Plant Framing
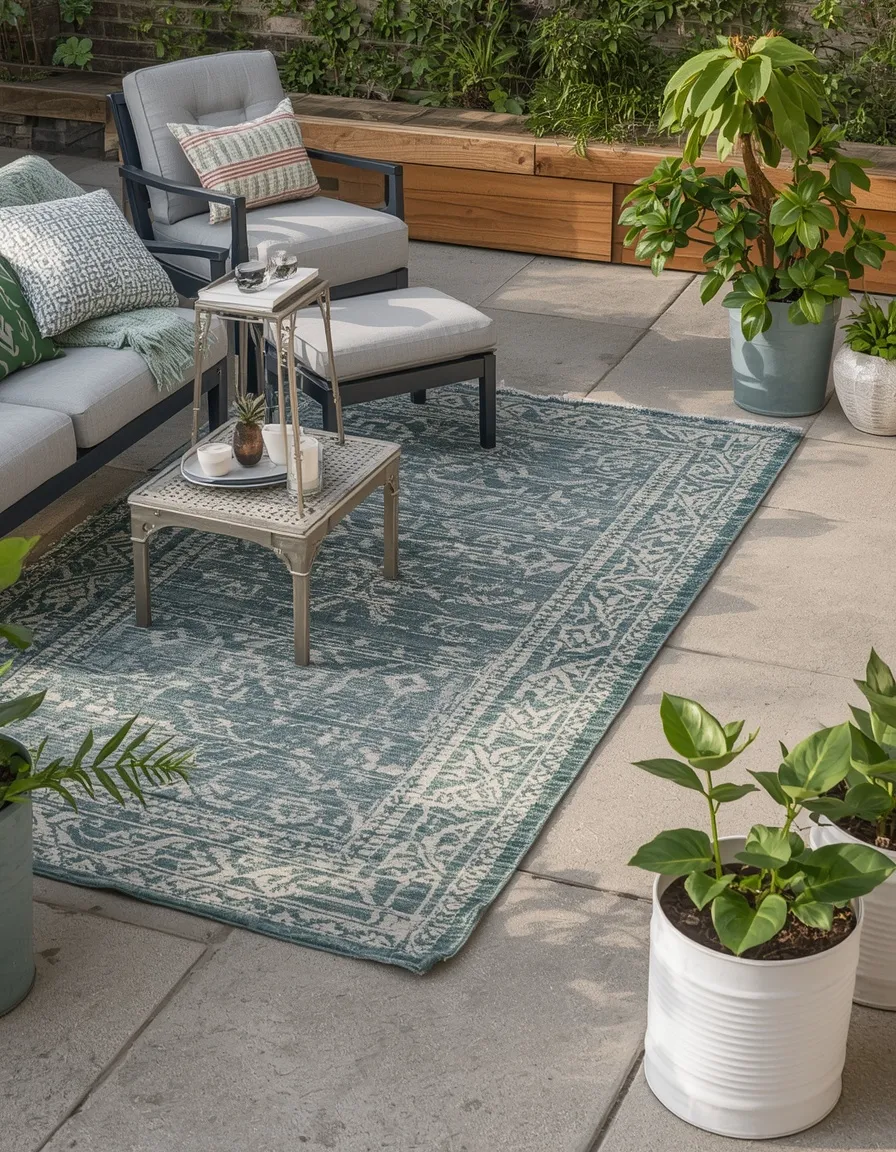
An outdoor rug anchoring the seating area, paired with a few inexpensive potted plants framing the patio’s edges, makes even the simplest loose-fill surface read as a genuinely finished, intentional space rather than an unfinished work in progress.
Choose a rug in a genuinely outdoor-rated material, polypropylene handles moisture and sun exposure considerably better than an indoor rug material brought outside, which fades and mildews within a single season. Size the rug to extend slightly beyond the seating arrangement’s edges rather than exactly matching the furniture footprint, a rug that’s too small relative to the furniture on top of it reads as an afterthought rather than a grounding element. Use inexpensive containers, thrifted pots, five-gallon buckets painted and drilled with drainage holes, or simple nursery pots dressed up with a woven basket sleeve, grouped at varying heights along the patio’s edge to soften the transition between the hard surface and the surrounding yard. This is genuinely the fastest, lowest-skill finishing idea on this entire list and works as the very last step regardless of which surface technique was used to build the patio itself.
- Makes even the simplest loose-fill surface read as genuinely finished and intentional
- Works as a fast, low-skill final styling step regardless of the surface technique used
- Solves the “patio is built but still looks unfinished” problem in an afternoon
Conclusion
Low-cost DIY patio ideas add up to real, lasting outdoor space when the unglamorous parts, base depth, drainage slope, material safety, get the same attention as the surface material itself. Start with whichever technique matches the actual site and budget, a straightforward gravel patio for a flat yard, a terraced version for a slope, a no-dig build for a rental, rather than picking the most photogenic option first. The finishing touches covered at the end, lighting, seating, a rug and a few containers, are what turn a technically correct surface into a space that actually gets used regularly. For more layout and hardscaping inspiration, the Garden Design category has plenty more to explore.
Frequently Asked Questions
What’s the cheapest patio to build myself?
A pea gravel patio is consistently the lowest-cost genuine option, since the material itself costs a fraction of pavers or concrete for the same footprint and the installation needs no cutting, mortar, or specialized tools. A paver-and-gravel combo comes in a close second when a fully finished, walkable surface matters more than the absolute lowest cost, since it uses far fewer pavers than a full-coverage paver patio.
Can I build a DIY patio without digging or excavating?
Yes, interlocking deck tiles lay directly over existing concrete, packed dirt, or a leveled gravel bed without any excavation, and a no-dig renter-friendly build using landscape fabric and loose fill on top of existing lawn works the same way. Both approaches are also fully reversible, which matters for anyone renting or unsure about a spot’s long-term use.
How do I build a patio on a sloped yard?
Terrace the slope into a level shelf rather than trying to build directly on uneven ground, cutting into the hillside and using a simple retaining structure, timber or interlocking block, for grade changes under about 60cm. A loose-fill or sand-set paver surface tolerates minor settling on a cut-and-fill site considerably better than a rigid poured concrete slab would.
Are wooden pallets safe to use for a DIY patio?
Only if they’re specifically stamped HT for heat-treated rather than MB for methyl bromide fumigation, heat treatment uses no chemicals and leaves no residue, while methyl bromide is a hazardous fumigant that shouldn’t end up in a surface people regularly sit and walk on. Unstamped pallets from an unknown source are worth avoiding entirely, since their history and any prior contents can’t be confirmed.
Can renters build a DIY patio without upsetting a landlord?
Yes, a no-dig build using landscape fabric and loose-fill material laid directly on existing lawn, or interlocking deck tiles set on top of an existing surface, both avoid any permanent excavation or anchoring and can be fully removed at move-out. It’s still worth confirming with a landlord or property manager before starting, even for a fully reversible project.
What’s the most common mistake people make with a DIY concrete or gravel patio?
Skipping proper base preparation is by far the most common issue, a compacted gravel base beneath either loose-fill or poured concrete is what actually prevents sinking, shifting, and cracking, and it’s the step most tempting to shortcut since it’s invisible once the project is finished. A missing drainage slope is the second most common issue, without it water pools on the surface or, worse, against the house foundation.
Can I cheaply improve an existing ugly concrete patio instead of replacing it?
Yes, a concrete stain or specialized outdoor paint, applied after properly cleaning and etching the surface, delivers a genuinely dramatic transformation for a fraction of the cost of demolition and a new build. This works well specifically when the existing slab is structurally sound but simply outdated or stained, cracked or crumbling concrete needs repair before any stain or paint will hold.