
Introduction
Not every garden problem needs a trip to the store, sometimes it just needs a better idea. The best gardening hacks turn ordinary household items, an old pantyhose, a cracked pot, a spare pallet, into genuinely clever solutions for watering, pest control, and cramped space that most basic how-to guides never mention. This roundup skips the recycled advice repeated across every gardening blog and focuses on 22 techniques that actually hold up, from a centuries-old buried-pot irrigation trick to the truth about why eggshells don’t stop blossom end rot. Whatever the size of the space being gardened, a windowsill, a balcony, or a full backyard, there’s a hack here worth trying, in keeping with the practical, well-considered approach to home and garden found across Sunday Abode.
Small-Space and Vertical Gardening Hacks
None of these need a yard at all; each one turns a bare wall, fence, or railing into real growing space, which makes them the natural starting point for anyone gardening from a balcony, rental, or small urban lot.
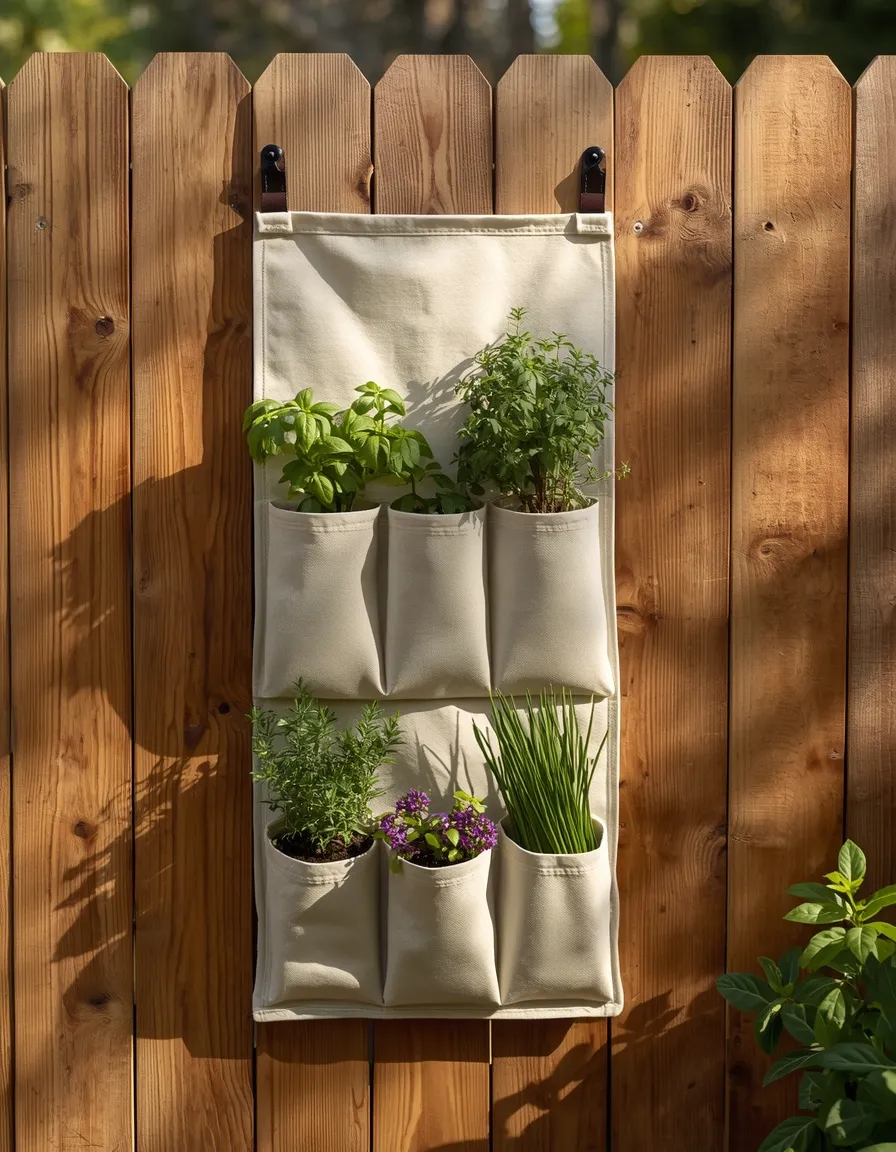
1. Hanging Shoe Organizer Herb Garden
A canvas over-the-door shoe organizer turns a bare wall, fence, or balcony railing into a dozen individual planting pockets, herbs and salad greens tucked into each slot like a living pegboard.
Choose an organizer with sturdy, breathable canvas or felt pockets rather than clear vinyl, which traps heat and can cook roots in direct sun. Fill each pocket about two-thirds full with potting mix, and cut a small drainage slit in the bottom seam of each pocket before planting so water doesn’t pool. This works best mounted somewhere getting at least 4 to 6 hours of sun, hung slightly away from the wall for airflow behind the fabric. Shallow-rooted herbs like chives, thyme, and lettuce thrive here; anything needing real root depth, like carrots, will stall out.
- Turns unused vertical wall or fence space into a dozen planting spots
- Costs little if an old organizer is already on hand
- Ideal for renters, since it hangs without any drilling
2. Rain Gutter Vertical Planters
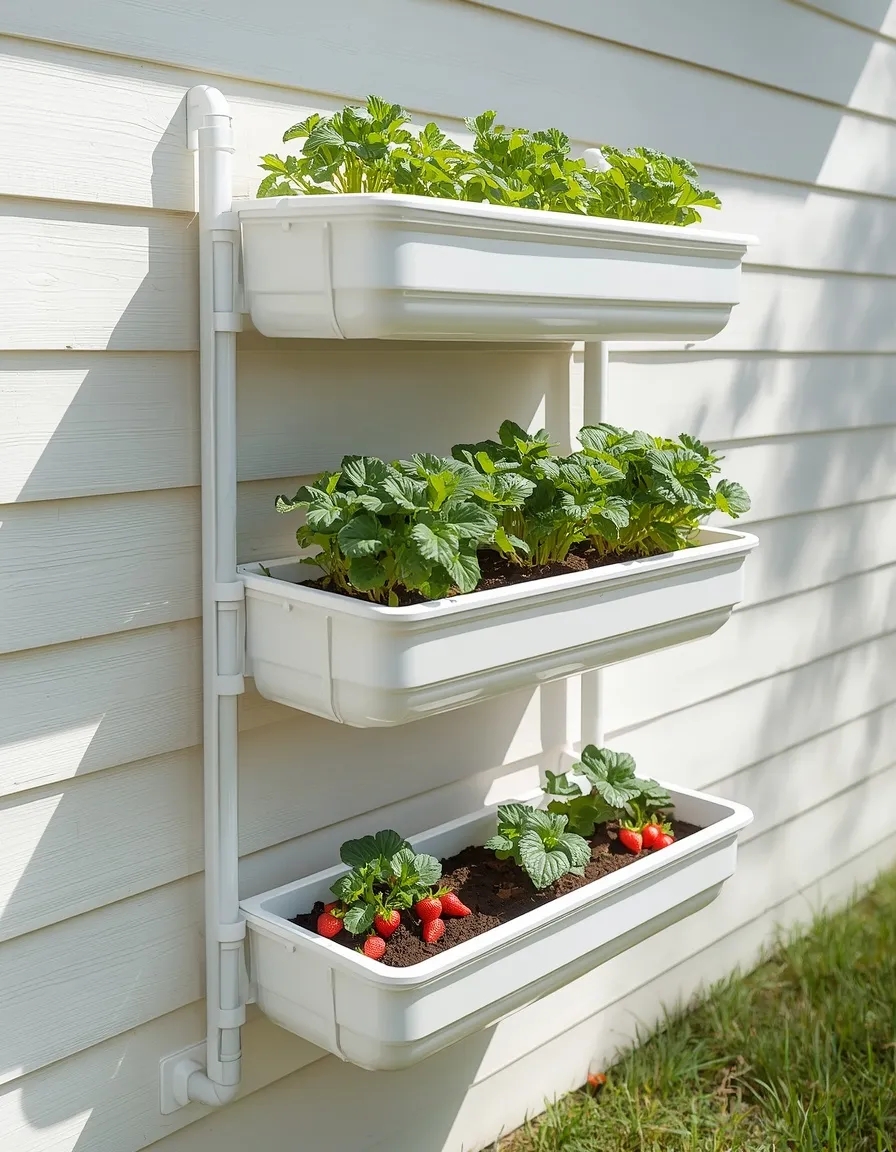
A few lengths of vinyl rain gutter mounted in a ladder pattern up a sunny wall create a shallow, cascading planting bed that barely projects a few inches from the surface.
Cut standard rain gutter into 3 to 4 foot (90 to 120 cm) sections, cap both ends, and drill drainage holes every 6 inches (15 cm) along the base before mounting with brackets, spacing each row roughly 12 to 14 inches (30 to 35 cm) apart so light reaches the lower tiers. This suits shallow-rooted crops best: lettuce, spinach, strawberries, and most herbs all do well, while anything needing more than about 6 inches (15 cm) of root depth will struggle in the shallow trough. Confirm the gutter is genuinely food-safe vinyl or aluminum, rather than a reclaimed piece with unknown coatings, before growing anything edible in it.
- Makes use of vertical wall space most gardens waste
- Multiple tiers multiply growing area in a tiny footprint
- Well suited to shallow-rooted salad greens and strawberries
3. Stacked Milk Crate Garden Tower
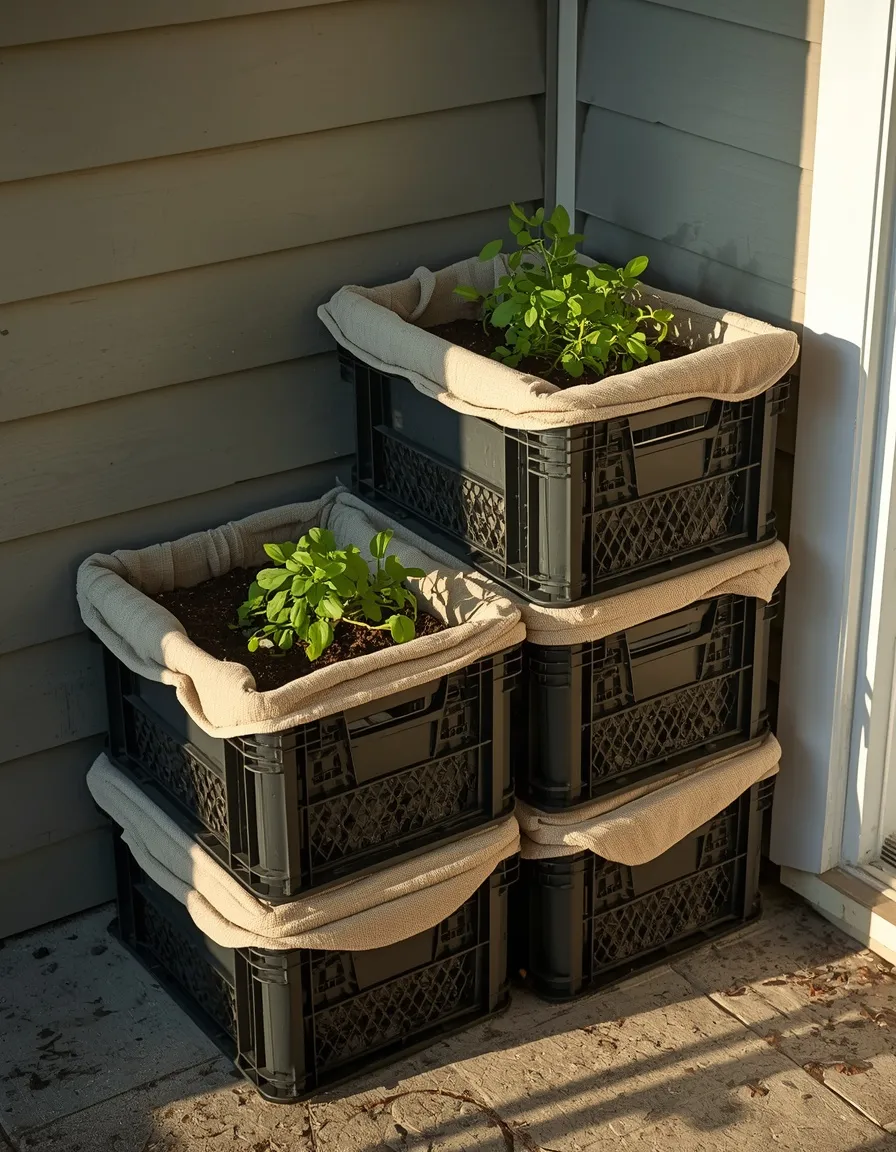
Four or five plastic milk crates stacked and offset at the corners, each lined and filled with soil, build a freestanding growing tower that takes up barely more floor space than a single large pot.
Line each crate with landscape fabric or a cut-open feed bag before adding soil, leaving the front face open so plants can be tucked into the gaps between crates as well as the top. Offset each crate slightly forward or to the side as they stack so lower plantings still get light instead of being shaded by the crate above. This works well on a patio, balcony, or driveway edge; secure the stack against a wall or fence in windy areas, since a fully planted, watered tower is top-heavy and can tip over if left freestanding.
- Multiplies growing area without needing any ground space
- Reuses crates that would otherwise go to a recycling bin
- Easy to disassemble and store flat at season’s end
4. Wall-Mounted Pallet Herb Pockets
A wooden pallet mounted flat against a sunny wall, its slats lined with landscape fabric to form shallow soil pockets, turns into a living herb wall that reads as much like art as it does a garden bed.
Staple heavy landscape fabric across the back and sides of the pallet to create a pocket behind each slat, then fill with potting mix and let the pallet lie flat for a week or two so roots establish before standing it upright against the wall. Plant tougher, drought-tolerant herbs like oregano, thyme, and rosemary in the top rows, since gravity pulls moisture toward the bottom over time; save the lower rows for thirstier plants like mint or parsley. As with any pallet used for edible planting, check for the HT stamp confirming heat treatment rather than chemical fumigation.
- Creates a striking vertical herb display in very little space
- Groups herbs by watering need instead of by type
- A low-cost way to repurpose a spare pallet
Budget DIY and Repurposing Hacks
These hacks lean on containers and materials many households already have on hand, turning a would-be trip to the garden center into an afternoon of repurposing instead.
5. Five-Gallon Bucket Self-Watering Planter
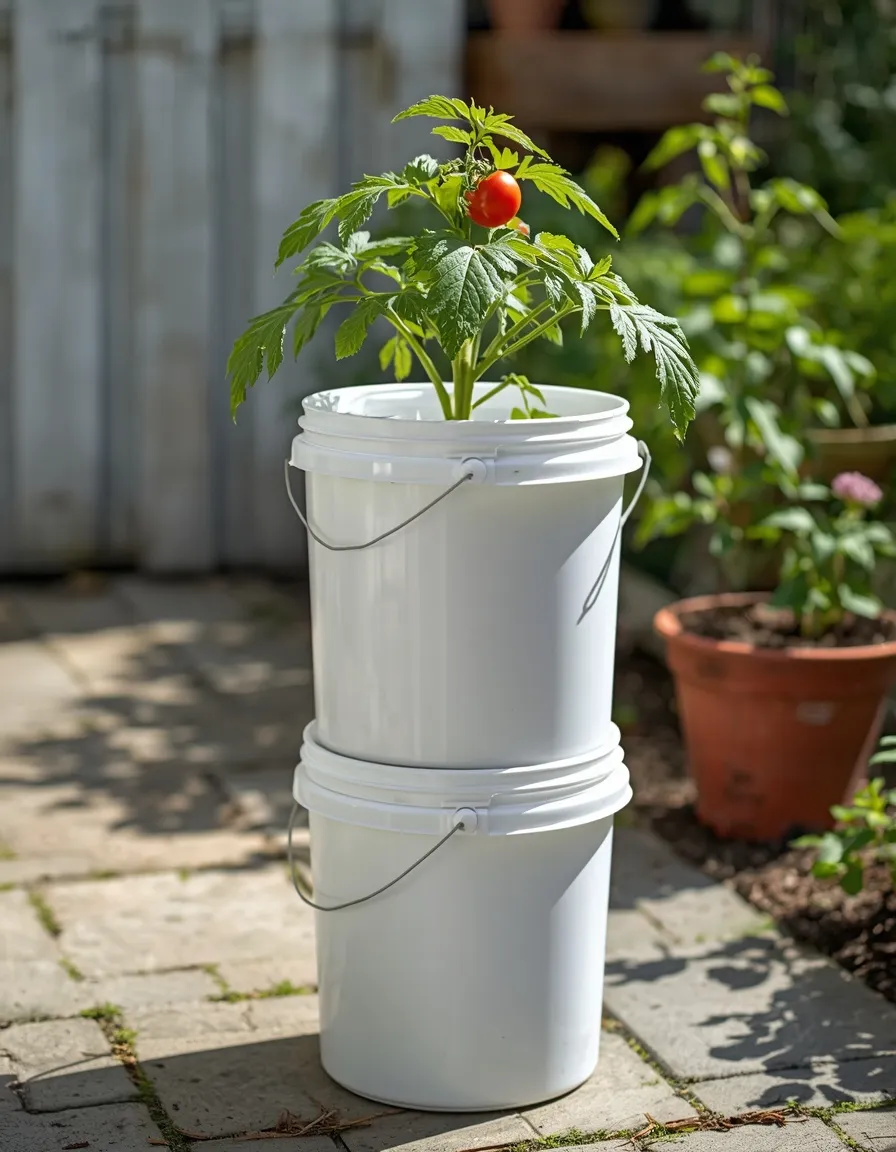
Two stacked five-gallon (19 L) buckets, one nested inside the other with a simple wicking system between them, quietly water a single tomato, pepper, or squash plant for several days without any attention.
Drill a series of small holes in the bottom of the inner bucket, set a section of PVC pipe or a plastic bottle with holes drilled along its length upright between the buckets as a fill tube, and run a length of cotton rope or an old t-shirt strip from the bottom of the inner bucket down into the water reservoir below, wicking moisture up into the soil as it dries. Fill the reservoir through the pipe rather than watering from the top, and drill an overflow hole about 1 inch (2.5 cm) below the inner bucket’s base so the roots never sit fully submerged. This setup is especially useful for anyone traveling for a few days in peak summer heat.
- Waters a container plant for several days unattended
- Reduces the moisture swings that contribute to blossom end rot
- Works for any deep-rooted container plant, not just tomatoes
6. Egg Carton Seed Starter Trays
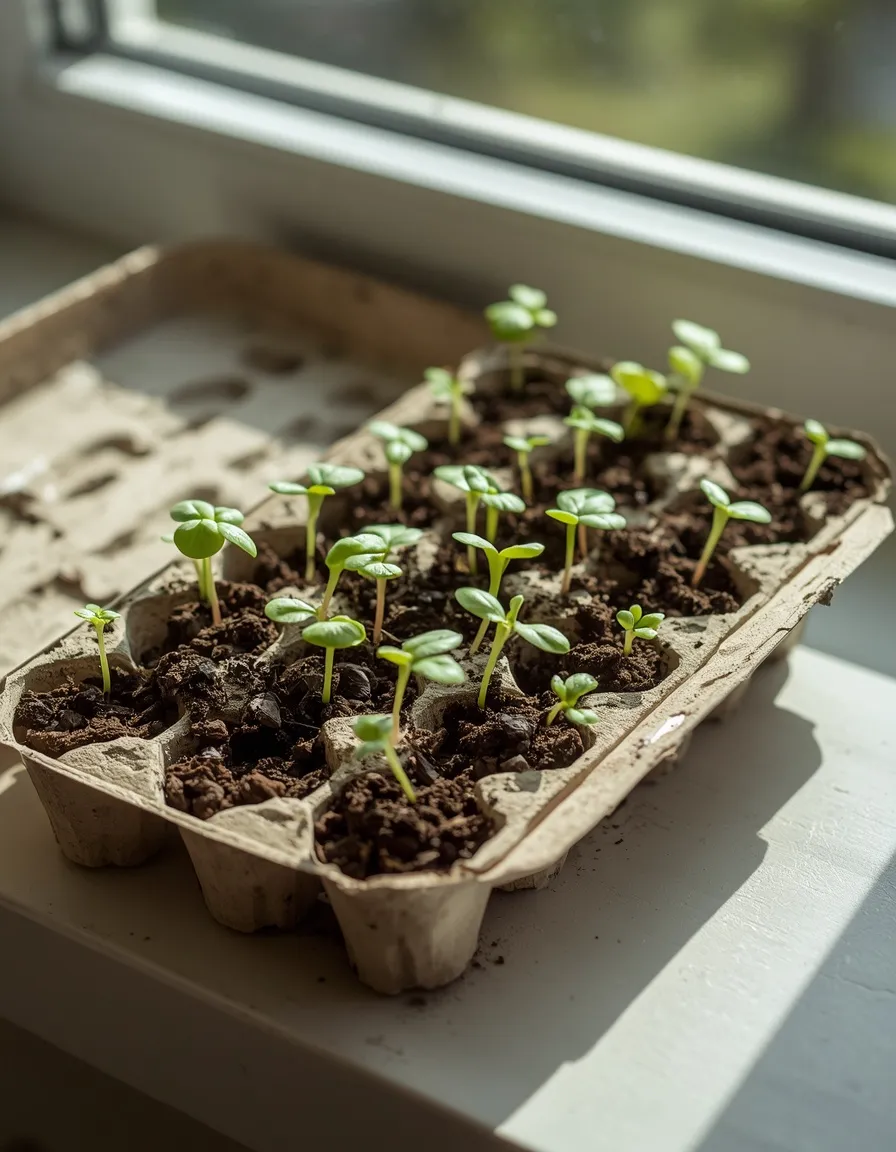
A cardboard egg carton, cut in half and filled with seed-starting mix, becomes a free 6-cell seed tray that goes straight into the ground, carton and all, once seedlings are ready to transplant.
Poke a small drainage hole in the bottom of each cell with a pencil before filling with moistened seed-starting mix, and use only pulp cardboard cartons, not the plastic or styrofoam kind, since only cardboard breaks down in soil. Tear the carton into individual cells at transplant time rather than planting the whole tray intact; leaving the sections joined slows root escape more than it needs to. This is an easy first seed-starting project for beginners, since the carton’s built-in cell walls prevent the tangled roots that come from starting seeds loose in a shared tray.
- Costs nothing beyond a carton already headed for recycling
- Transplants with minimal root disturbance since it goes into soil intact
- A forgiving, beginner-friendly way to start seeds indoors
7. DIY Soil Blocking Without Pots
Packing moistened seed-starting mix into a small mold, a shot glass or a length of 2-inch (5 cm) PVC pipe works fine, then popping out a self-supporting cube of soil skips pots entirely and gives seedlings noticeably stronger roots.
Mix seed-starting medium with enough water to hold together like damp clay, pack it firmly into the mold, and press it out onto a tray, spacing blocks about half an inch (1 cm) apart so air, not soil, is what stops roots from tangling between blocks, a process called air pruning. Market growers have used this soil-blocking method for decades because it produces sturdier transplants than plastic cells, though it takes a slightly firmer mix and a bit of practice to get blocks that hold their shape. This is worth trying once a gardener has a season or two of seed-starting under their belt, rather than as a very first attempt.
- Produces stronger root systems through natural air pruning
- Eliminates plastic seed trays and cell packs entirely
- A genuinely different technique most beginner guides never mention
8. Wine Bottle Drip Irrigation Spike
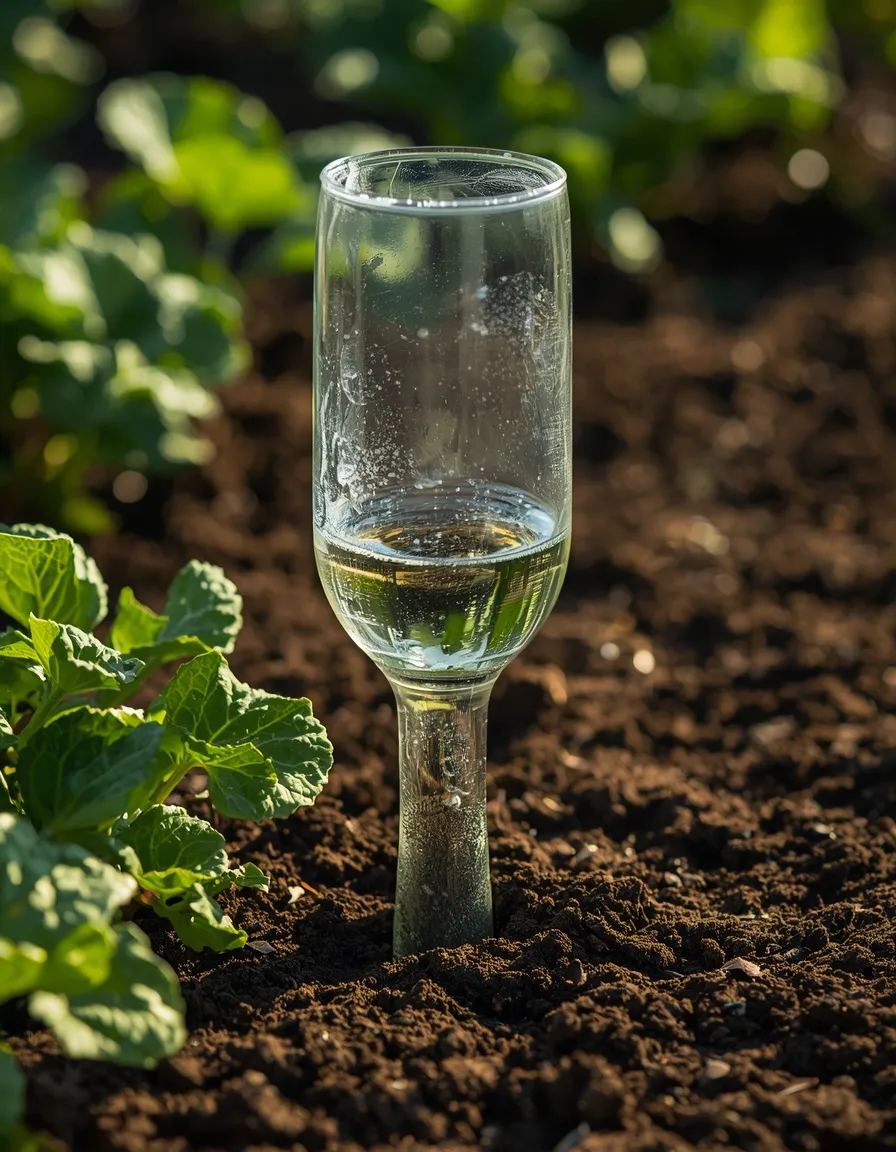
An empty wine bottle filled with water and inverted into the soil next to a thirsty plant slowly seeps moisture directly to the root zone over a day or two, no dripper or timer required.
Drill or carefully knock two or three small holes into the bottle’s shoulder, just below where the neck begins to narrow, fill the bottle with water, cap a thumb over the opening, and push it neck-down into loosened soil a few inches from the plant’s stem. Glass bottles work better than plastic here, since the weight keeps them upright and the narrow neck controls flow better than a screw-cap bottle does. Wear eye protection when drilling into glass, since it can chip or crack unpredictably; a cordless drill with a masonry bit run at low speed is safer than trying to punch holes by hand.
- Delivers water at the root zone instead of the leaf surface
- A useful stopgap for a single thirsty container plant while traveling
- Reuses bottles that would otherwise go straight to recycling
9. Cracked Terracotta Pot Rock Garden
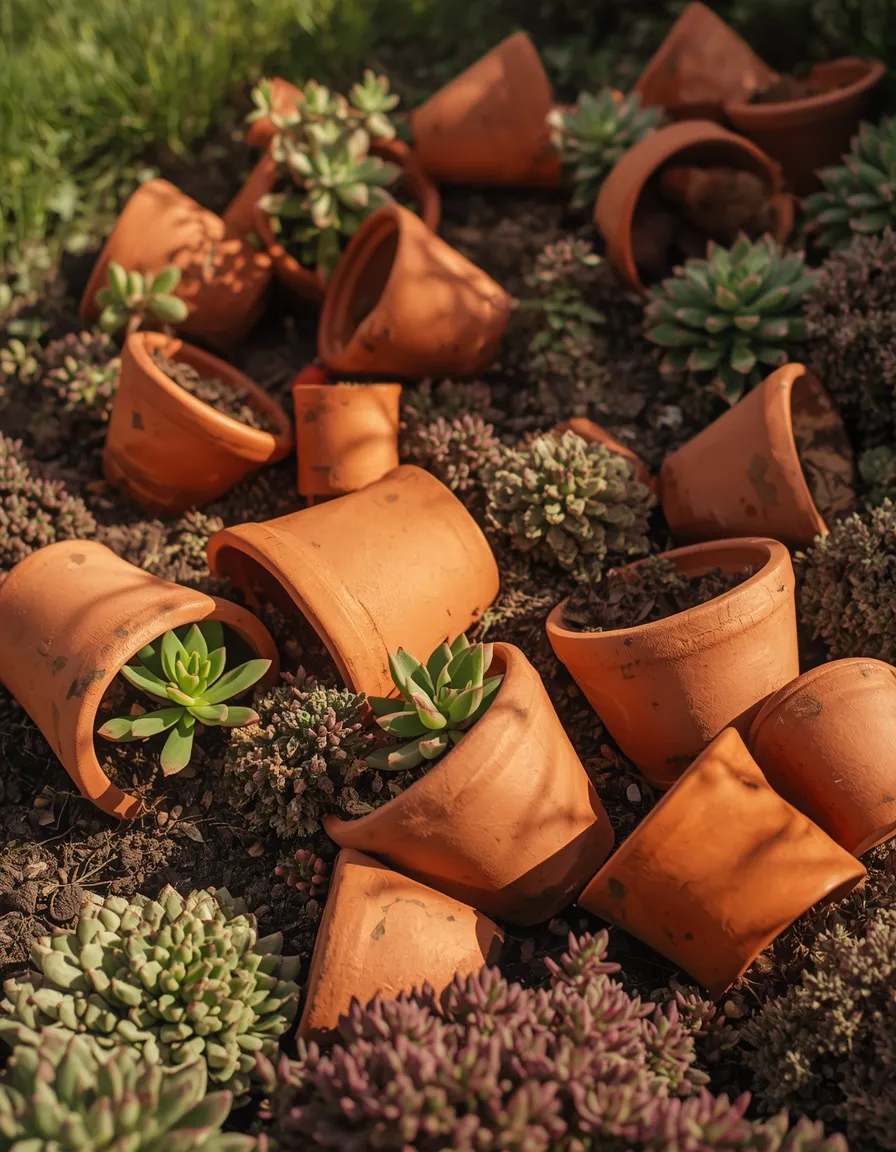
A terracotta pot that has cracked over winter doesn’t have to go in the bin; broken into a few large pieces and arranged on their sides in a bed, they become instant, sun-warmed shelter for succulents or alpine plants.
Bury each broken section at a slight angle, cracked edge down and into the soil, so the curved outer wall creates a small pocket of well-draining space, then tuck drought-tolerant plants like sedum, hens-and-chicks, or thyme into the gaps. Terracotta’s porous surface warms quickly in sun and holds a bit of that warmth into the evening, which particularly benefits plants that dislike cold, wet feet overnight. This idea pairs naturally with other found-object garden features; for more ways to give a backyard that same collected, playful character, see this site’s guide to whimsical garden backyard ideas.
- Gives broken pots a genuinely useful second life instead of the bin
- Improves drainage for plants that resent soggy overnight soil
- Adds textural, sculptural interest to an otherwise flat bed
Watering and Soil Efficiency Hacks
Water is where most container and small-bed gardening goes wrong, either too much, too little, or too inconsistent, so these three hacks focus specifically on getting moisture exactly where it’s needed.
10. Buried Terracotta Olla Irrigation
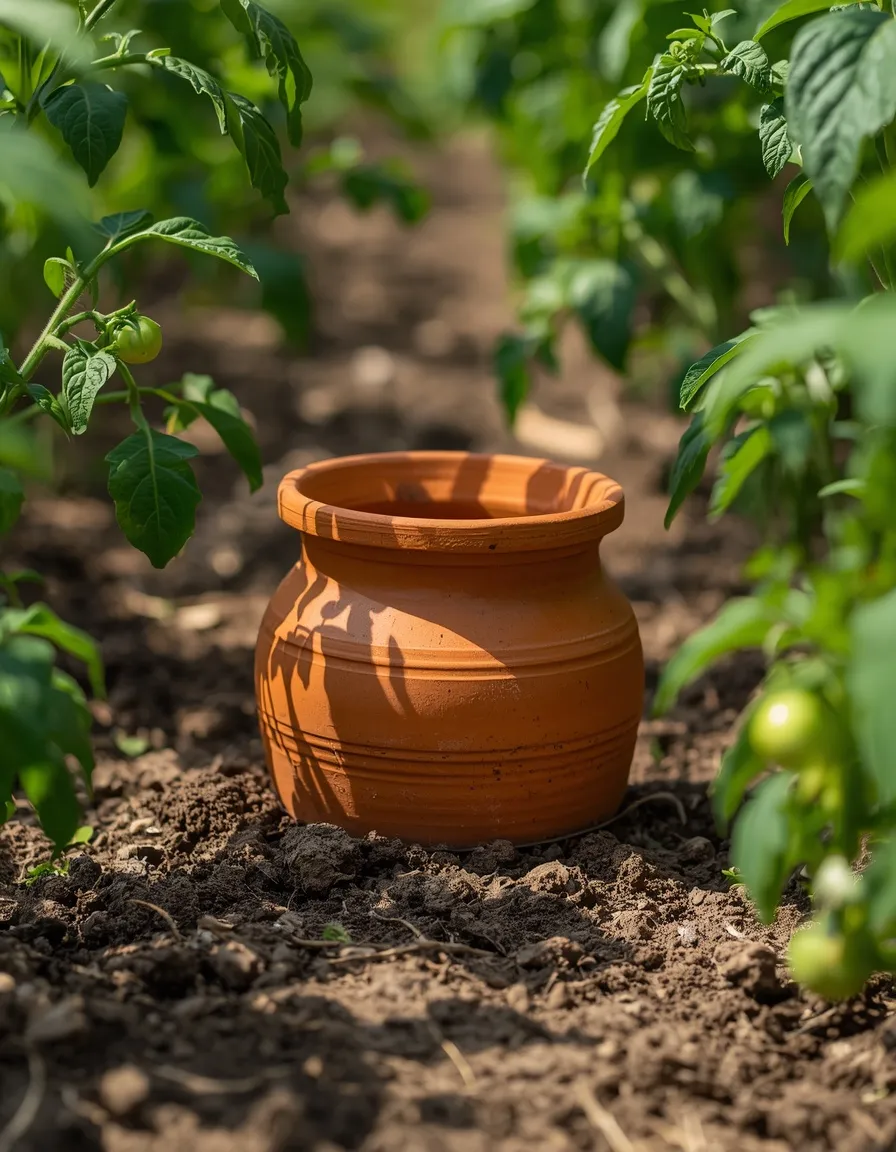
An unglazed terracotta pot buried up to its neck in the soil and filled with water works as a centuries-old slow-release irrigation system, weeping moisture directly into the surrounding root zone through its porous walls.
Plug the pot’s drainage hole with silicone sealant or a cork, bury it so only the neck sits above soil level, fill it with water, and cover the opening with a tile or flat stone to stop evaporation and keep debris out. Plant thirsty crops like tomatoes, squash, or pole beans in a ring around the buried pot, roughly 12 to 18 inches (30 to 45 cm) out; the clay releases water only as fast as the surrounding soil dries, so it never overwaters. Refill every 3 to 7 days depending on heat and soil type rather than on a fixed schedule, checking by hand until a rhythm becomes clear.
- Waters an entire ring of plants from one refill point
- Releases moisture only as the soil actually needs it
- One of the most water-efficient hacks on this list
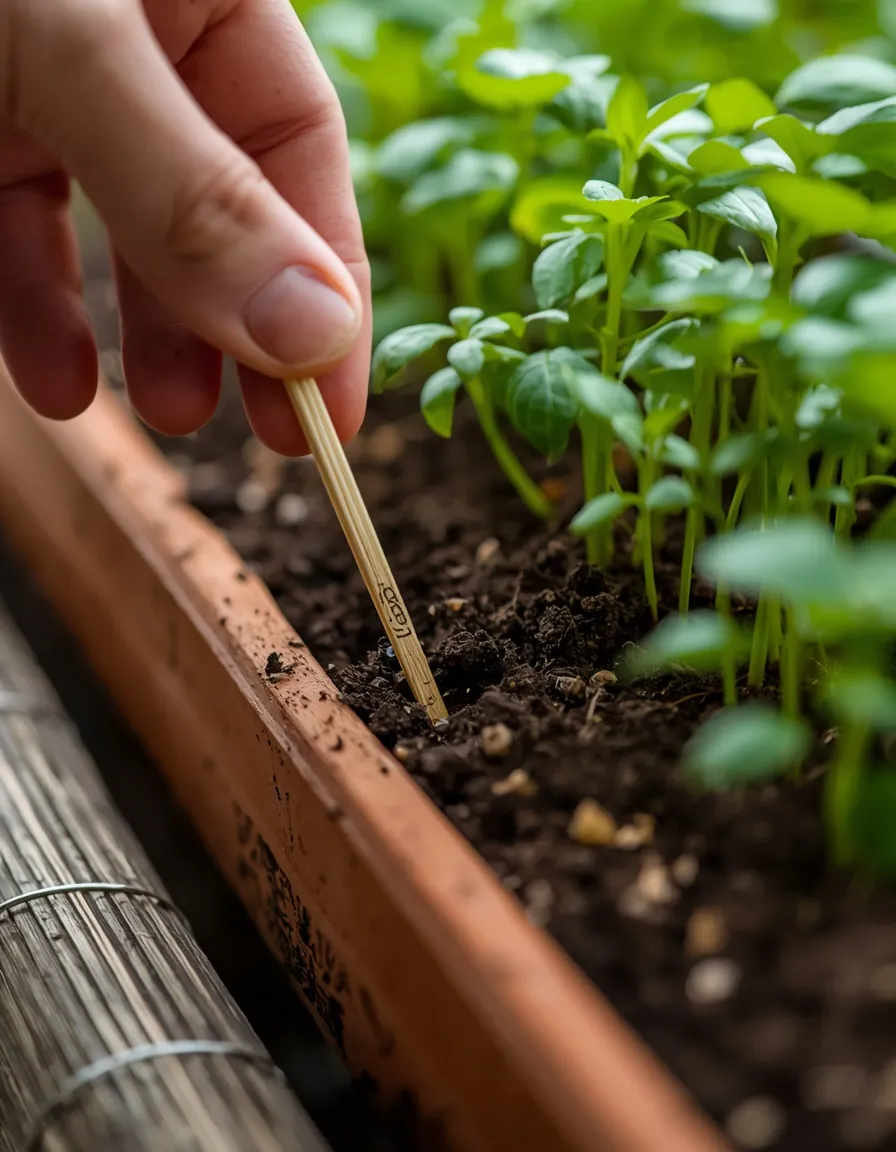
11. Chopstick Soil Moisture Test
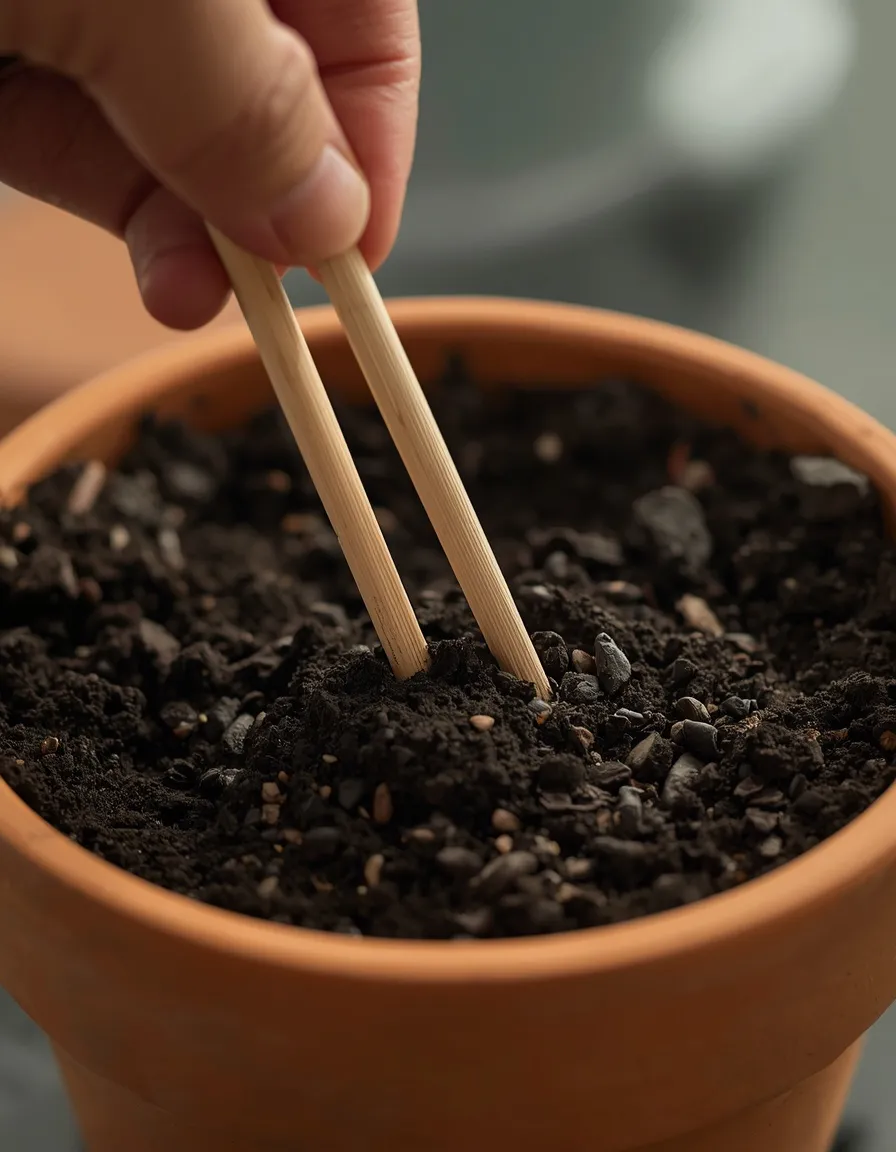
A plain wooden chopstick pushed into a container’s soil and pulled back out a minute later works like a free, disposable moisture meter, no batteries or gadget required.
Push the chopstick down near the bottom of the pot, leave it for about a minute, then pull it out and check: damp soil clings visibly to the wood and darkens it, while dry soil leaves the chopstick clean and pale. This catches the single most common houseplant and container mistake, watering on a fixed schedule instead of checking actual moisture, which is responsible for more root rot than underwatering ever is. A bamboo skewer or a plain wooden dowel works exactly the same way if chopsticks aren’t on hand.
- Costs nothing and takes seconds to check
- Prevents the overwatering that causes most container plant losses
- Works on any container plant, indoors or out
12. Coffee Filter Pot Liner
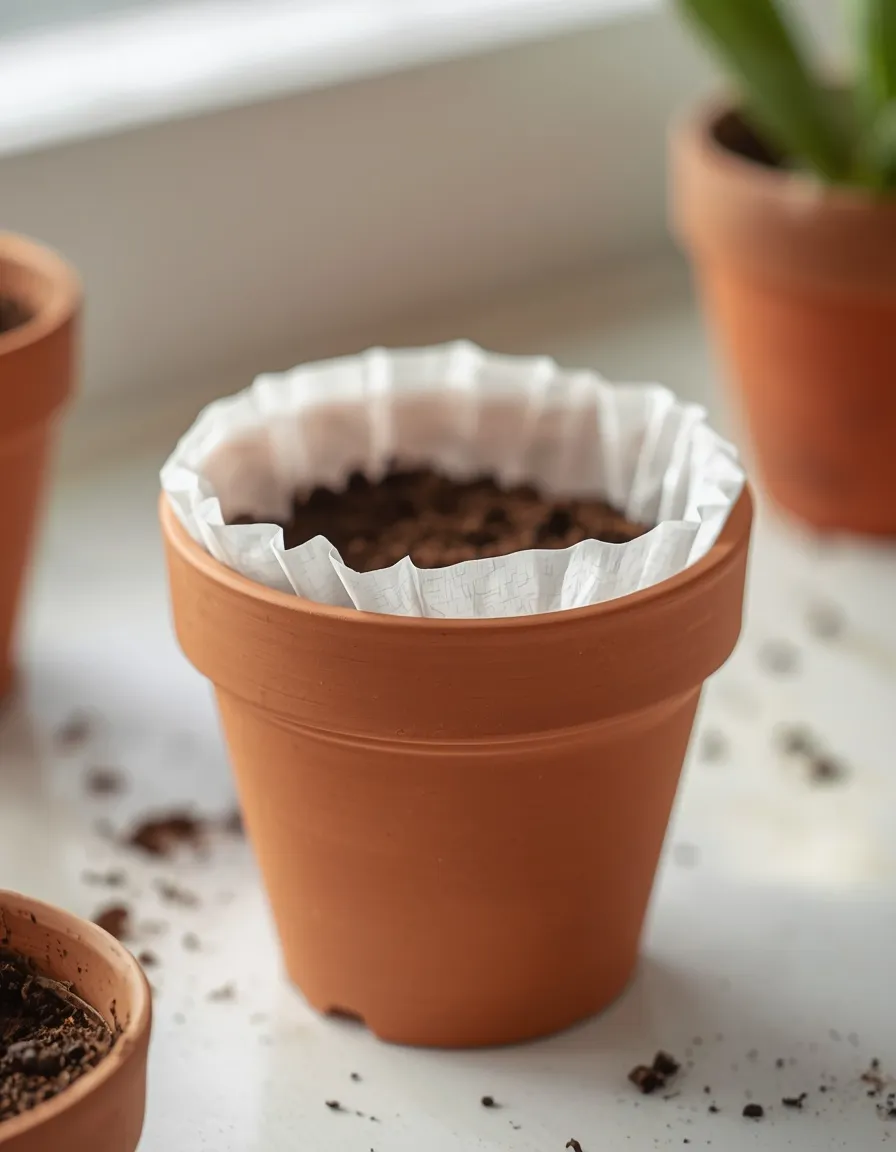
A basic paper coffee filter laid flat inside a pot before adding soil keeps fine potting mix from washing straight out of the drainage holes, without blocking drainage the way a solid liner would.
Cut a filter to roughly match the pot’s base, or use one whole for a small pot, and press it into the bottom before filling with soil as normal; the paper holds soil in place for the first few waterings until roots establish and take over that job themselves. This solves a genuinely common annoyance with lightweight seed-starting mix or very fine potting soil, both of which tend to stream out of drainage holes and leave a gritty mess on a porch or windowsill. Skip this step for large outdoor containers, where the extra fuss adds little benefit over soil that’s simply left to settle.
- Stops fine soil from washing out onto floors or patios
- Costs almost nothing if filters are already in the kitchen
- Breaks down naturally, so there’s nothing to remove later
Weed and Pest Control Hacks
None of these rely on synthetic herbicides or sprays, but each solves a different, specific version of the same problem, so it’s worth matching the method to the situation rather than reaching for the same one every time.
13. Cardboard Sheet Mulching for Weeds
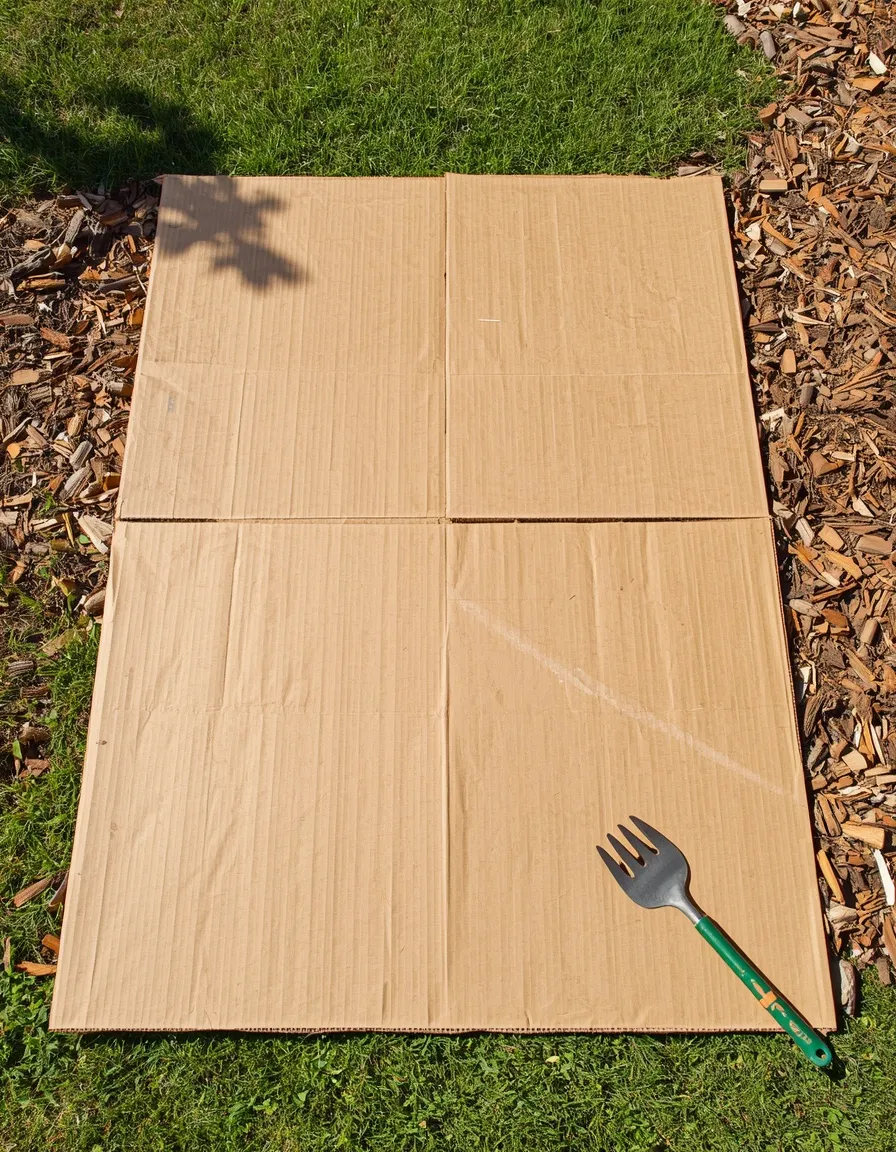
A layer of plain cardboard laid flat over an unwanted patch of lawn or weeds, then buried under mulch, smothers everything underneath over a season without a single application of herbicide.
Strip off tape, staples, and glossy labels, overlap the cardboard sheets by at least 6 inches (15 cm) so weeds can’t push up through the seams, soak the layer with a hose to help it settle and start breaking down, then top with 2 to 3 inches (5 to 7.5 cm) of mulch or compost. This works especially well for converting a section of lawn into a new bed, since the cardboard both kills the grass underneath and breaks down into organic matter over the following months. Avoid glossy or heavily printed cardboard, which may carry inks or coatings not meant to break down in soil.
- Clears an area for planting without any chemical herbicide
- Improves soil structure as the cardboard decomposes
- One of the most effective ways to convert lawn into bed space
14. Copper Tape Slug and Snail Barrier
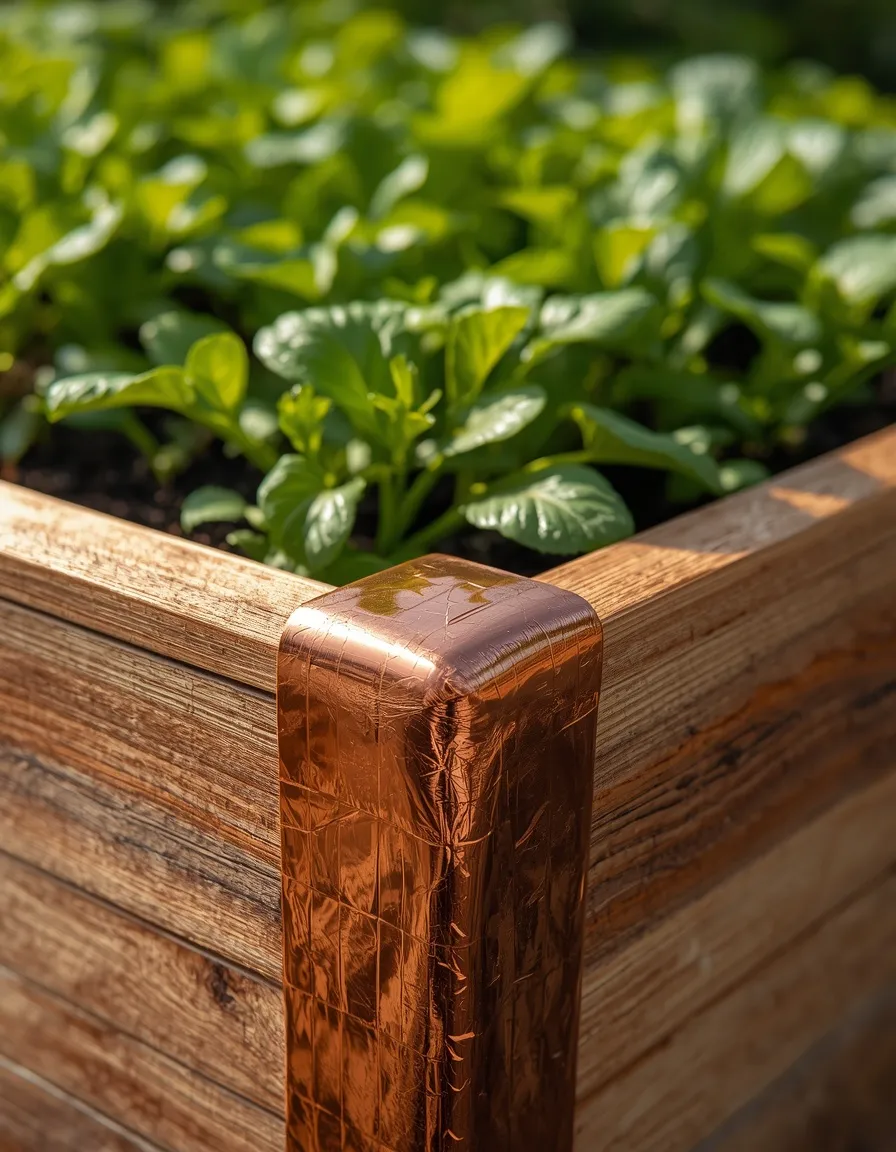
A strip of adhesive copper tape wrapped around the rim of a raised bed or pot delivers a mild static shock to slugs and snails the moment they try to cross it, turning them back before they reach the plants inside.
Clean and dry the surface first so the adhesive bonds properly, then run the tape in an unbroken ring with no gaps at all, since a single overlooked seam is all a slug needs to get through. Copper loses its effectiveness once it’s coated in dirt, plant debris, or its own tarnish, so wipe the tape down every few weeks during heavy slug season to keep the barrier active. This works best on raised beds and containers with hard edges; it’s far less practical around an open in-ground row, where cardboard mulching or diatomaceous earth are better matched to the space.
- A genuinely chemical-free deterrent that needs no reapplication after rain
- Best suited to raised beds, pots, and containers with a defined edge
- Reusable season after season if kept clean
15. Trap Crop Companion Planting
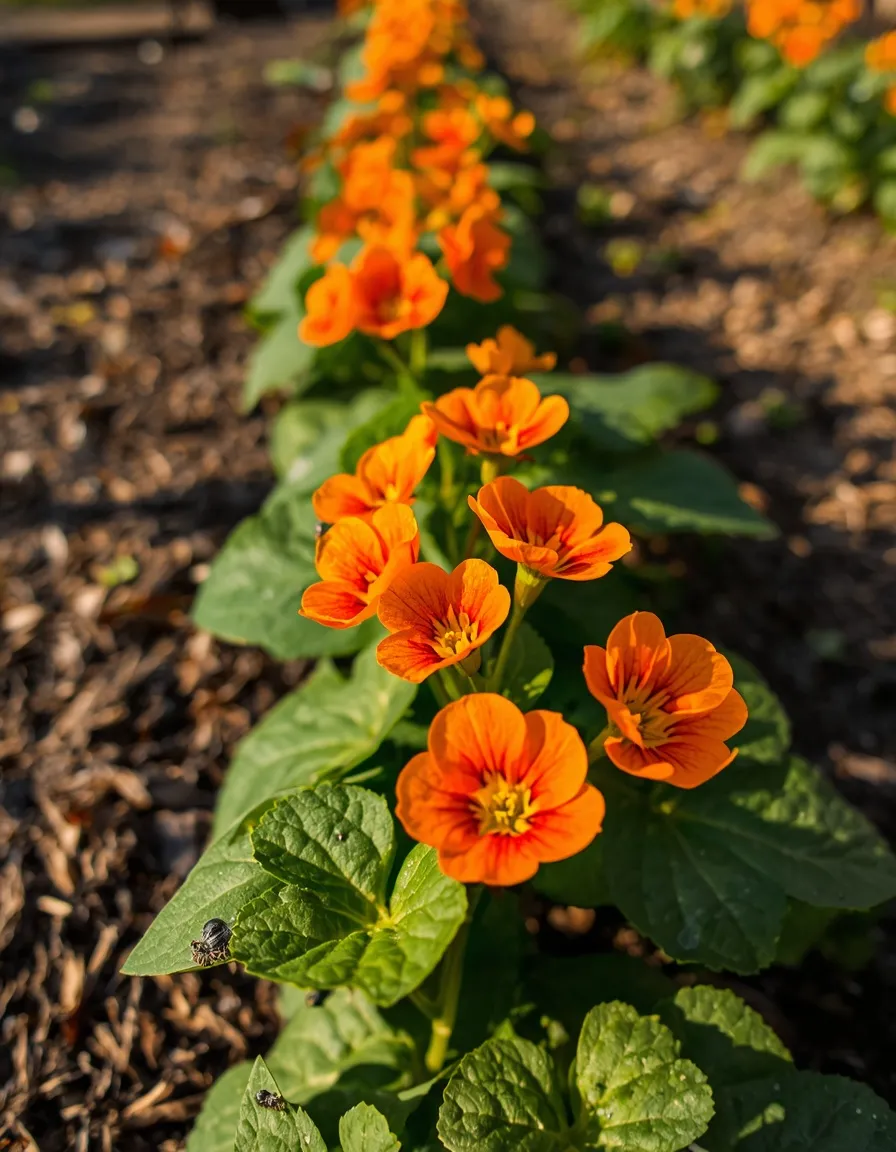
Planting a sacrificial crop that pests prefer, nasturtiums for aphids being the classic example, draws hungry insects away from the vegetables actually meant for the table, turning a pest problem into a decoy strategy instead of a spraying schedule.
Plant the trap crop a short distance from the main bed, close enough that pests find it first but far enough that it doesn’t simply funnel them straight into the vegetables; nasturtiums for aphids, blue hubbard squash for cucumber beetles, and radishes left to flower for flea beetles are all well-documented pairings. Check trap plants regularly and remove them once heavily infested rather than letting the pest population build up and eventually spill over into the main crop. This is a slower, longer-game hack than a spray or barrier, better suited to a gardener planning a full season ahead rather than reacting to pests already present.
- Reduces pest pressure without any spray or powder at all
- Works alongside other pest hacks rather than replacing them
- A well-documented technique used in commercial integrated pest management
16. Food-Grade Diatomaceous Earth Barrier
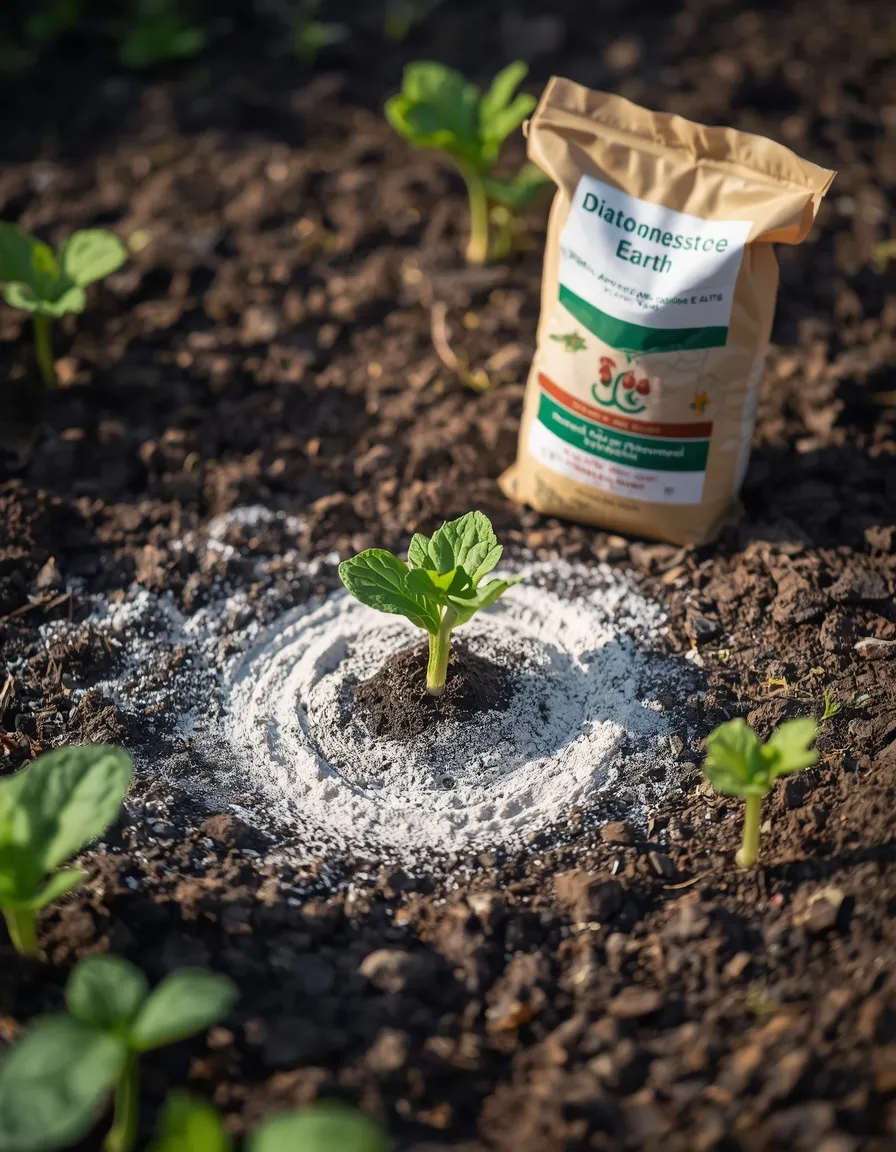
A thin ring of food-grade diatomaceous earth dusted around the base of vulnerable plants works as a mechanical barrier, its microscopically sharp particles piercing the soft bodies of crawling pests like slugs, ants, and beetles on contact.
Buy food-grade diatomaceous earth specifically; the pool-grade version sold for filters is processed differently and is not the product meant for garden use, according to the National Pesticide Information Center. Dust a light, even ring around plant bases on a calm, dry day, wearing a dust mask and eye protection, since even food-grade DE can irritate lungs and eyes if inhaled during application. Avoid applying it directly to open flowers where bees and other pollinators forage, since DE affects any small insect it contacts, not just pests, and reapply after rain or heavy watering since it stops working once wet.
- A mechanical, non-chemical option for crawling pests
- Works well combined with copper tape or cardboard mulching
- Needs reapplication after rain, unlike a barrier method like copper tape
17. Boiling Water Spot-Treatment for Hardscape Weeds
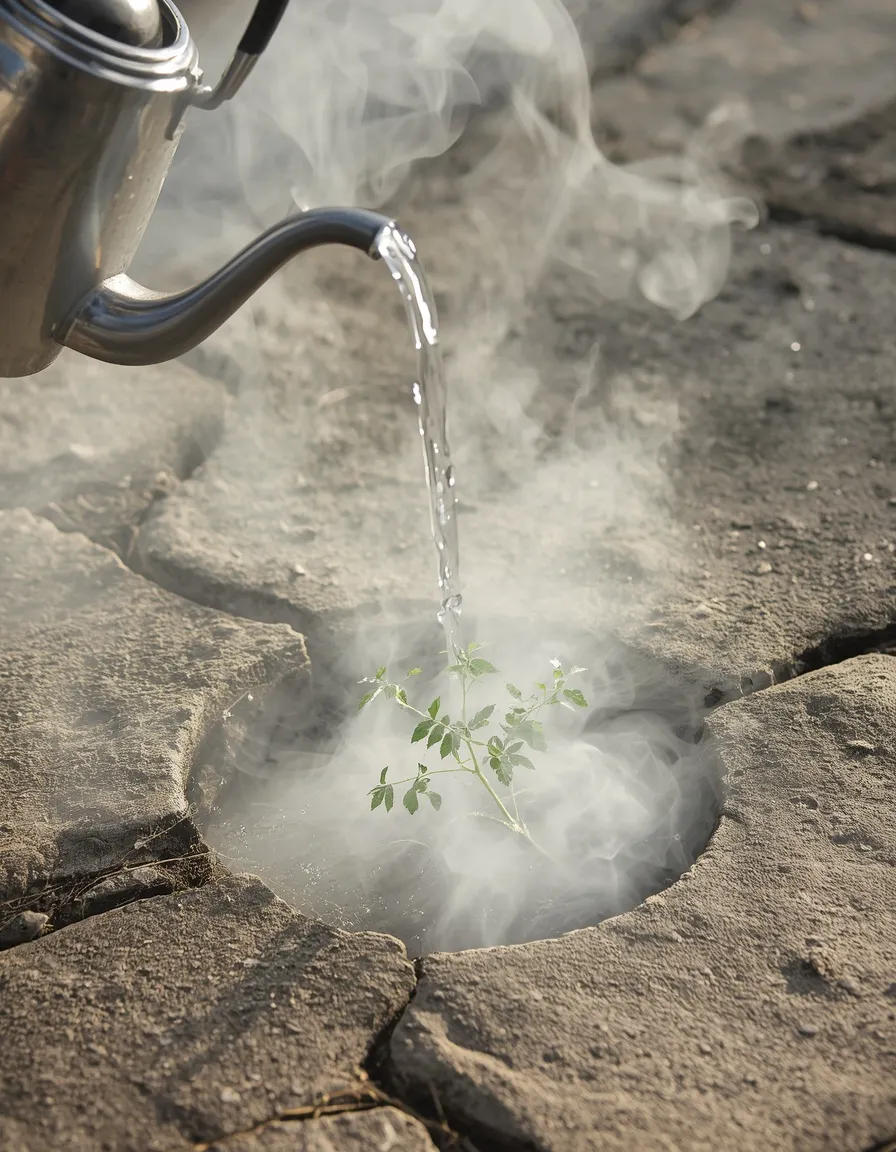
A kettle of boiling water poured directly onto a weed pushing up through a driveway crack or patio joint kills it back to the root within a day, no herbicide required for the spots a shovel can’t easily reach.
Pour slowly and directly onto the crown of the weed rather than splashing widely, since boiling water is non-selective and will kill any nearby plant it touches, including grass or garden plants along the pour path. This method suits hardscape cracks, gravel, and patio joints far better than open garden beds, where the same boiling water would just as easily damage the roots of desired plants growing nearby. Handle the kettle carefully and keep children and pets clear of the area while pouring, since a spill or splash of boiling water is a genuine burn risk.
- A truly chemical-free option for driveway and patio weeds
- Works within a day, faster than most spray-based methods
- Costs nothing beyond the water and a few minutes on the stove
Plant-Specific Hacks for Tomatoes and Strawberries
Tomatoes and strawberries attract more garden folklore than almost any other crop, so it’s worth separating what genuinely helps from what’s just repeated advice. Two of the most common tomato tips, tossing eggshells or Epsom salt into the planting hole to prevent blossom end rot, don’t hold up: according to University of Minnesota Extension, eggshells break down far too slowly to supply usable calcium in a single season, and Epsom salt contains no calcium at all, meaning it can’t address a calcium-related problem no matter how much is added. The three hacks below are the ones with an actual mechanism behind them.
18. Pantyhose Tomato Vine Ties
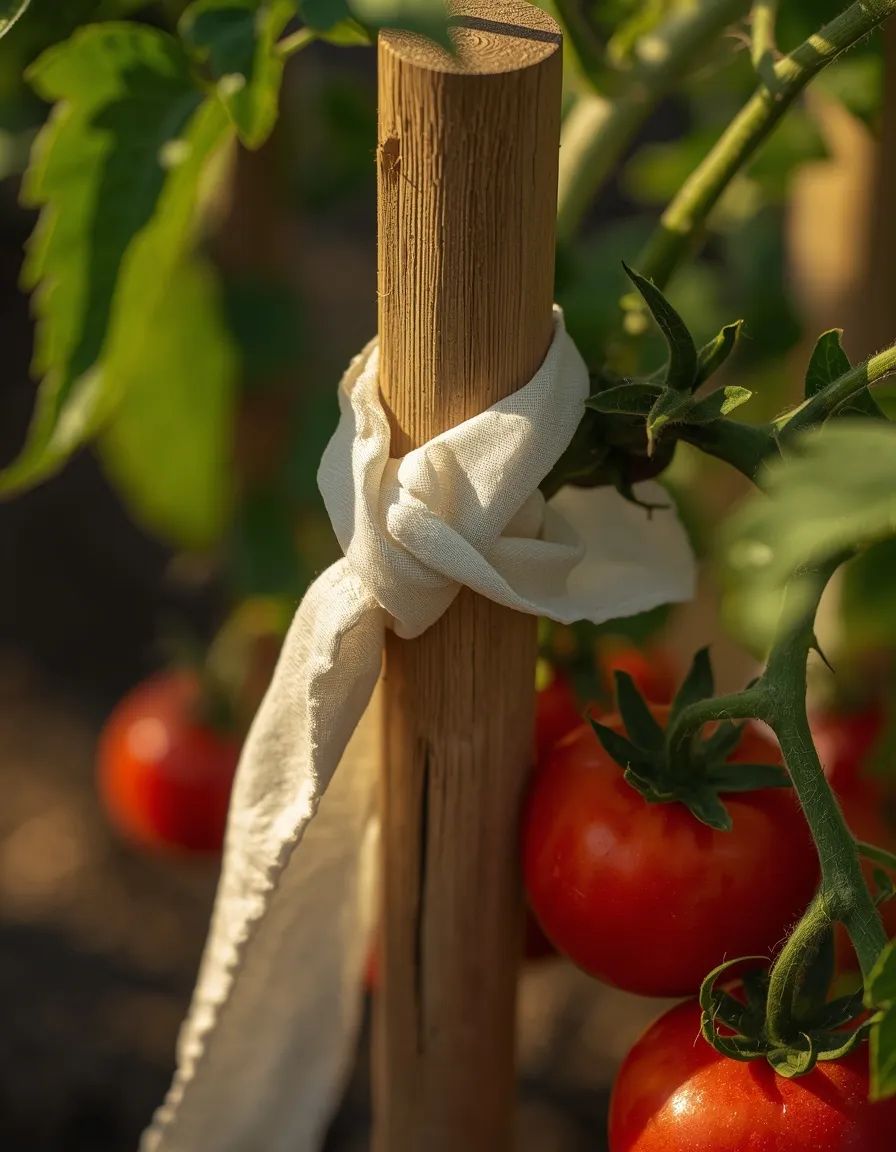
Strips cut from an old pair of pantyhose or tights make one of the gentlest tomato ties available, stretching slightly as the stem thickens instead of cutting into it the way twine or wire eventually can.
Cut the fabric into strips roughly 1 inch (2.5 cm) wide, tie the stem loosely to the stake or cage in a figure-eight loop so the fabric never presses the stem directly against the support, and check ties every couple of weeks through the growing season, since a fast-growing stem can outgrow even a loose tie within a month. The stretch in the fabric is the entire point; a tie that can’t give a little is the single most common cause of a snapped or girdled main stem by midsummer. This same trick works just as well for peppers, dahlias, and any other soft-stemmed plant that needs support without abrasion.
- Stretches with the stem instead of cutting into it as it thickens
- Reuses fabric that would otherwise be thrown away
- Gentle enough for delicate stems beyond just tomatoes
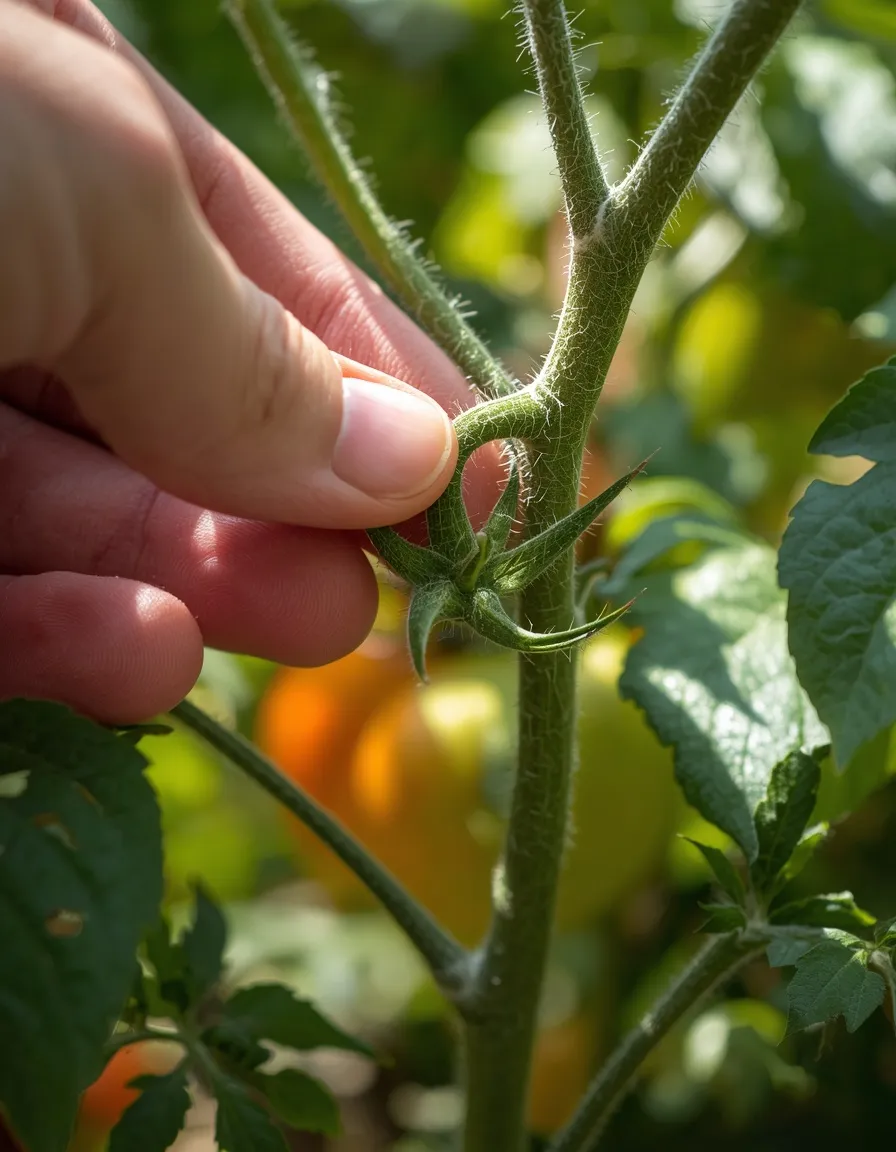
19. Sucker Pruning for Bigger Tomatoes
Pinching out the small shoots that sprout in the crook between a tomato’s main stem and each side branch redirects the plant’s energy into fewer, larger fruit clusters instead of a sprawling tangle of extra stems.
Check plants every few days once they’re established, and pinch suckers out while they’re still small, under 2 inches (5 cm), using clean fingers or snips rather than letting them grow into full stems that leave a larger wound when removed. This applies to indeterminate, vining tomato varieties, which keep growing and producing suckers all season; determinate, bush-type tomatoes need little to no suckering, since removing too much growth on those varieties can actually reduce the harvest instead of improving it. Pruning also opens up airflow through the plant, which measurably reduces the humid, still conditions that favor fungal diseases like early blight.
- Channels the plant’s energy into fewer, larger tomatoes
- Improves airflow, reducing fungal disease pressure
- Applies specifically to vining varieties, not bush types
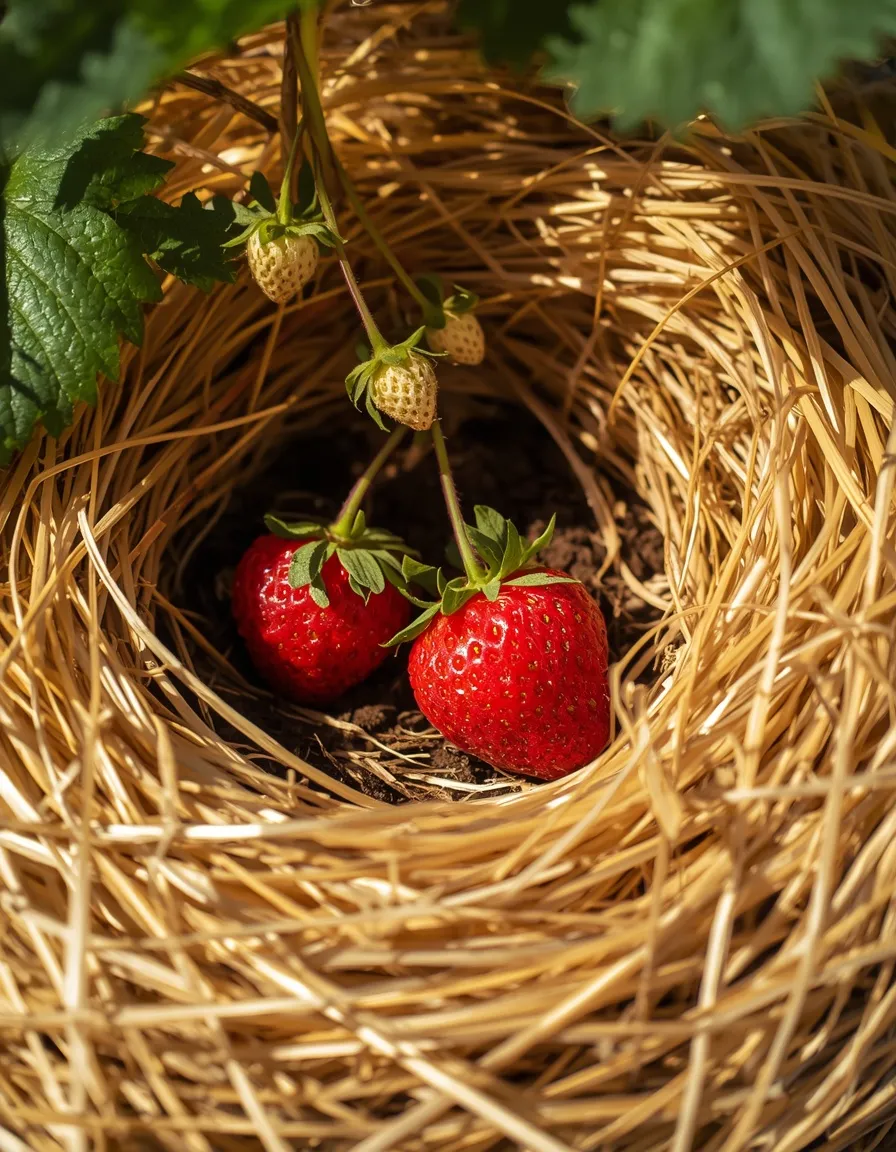
20. Straw Mulch Ring for Clean Strawberries
A thick ring of straw tucked around each strawberry plant keeps developing berries lifted just off the damp soil, the single easiest way to stop a promising crop from rotting or getting chewed before it ripens.
Wait until strawberry plants are established and flowering, then tuck a 2 to 3 inch (5 to 7.5 cm) layer of clean straw, not hay, which carries far more weed seed, snugly around the base of each plant and under any berries starting to form. The mulch does three jobs at once: it keeps fruit off wet soil where rot and slug damage start, it suppresses weeds competing for the same shallow root zone, and it moderates soil temperature through the peak of the season. Refresh the layer partway through harvest if it’s compacted or thinned by rain, since bare patches reopen the exact problem the straw was solving.
- Keeps ripening berries clean and off damp soil
- Suppresses shallow-rooted weeds around each plant
- A traditional technique that still outperforms most modern alternatives
Tool and Organization Hacks
The last two hacks aren’t about plants at all; they’re about making the tools already on hand easier to use and easier to find, which saves more time over a season than almost any single planting trick.
21. Repurposed Kitchen Utensils as Garden Tools
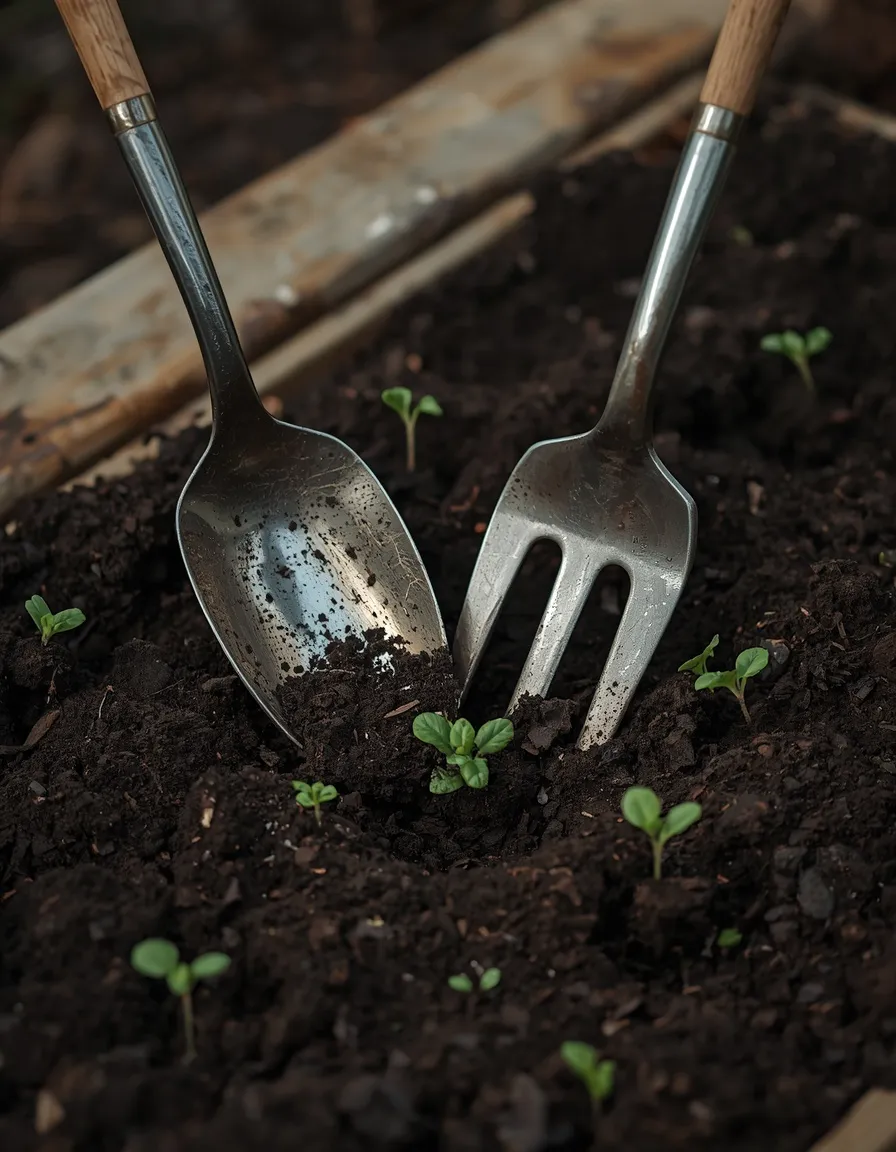
A bent metal spoon, an old serving fork, or a slotted spatula pulled from the kitchen drawer solves several small garden jobs, transplanting seedlings, loosening tight spots, and sifting rocks from soil, better than a tool actually marketed for the task.
A sturdy metal tablespoon makes a genuinely excellent small trowel for transplanting seedlings into tight spaces between existing plants, while a long-handled serving fork works well for loosening compacted soil around roots without slicing through them the way a spade can. A slotted spoon or spatula sifts small rocks and clumps from a bucket of soil almost as well as a purpose-made soil sieve. File down any sharp or jagged edges left from wear before using a utensil this way, and keep a dedicated set separate from the kitchen once they’ve touched soil, since garden use isn’t food-safe use anymore.
- Solves several small garden tasks with items already in a drawer
- A genuinely useful way to retire mismatched or bent utensils
- Costs nothing while working as well as tools sold for the job
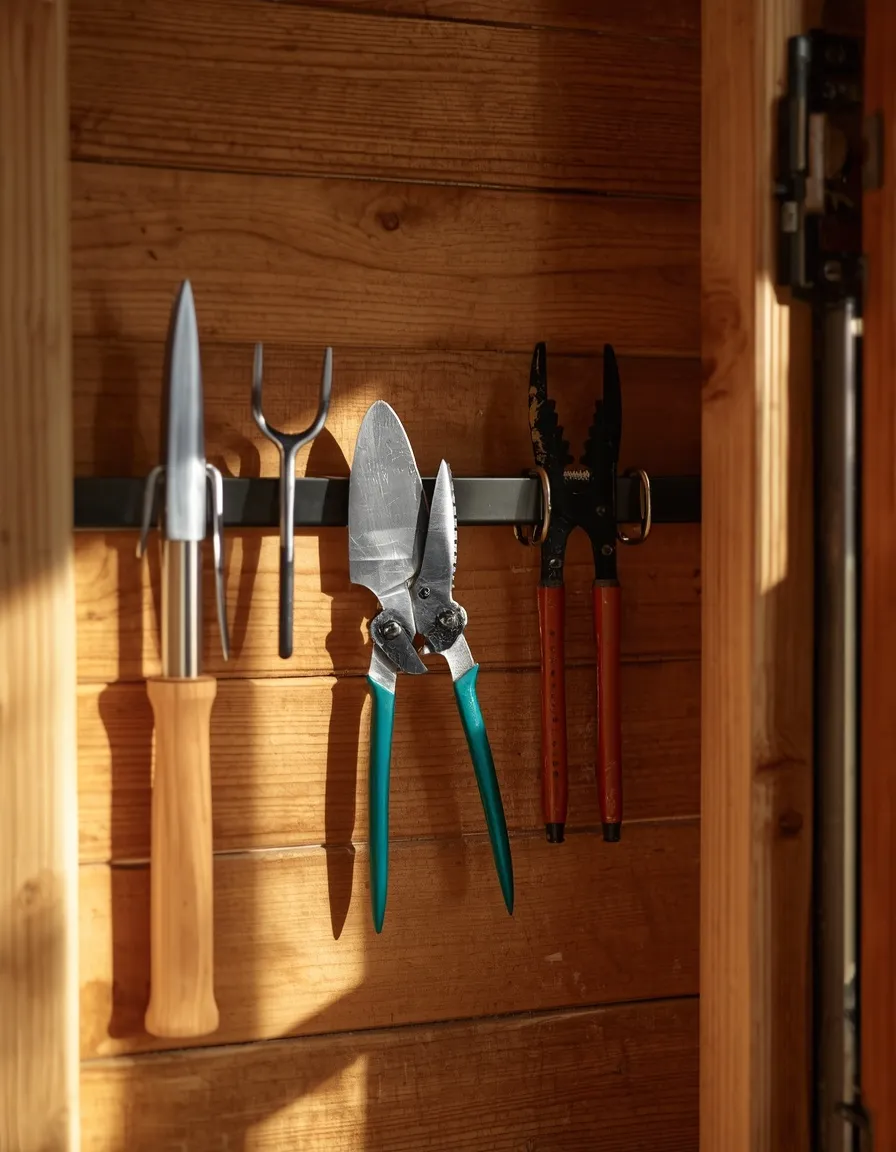
22. Magnetic Tool Strip for Shed Wall Storage
A magnetic knife strip, the kind sold for kitchen walls, mounted inside a shed or garage door keeps metal hand tools, trowels, pruners, and a spare pair of scissors visible and instantly grabbable instead of buried in a bucket or drawer.
Mount the strip at a height that clears the swing of the door and screw it directly into a wall stud rather than relying on adhesive alone, since a fully loaded strip carrying several metal tools has real weight. This works only for tools with enough exposed steel to hold a magnetic grip; wooden-handled trowels with small metal heads sometimes need the head turned outward to make solid contact. Beyond convenience, a visible tool wall makes it far easier to notice at a glance when a favorite pair of pruners has gone missing instead of discovering it mid-task.
- Keeps small metal tools visible instead of lost in a bucket
- Frees up drawer or bin space for bulkier equipment
- A five-minute mount that pays off every time tools are needed
Conclusion
None of these gardening hacks are complicated or expensive; most solve a real problem with something already sitting in a drawer, a recycling bin, or a garden shed. The real value is knowing which ones actually work: watering tricks like a buried olla or a self-watering bucket save real time, while myths like Epsom salt for tomatoes are worth leaving behind for good. Pick two or three that match this season’s biggest headache, whether that’s slugs, an unpredictable watering schedule, or a balcony with no soil, and build from there rather than trying all 22 at once. For more ways to make a garden genuinely work harder, this site’s garden design collection is worth exploring next.
Frequently Asked Questions
What exactly counts as a gardening hack?
A true gardening hack is a clever workaround that solves a real problem, uneven watering, pest pressure, tight space, using materials or techniques most basic guides skip over, rather than a repeated tip with no real mechanism behind it. The best ones, like a buried terracotta olla or a chopstick moisture test, work because there’s an actual physical or biological reason they help, not just tradition.
What is the easiest gardening hack for a total beginner to try first?
The chopstick soil moisture test is about as simple as it gets, since it needs no materials beyond a chopstick and immediately prevents the single most common mistake new gardeners make: watering container plants on a fixed schedule instead of checking whether they actually need it. Egg carton seed starters are a close second, since they’re forgiving, free, and transplant with minimal root disturbance.
Do gardening hacks like eggshells or Epsom salt for tomatoes actually work?
No, and this is one of the most persistent myths in home gardening. According to University of Minnesota Extension, eggshells break down far too slowly in soil to supply usable calcium during a single growing season, and Epsom salt contains no calcium at all, so neither one addresses blossom end rot, which is caused by inconsistent watering rather than a lack of calcium in the soil.
What are the best gardening hacks for small spaces or no yard at all?
Vertical solutions do the most work in tight spaces: a hanging shoe organizer, rain gutter planters, or a stacked milk crate tower all multiply growing area without needing any ground space, and all three work on a balcony, patio, or even a sunny windowsill ledge. A self-watering bucket planter is also worth prioritizing in a small space, since container plants dry out faster than in-ground beds and are easy to forget during a busy week.
How can I control weeds without using harsh chemical herbicides?
Cardboard sheet mulching is the most effective chemical-free method for larger areas like a lawn conversion, smothering weeds completely over a season while improving the soil underneath as it breaks down. For weeds growing in driveway cracks or patio joints specifically, a kettle of boiling water poured directly onto the crown kills them back within a day.
Do copper tape and diatomaceous earth actually work for pest control?
Yes, though they work through different mechanisms and suit different situations. Copper tape delivers a mild static deterrent that works best on the defined edges of raised beds and containers, while food-grade diatomaceous earth is a mechanical barrier that dries out crawling pests on contact but needs reapplication after rain and should never be dusted directly onto flowers where pollinators forage.
What’s a genuinely useful gardening hack specifically for tomatoes or strawberries?
Sucker pruning is the single most effective tomato-specific hack, since removing the small shoots between the main stem and side branches redirects energy into fewer, larger fruit and improves airflow that reduces fungal disease. For strawberries, a straw mulch ring tucked around each plant keeps ripening berries lifted off damp soil, which is the most common cause of fruit rot and slug damage.